Building The CMMR


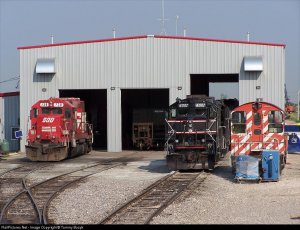
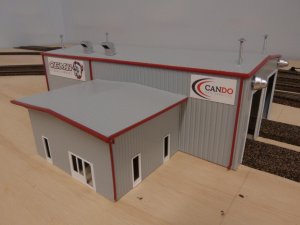
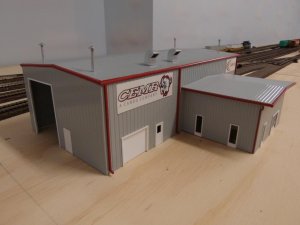
Besides restoring the Brawa crane over the winter I have also been putting down track. Before I can finish the track work I wanted to assemble the engine house and test fit it. I wanted something that kind of resembles the actual CEMR shops, but I don't have room for 3 stalls, so I picked up the Pikestuff 541-0008 2-stall kit as well as the 541-0011 office/showroom.

Here are a couple of shots of the actual CEMR shops.
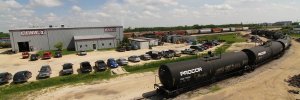
CEMR-Aerial-900x300.jpg
Shop 2.jpg


I laid out the pieces of the 2 kits and figured out what kind of window and door configurations I wanted. Once I was happy with them I cut out all of the openings and test fit the windows and doors. Next I started to assemble the walls. Here is my fancy corner jig made out of 2 magnetic welding clamps and a steel rule.
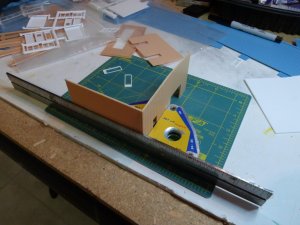
P1020891.jpg


I glued a couple of strips of styrene to the main shop wall to brace the office walls.
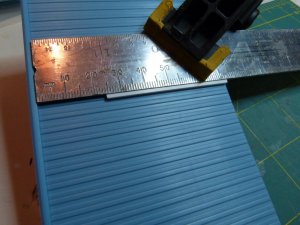
P1020897.jpg
 
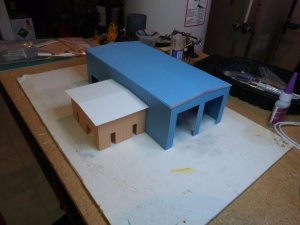
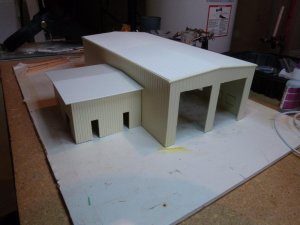
Here are all the walls and roofs assembled. I added a little filler at the roof ends, as there was a bit of a gap.

P1020905.jpg


I initially painted the assembly Krylon ivory with a white roof, but the more I looked at it the less I liked it so......

P1020906.jpg


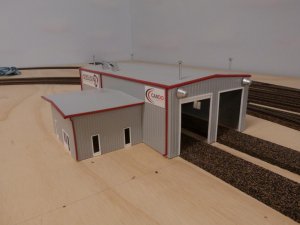
I sprayed the whole thing Krylon pewter grey. I think this looks much more like the actual shops.

P1020908.jpg
 
I left all the windows and doors white and installed them. I made up my own downspouts out of styrene strips for the main building and painted them as well as the eaves troughs red. I left the roof vents that came in the kit out and used some miscellaneous pieces from a Walthers rooftop kit instead. I also designed and printed up some decals on our inkjet with Testors paper and installed them on the side.

P1020909.jpg

P1020910.jpg


I still have to weather it a bit, give it a coat of dullcote, install the window glazings and make a base for it.
 
I don't know how I missed the beginning of this thread. I see a lot of thought and planning going into this layout. It looks like you are moving ahead well. Enjoyed the post. Keep up the good work and keep the pictures coming. Excellent work.
 
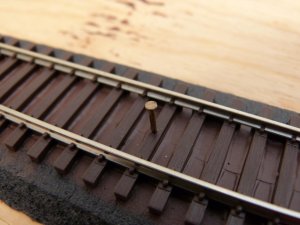
Well, it's a monumental day here on the CMMR - the driving of the gold spike. I suppose I should have had a few dignitaries on hand!

P1030029.jpg


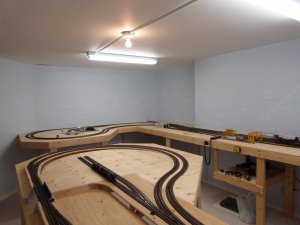
I finally got around to laying the last of the track. I haven't touched the layout since I have been building the 2 GP-38's for CANDO. Now I can get back to it!
I still have to hook up a couple of tortoise switch machines for the turnouts I can't reach, and then it is on to putting the shop and maintenance facilities in place.

P1030033.jpg


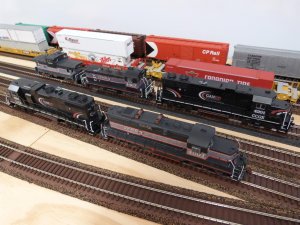
Here is the CEMR fleet including the GP-38's, which I can't keep, unfortunately.

P1030030.jpg
 
Well, it's a monumental day here on the CMMR - the driving of the gold spike. I suppose I should have had a few dignitaries on hand!

View attachment 54275


I finally got around to laying the last of the track. I haven't touched the layout since I have been building the 2 GP-38's for CANDO. Now I can get back to it!
I still have to hook up a couple of tortoise switch machines for the turnouts I can't reach, and then it is on to putting the shop and maintenance facilities in place.

View attachment 54276


Here is the CEMR fleet including the GP-38's, which I can't keep, unfortunately.

View attachment 54277
nice job I have been following this for a while, now you can run trains! And your beautiful locomotives.
 
Very nice work.

I do wonder if the S-curves are going to cause any problems - keep us informed please.
 
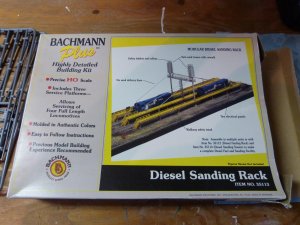
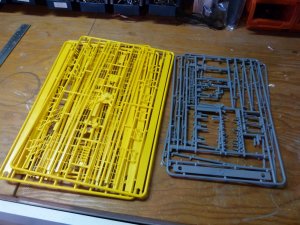
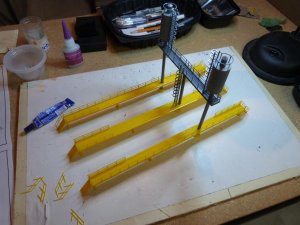
I was thinking about what to do for a service area beside the shops, and started looking around online for some inspiration. I came across a picture of a Bachmann diesel service facility, which looked to have everything I would need, so I looked around on ebay and found one at a reasonable price. The kit is actually too large for the area that I have, but with a few modifications I am hoping it will work out ok.

P1030045.jpgP1030042.jpg


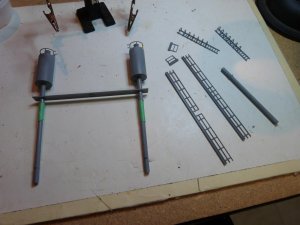
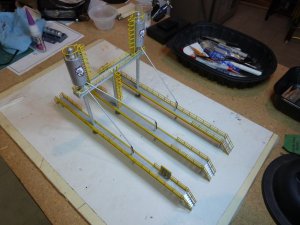
Here are the sanding towers assembled.

P1030040.jpg


Here is where I left off today, with the platforms just about finished. I cut down each platform to shorten the overall length so that it will fit in the area beside the shop.

P1030048.jpg
 
Wow that sanding racks look really good. Could you add some decals to the fuel tanks, for your railroad name maybe, that would look good.

Nice job finding it and building it. Looks a nice kit I might have to get one myself now! (just saw some on ebay too).
 
Last edited by a moderator:
Wow that sanding racks look really good. Could you add some decals to the fuel tanks, for your railroad name maybe, that would look good.

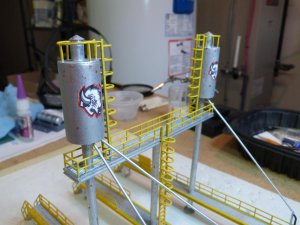
You read my mind Michael - I will be putting the CEMR bison and CANDO logo on both sand tanks.
 
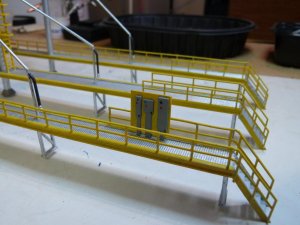
Finished up the sanding tower / maintenance platform today. I might add a little more rust and weathering later on.

Tomorrow I want to start laying out the base for the shop and platform. I am going to try and use actual cement patching compound. I'll try a small area first and see how it goes.

P1030100.jpgP1030101.jpgP1030102.jpg


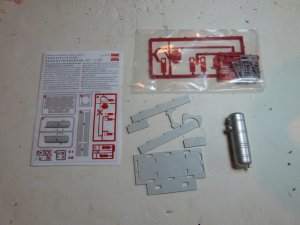
The last part of the maintenance area is this fuel storage tank / pump kit from Busch. I'll build it after the shop and platform are installed.

P1030053.jpg
 
Nice! Hey Gary you did a great job on the paint. And love the custom decals for your railroad. Nice touch.
 
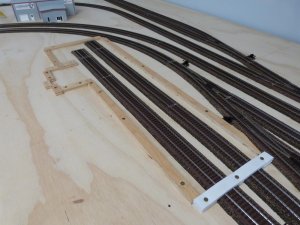
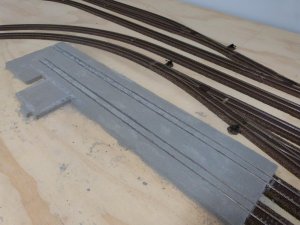
My intentions are to make an actual concrete base for the engine house and maintenance platform that is flush with the top of the rails. I thought about styrene, but I couldn't find any for sale signs the right thickness, and It would get too expensive using Evergreen sheets.

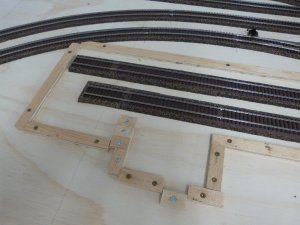
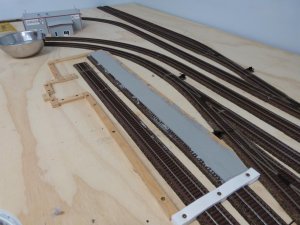
Here is the form work. After I marked the location of the structures I ripped down 3/8" plywood left over from the benchwork and screwed it down so that it would be easy to remove later. This should get it close to the same height as the top of the rails.

P1030121.jpgP1030122.jpg


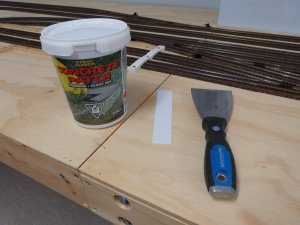
Here is the material I am using. It is premixed patching compound that can be applies with a putty knife.

P1030123.jpg


Here is the first application. I decided to do one section and let it dry to see how it turned out.

P1030124.jpg
 
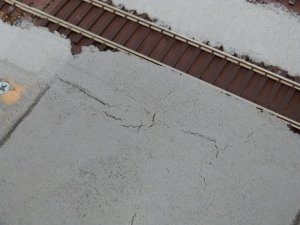
When the instructions say do not apply in a layer greater than 1/8", I guess you should follow them! The first section I put down had lots of cracks because it was too thick and shrank. After that I did it in thinner layers.

P1030127.jpg


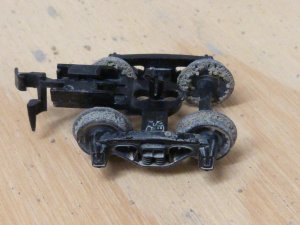
To make the clearance gap for the wheel flanges I started with a piece of styrene that I pushed down into the wet compound. The problem was that it pulled the compound up when I went to remove it. I ended up using an old truck that I ran up and down the track a few times.

P1030125.jpgP1030131.jpg


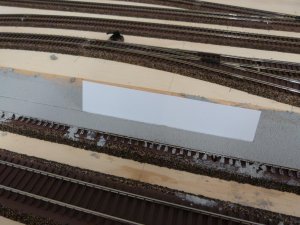
After the last application had dried for a couple of days I removed the forms. Unfortunately my truck idea for keeping the compound away from the rails did not work all that great, and a lot of material got on top of and beside the rails. This stuff dries HARD! I wore out a screwdriver scraping it off the top of the rails, and had to use a cut-off wheel on my Dremel to open up the slot beside the rails. I also had to scrape a few areas to allow the engine house to sit relatively flush.

P1030129.jpg


Back
Top