The Equestria Railroad - My Daughter's OO9 scale "My Little Pony" Railroad.


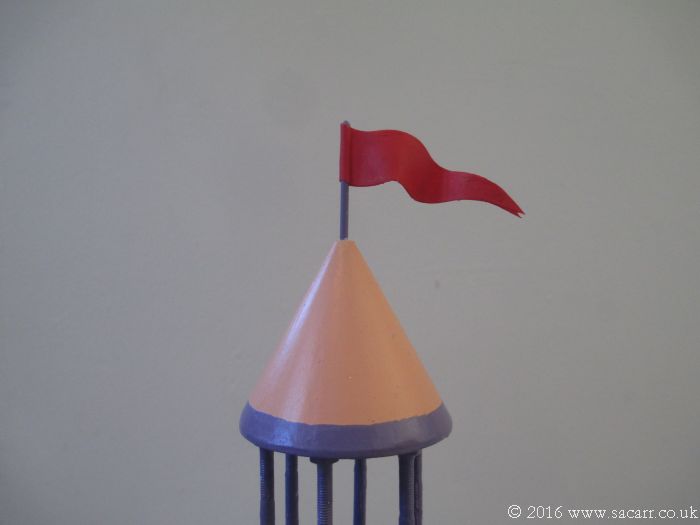
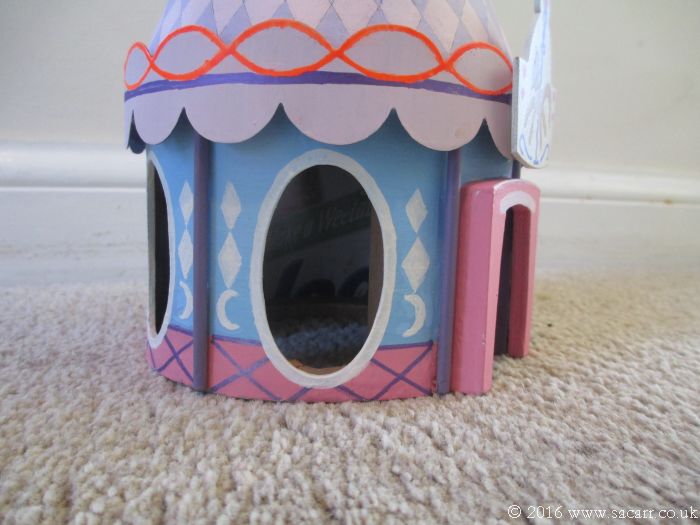
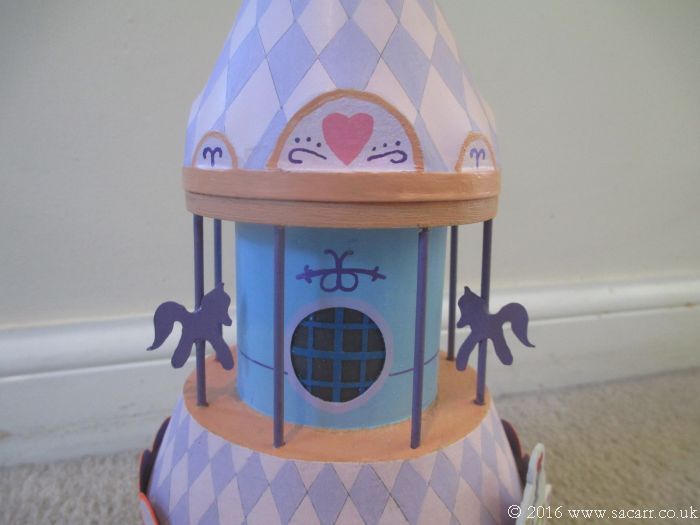
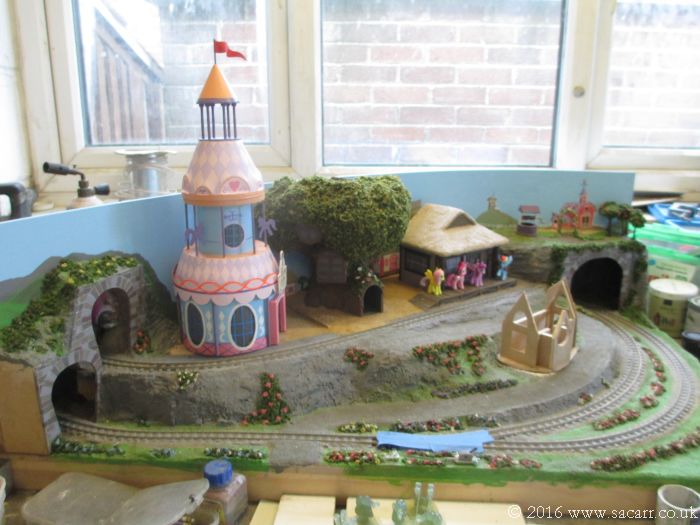
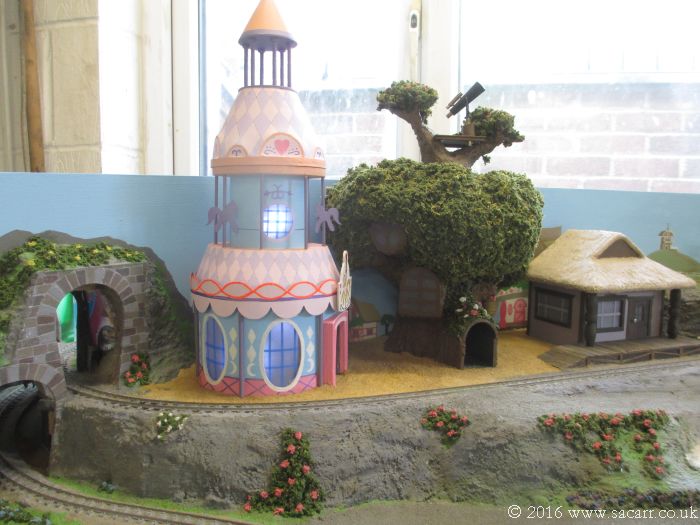
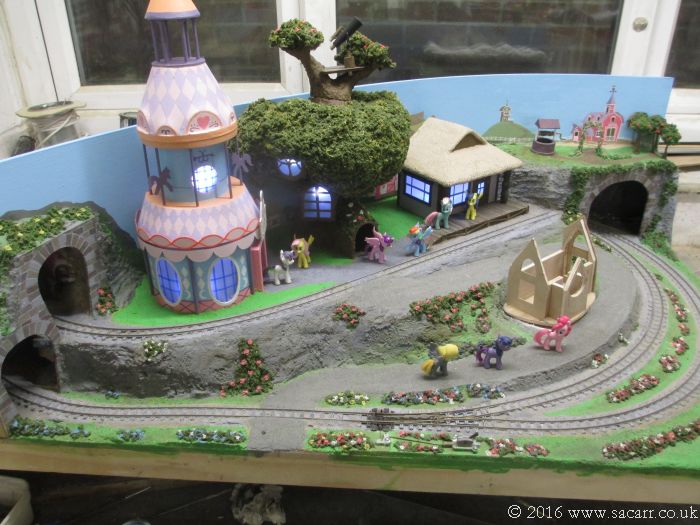
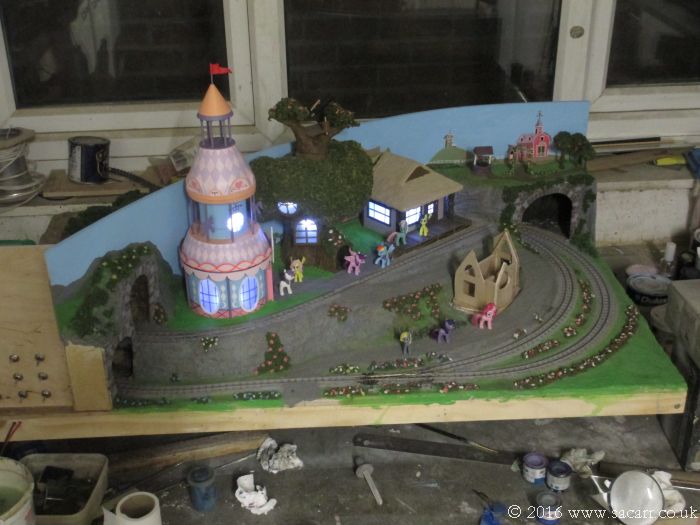
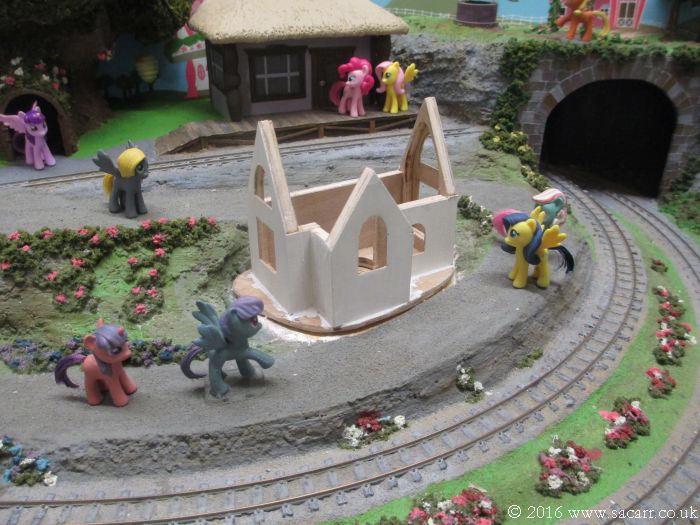
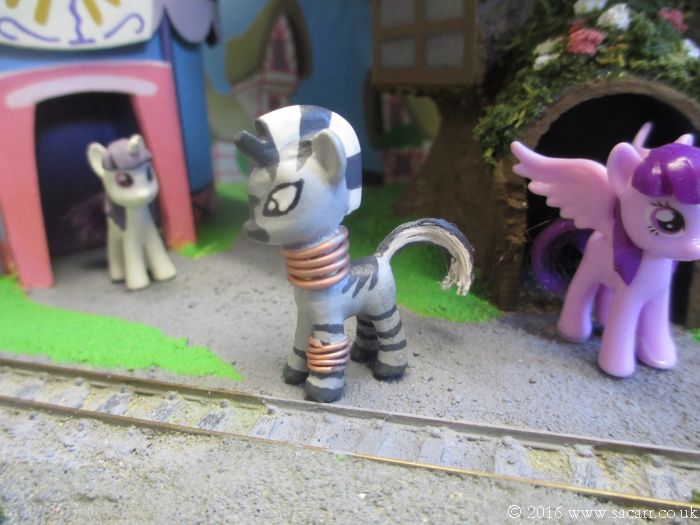
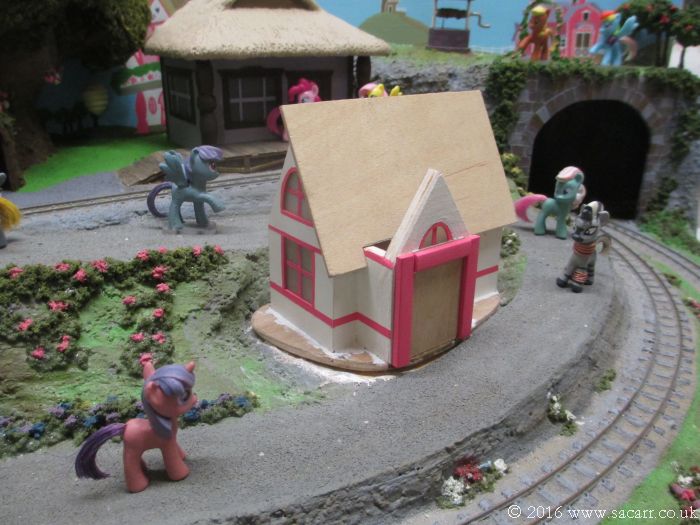
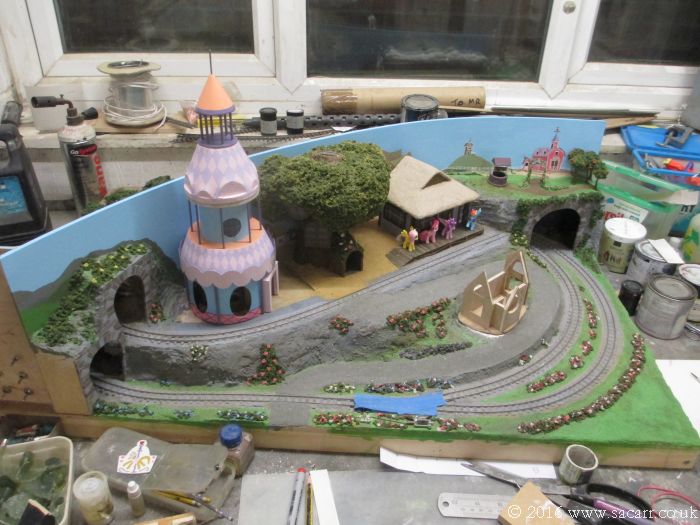
Here's the boutique in place in Ponyville. There's only a few more things to do before it can be glued down and the ground completed around it.

mlp263.jpg


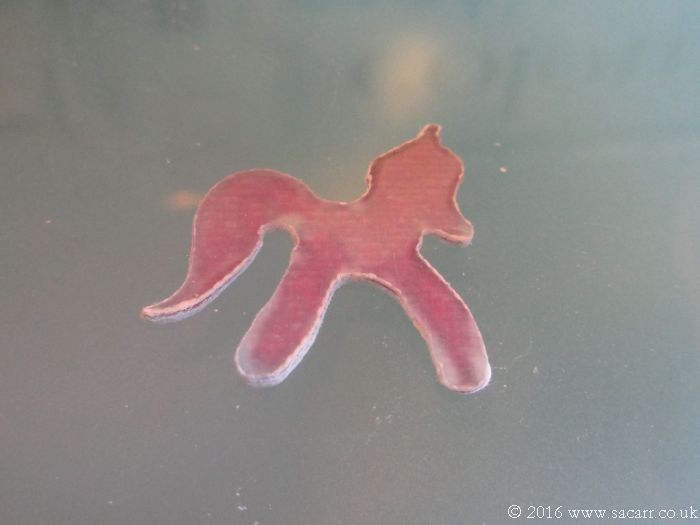
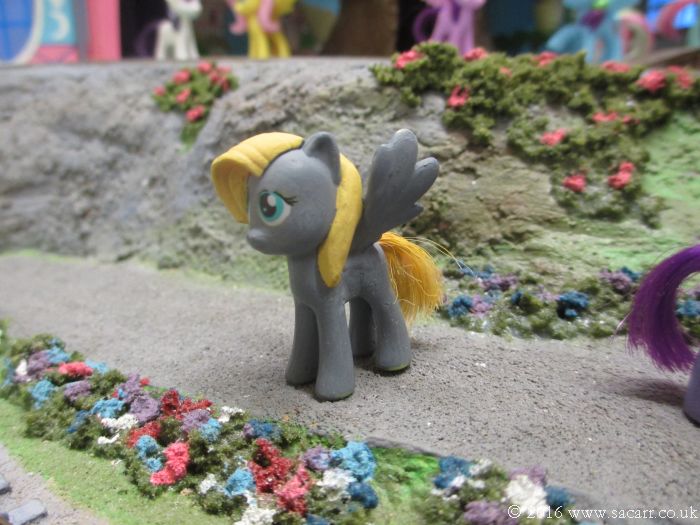
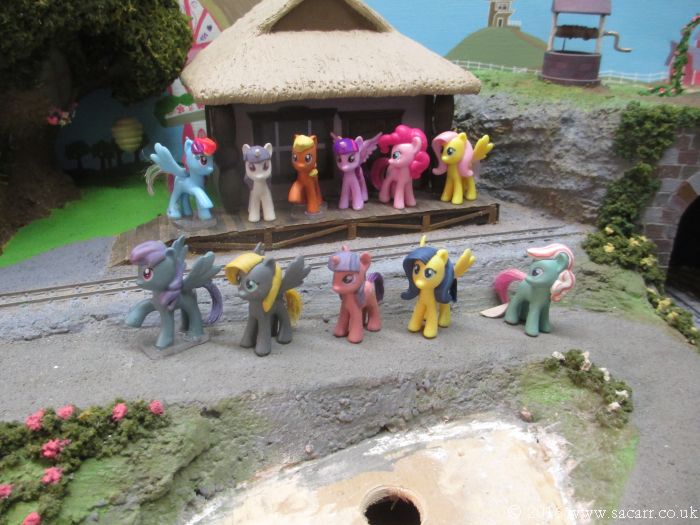
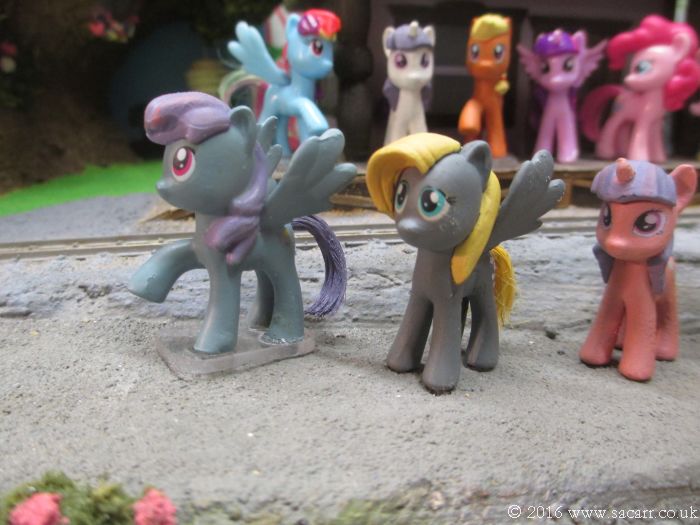
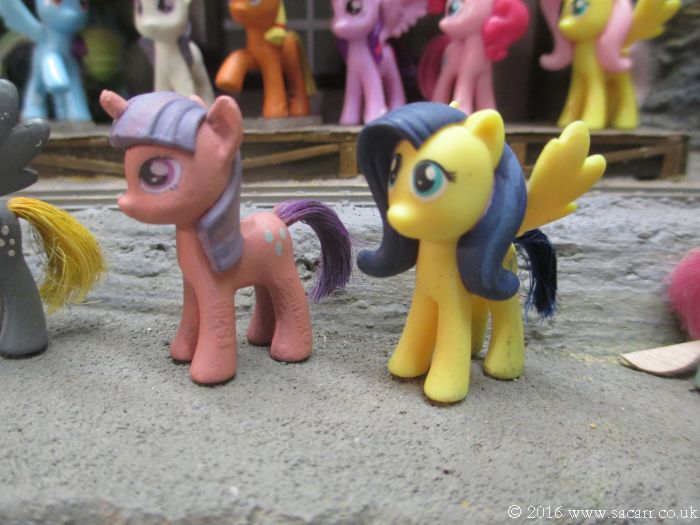
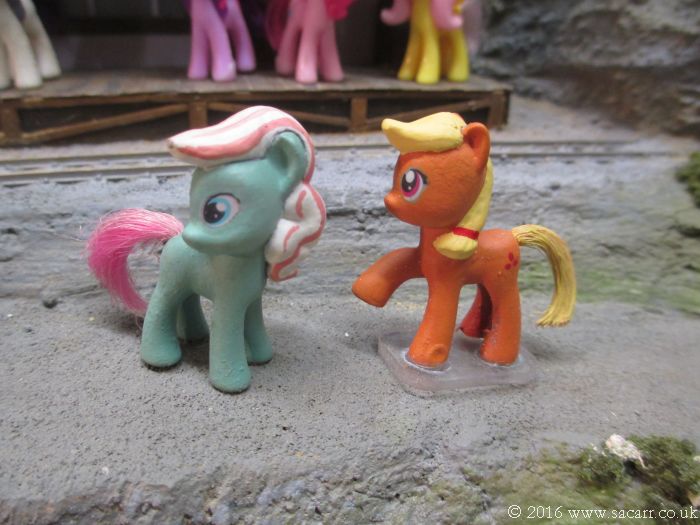
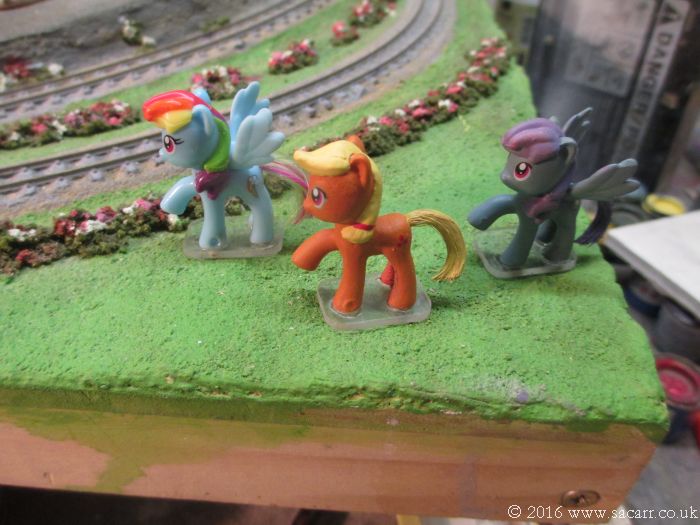
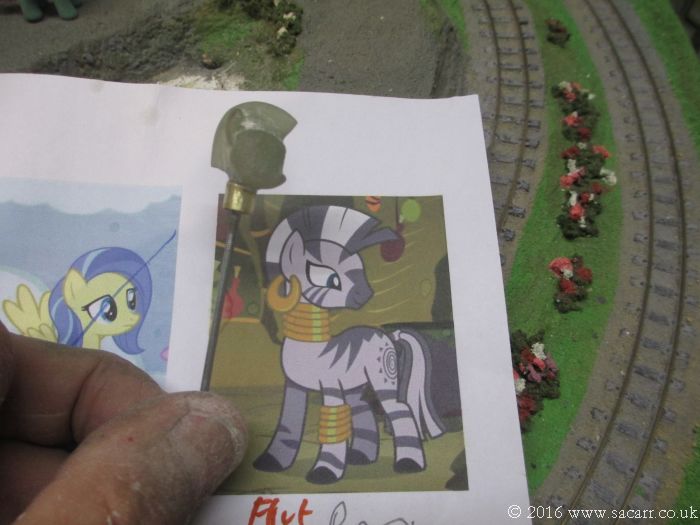
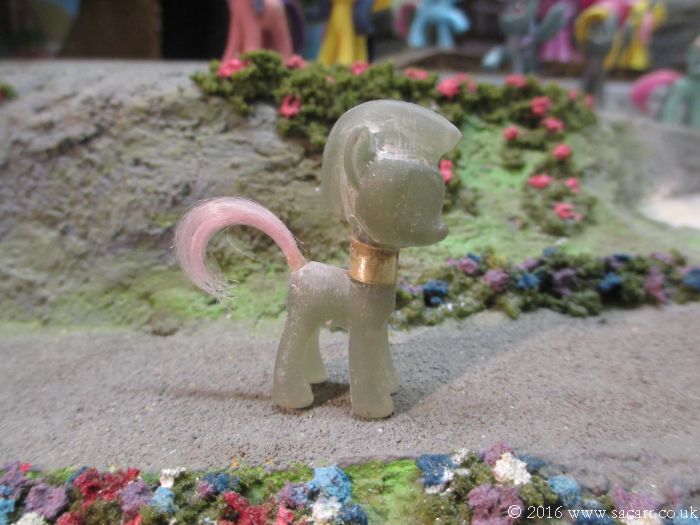
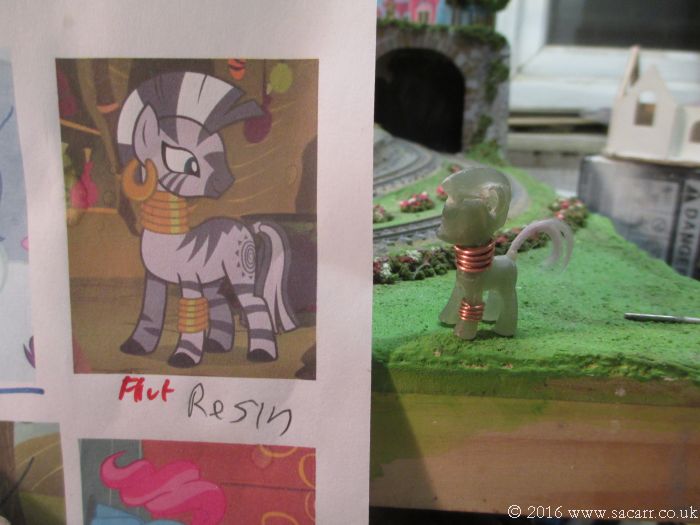
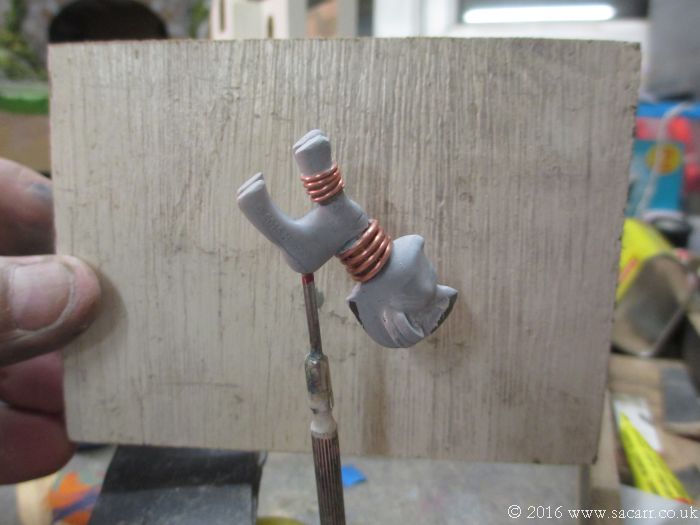
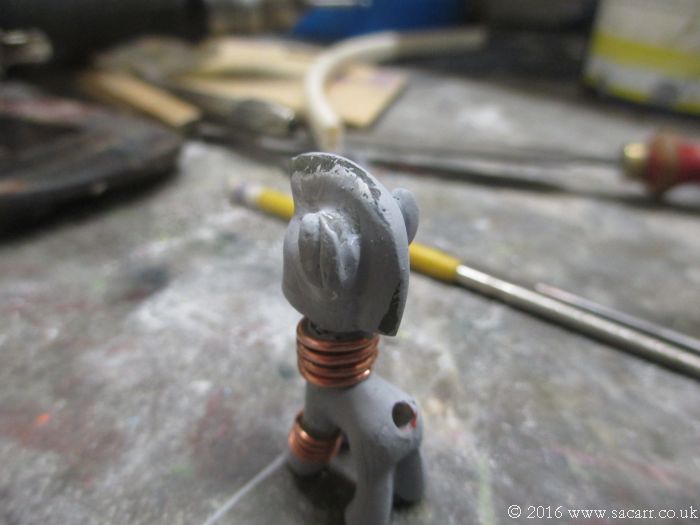
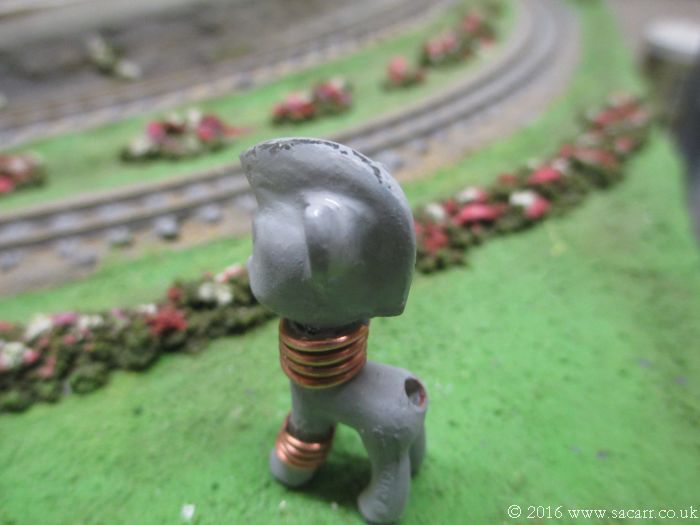
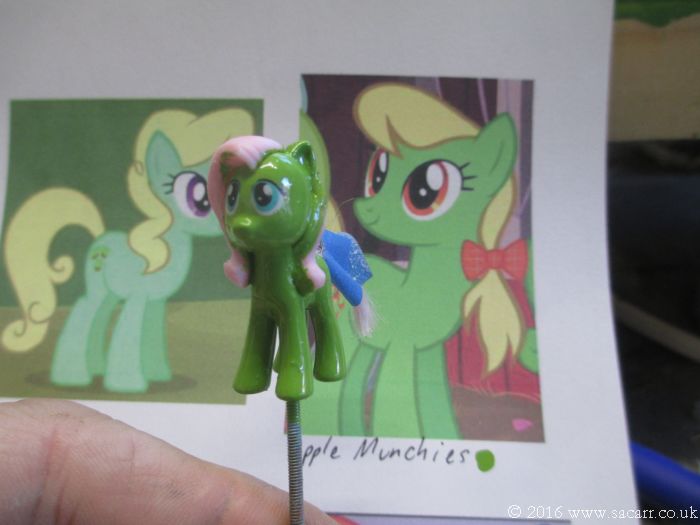
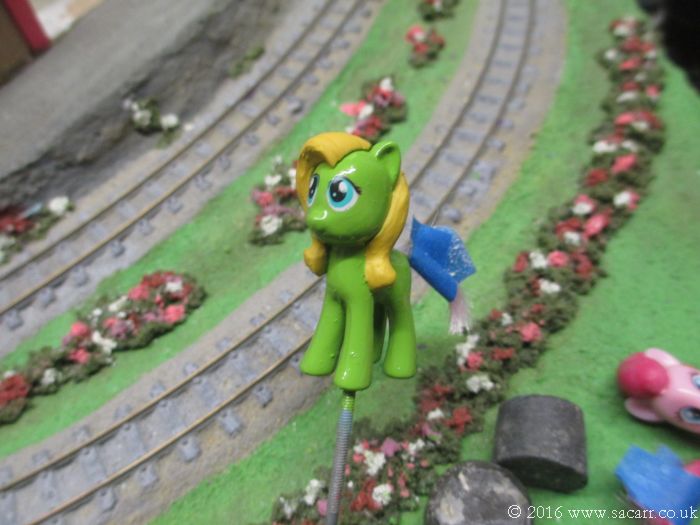
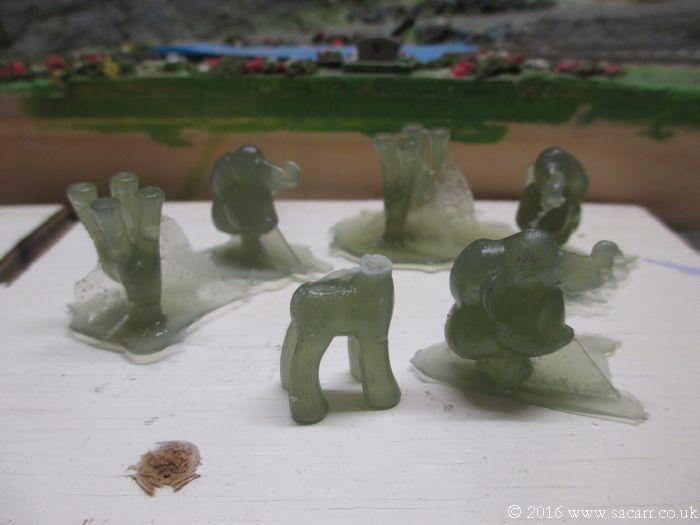
After a day and a half to cure, the silicone mould of the pony was opened and I began to cast some test ponies. Rather than pure resin, I mixed in some fibre glass milled fibres to hopefully strengthen the mix. These will be cleaned up, assembled ( probably with a metal pin in the neck to strengthen the glue joint ), and then have some alterations.

mlp264.jpg
 
The boutique is virtually complete now, except for some small touch ups and then a matt coat. Today saw some of the finishing touches done. The flag on the top....

mlp265.jpg


Detail painting around the windows....

mlp266.jpg
 
The pony outlines were made from 0.5mm GRP sheet. I printed the pony outline and used double sided tape to attach it to the back of one piece of GRP. Then a second piece of GRP was taped onto the back of the print out.

As it is translucent, I could see the pony shape and was able to use a small dentists diamond drill bit to grind the pony outline out of the sheet. They were cleaned up with needle files then separated. The two ponies were then dunked in some cellulose thinners to remove the glue from the double sided tape, cleaned up and epoxied in place and painted.

mlp267.jpg


mlp268.jpg
 
The sign was glued over the doorway and a few doorway details painted, and it was time to glue the lower windows in.

mlp269.jpg


mlp270.jpg
 
The boutique looks like it dominates the scene, but it is balanced up once the top of the oak tree is fitted.

mlp271.jpg


Rarity, who isn't quite finished yet, approves of her home.

mlp272.jpg
 
After a matt coat, the boutique was glued down, wired up and sand added around the base. The sand was glued down in the usual way, but force dried with a hair dryer so I could get on with painting.

mlp273.jpg


The grass around all the buildings was painted, along with the road to the station and between the boutique and library.

mlp274.jpg
 
Rarity and Minty had their painting finished, and Muffin was also painted today.

mlp275.jpg


mlp276.jpg


As dusk falls over Ponyville, the lights come on and the ponies chat about the adventures the next day. For several ponies, that will involve several matt varnish top coats to protect the paint from wear. I may have a look at working on some resin ponies. My wife and daughter are away for the weekend, so there's no interruptions.

mlp277.jpg
 
Today has been centred on a pony painting. To start with, here's the group photo so far!

mlp278.jpg


Following on from yesterday's work, the four ponies were matt coated and additional ponies were painted. I painted a fast drying two part matt coat after painting the bodies, to protect that during handling while painting the other details. When all the details were done, they received further matt coats.

So, here's "Open Skies" and "Muffin".

mlp279.jpg
 
"Applejack" and "Open Skies" both began as a "Rainbow Dash", so all three had one foot off the ground, and so didn't stand up very well. As a result I made clear acrylic bases for these three ponies, pegged up through the base and into the ponies legs for strength at the joint.

mlp282.jpg


I also added further 1/32 ply skins to the cottage ready to inset the windows, and gave it a first coat of white.

mlp283.jpg
 
Here's the start of the first resin pony, which started life as a bought "Pinkie Pie", and after moulding a resin copy, is being converted to "Zecora"

mlp284.jpg


All the ponies have had their tails shortened as they were far too long and stopped the ponies standing up properly, so the offcuts went to make Zecora's tail.

mlp285.jpg
 
The head was pinned onto the body with a 2mm steel rod, cynaoed in place, with a brass tube support around the outside, prior to drilling for the pin. Copper wire was used for the bracelets and necklaces.

mlp286.jpg


It was hard to see how my remodelling looked when using the translucent green resin. The pony looked ok, but I couldn't be sure, so gave the pony the first grey coat.

mlp287.jpg
 
Once painted, I spotted straight away an area behind the left ear that needed to be ground away.

mlp288.jpg


After a quick zip around with a dentists burr in the minidril, all looked well again, and that was it for the evening.

mlp289.jpg
 
Man. You are either going to be sued by the manufactures for copywrite infringement, or they're gon'na be beating down your door to get the moulds from you.
 
I'm sure I'll be fine so long as I don't start selling them! I'm surprised that Kinder didn't make the six main ponies from the show, and only went as far as four. I would have thought that a few more ponies would have had the kids buying more chocolate eggs to try and get the full set.
 
Last edited by a moderator:
Yes, a sales opportunity missed for them, 'tis a wonder these days with so much of that type of promotional stuff being made. Is going to make your daughter's set really unique. Guard them well. When I was her age my parents got me a wooden train set, would've been O scale size or slightly larger. Had a loco and 2 or 3 carriages of the pull along sort. The loco disappeared mysteriously, a playmate was suspected but it never returned. The carriages got converted into trams, 1/2 a cocoa tin, painted up, on each end, couple of rectangles of cardboard with our route destination on them on the cab roof, with springy curtain wire for the trolley poles, screw in eyelet for the pickup wheel. Just as well we rode the trams more than the trains back then.
 
Much of today was spent painting two ponies, a little work on the cottage and photographing the Sun ( astronomy is one of my other hobbies ). Zecora was pretty much finished today with the detail painting done, in several stages, allowing bits to dry and be matt coated so I'd have another bit to hold while painting the rest! All that's left is a little cleaning up of the copper jewellery.

mlp290.jpg


Two of the original plastic ponies remain, a "Pinkie Pie" to make "Miss Cheerilee", but I need to buy some paint for that, as I can't mix the shade with what I have. The other was a "Fluttershy" who's hair was restyled a bit and she became "Apple Munchies".

mlp291.jpg
 
Her tail was painted a little after this picture, and she was then left to fully harden before any other work.

mlp292.jpg


The cottage was painted, the windows had their frames added and were then glued into the building. The first part of the roof was added too, and that's as far as that got.

mlp293.jpg


Back
Top