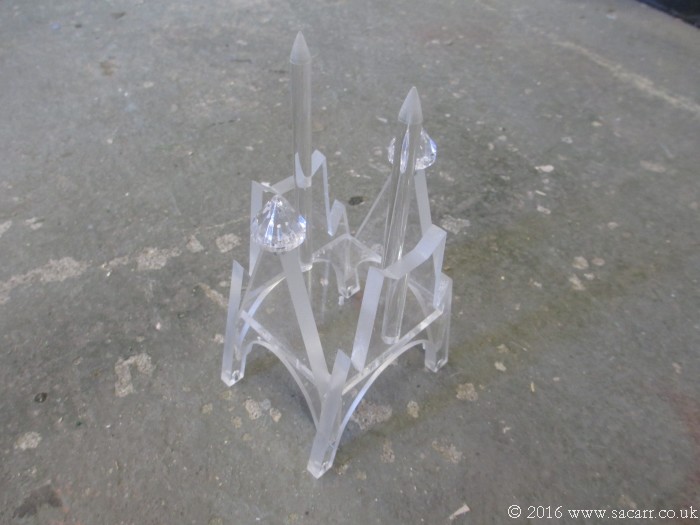
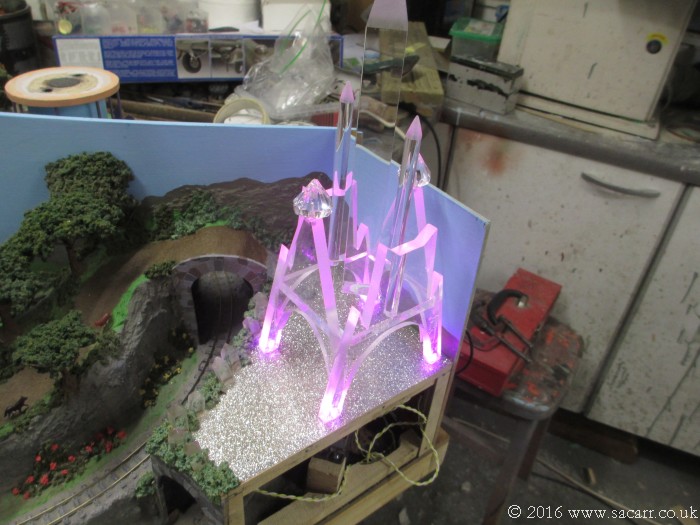
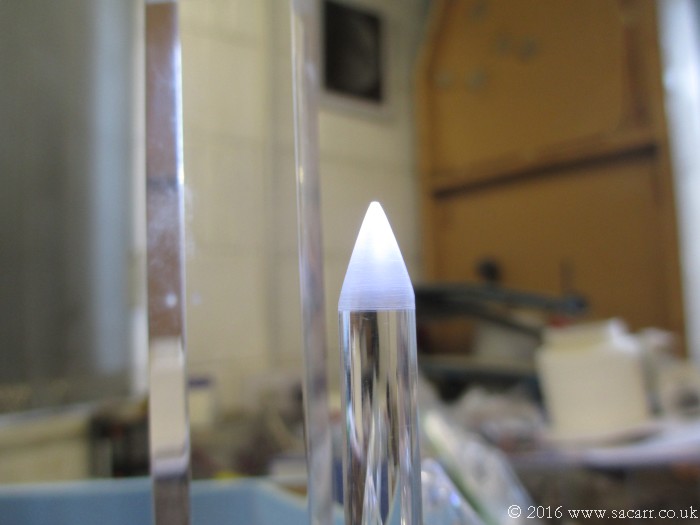
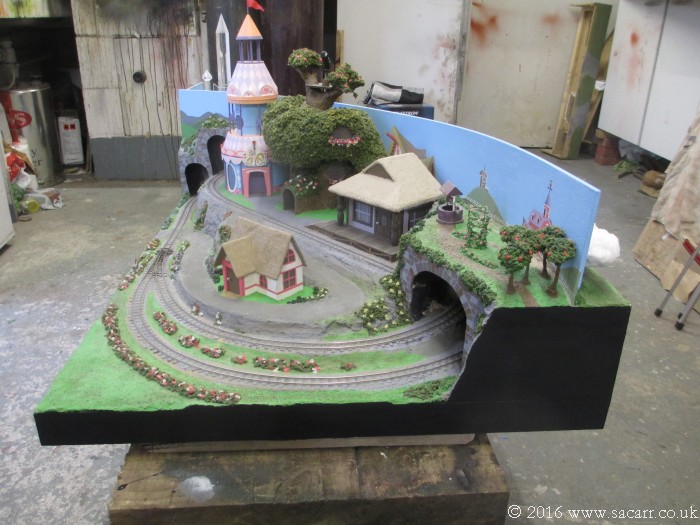
I was going to turn some cones from some acrylic bar to top parts of the Crystal Empire, but a recent trip to a craft store found some clear acrylic multi-faceted cones that would save me a lot of effort.
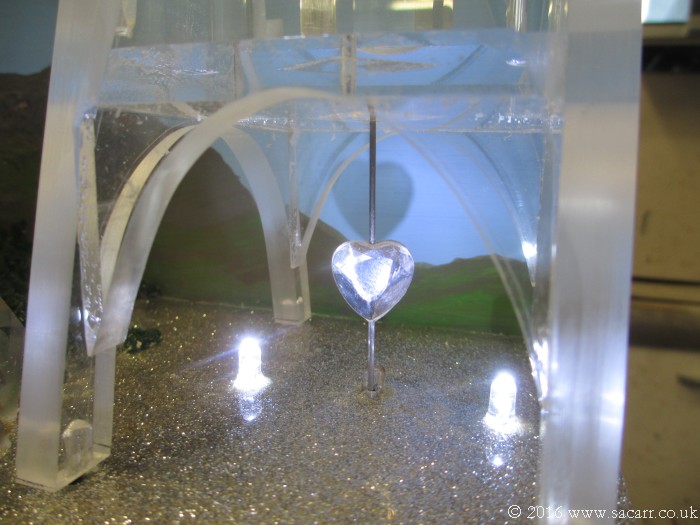
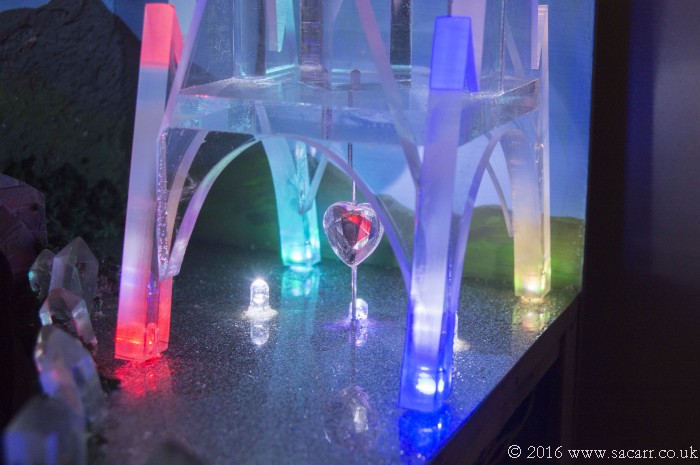
While at the craft shop, I got some multi-faceted clear hearts for the heart that spins at the centre of the Crystal Empire. The hearts were flat backed, and chromed on the flat side. Two were glued around some steel wire, with a thin clear acrylic spacer to take up the wire thickness.
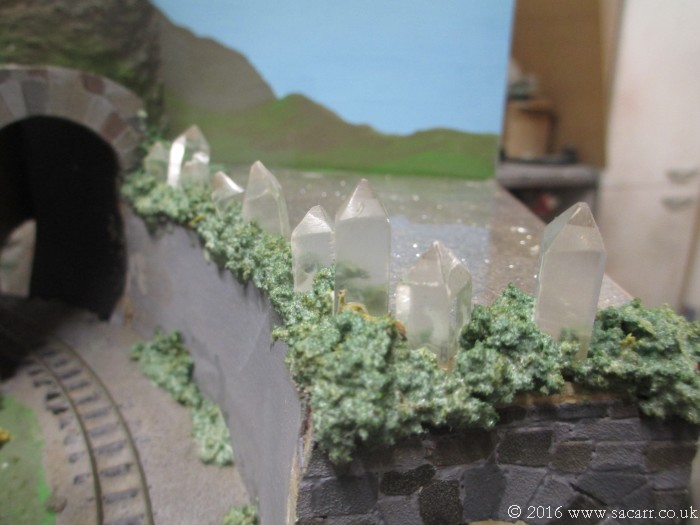
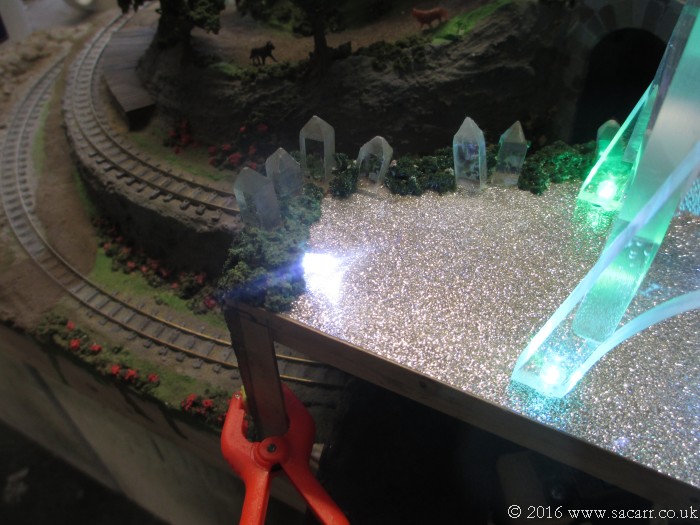
Some smaller pieces of acrylic square section were cut and polished and glued in place around the edge forming crystals emerging from the ground. Foliage was then glued in place around the bases of these crystals.
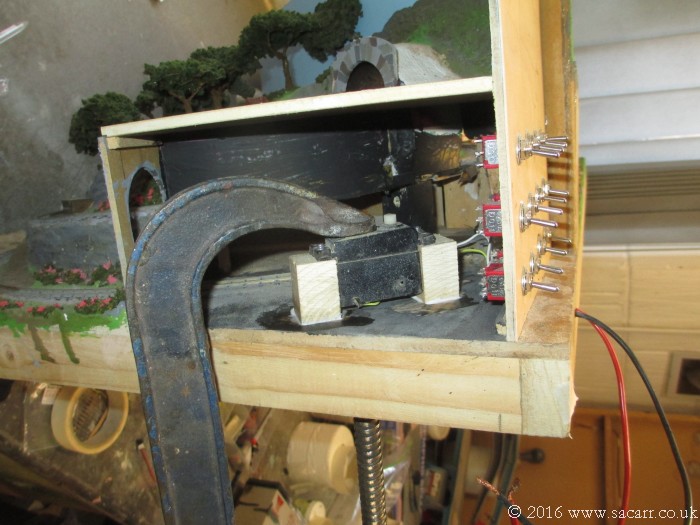
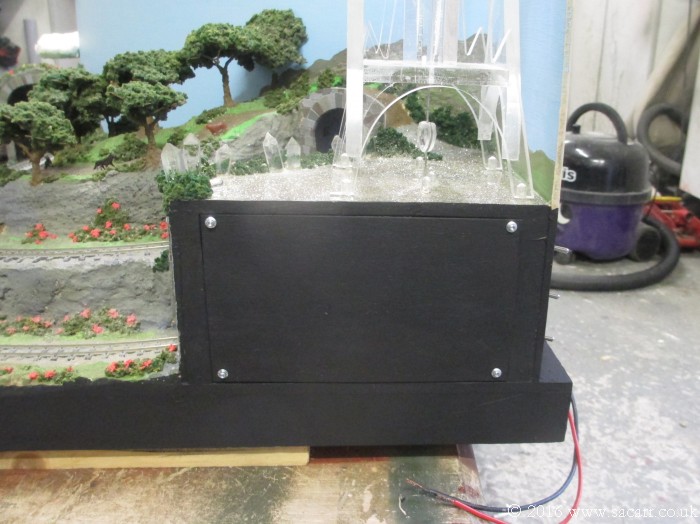
The rainbow LED's were wired up and then epoxied into holes in the ground. The legs of the Crystal Empire had some 5mm holes drilled in them to allow the Empire to locate on top of the LED's. It needed to be removable to store the layout in the wardrobe. The LED's cycle through multiple colours.
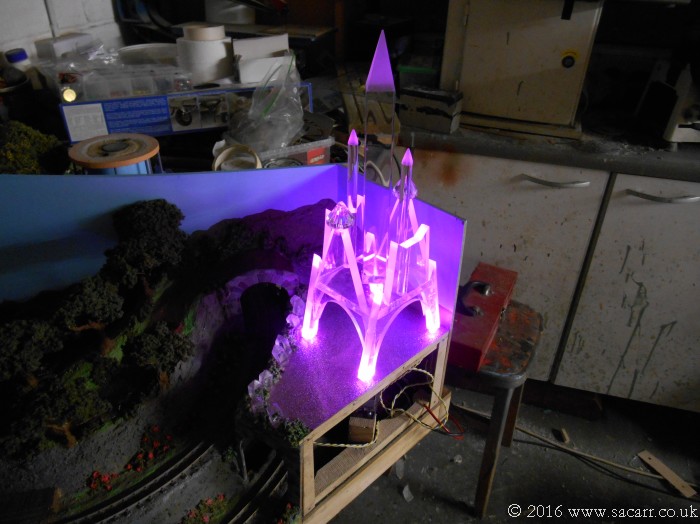
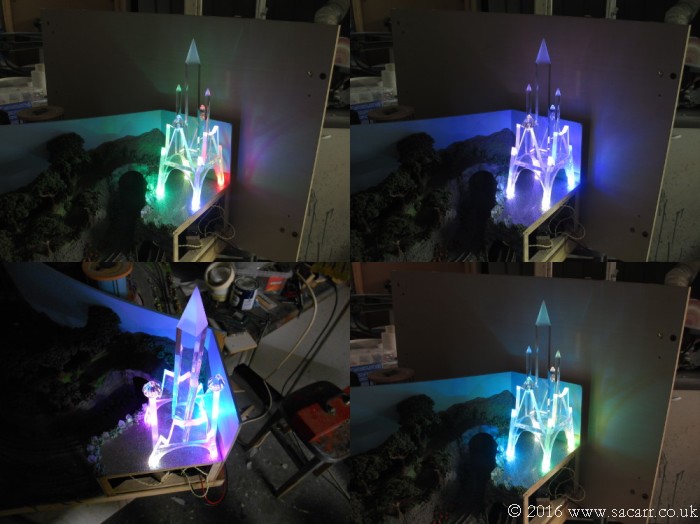
The last couple of shots show the workshop lights dimmed and the LED's causing the Crystal Empire to glow. The light reflects up the polished surfaces, but is scattered along all the cuts where the acrylic was cut and wet sanded, but not polished back to clear. Sometimes the LED's are all in sync, but as they cycle through their random colours, sometimes each leg glows with a different colour. I'll have to do a video once it is done.
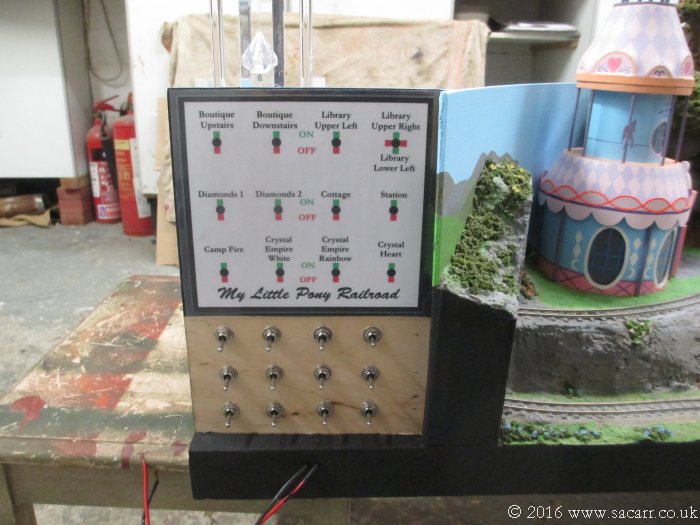
Yesterday, I got the crystal heart fitted and working, plus some additional white LED's which shine up the small round towers, illuminating the tops. I found these LED's wouldn't switch off, either being very bright or dim. It took a while to trace the short to an internal one in the on/off switch. After swapping the switch, all was well.
A short video of the Empire cycling through its various colours and lighting options. The colours show quite well in daylight to the naked eye, but the dynamic range of the camera doesn't capture them so well in daylight.
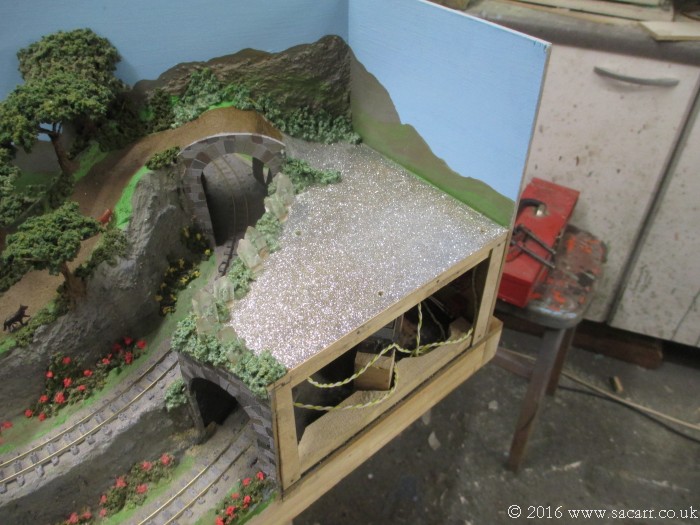
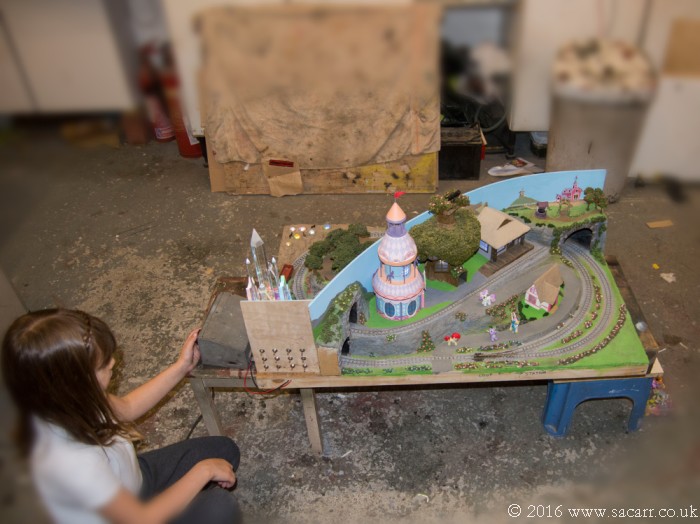
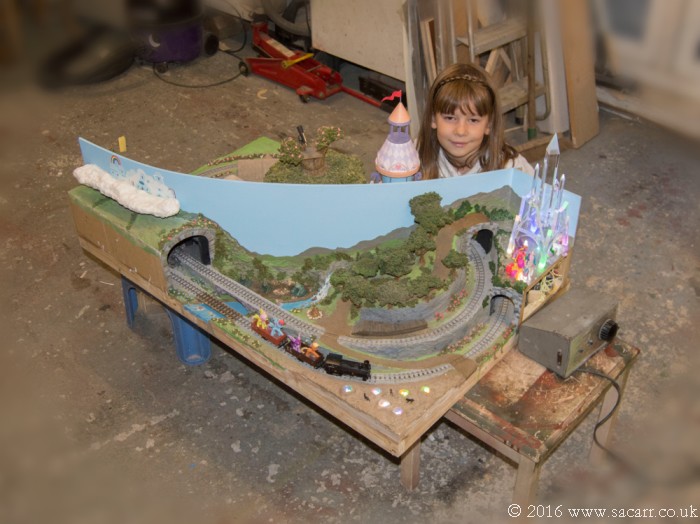
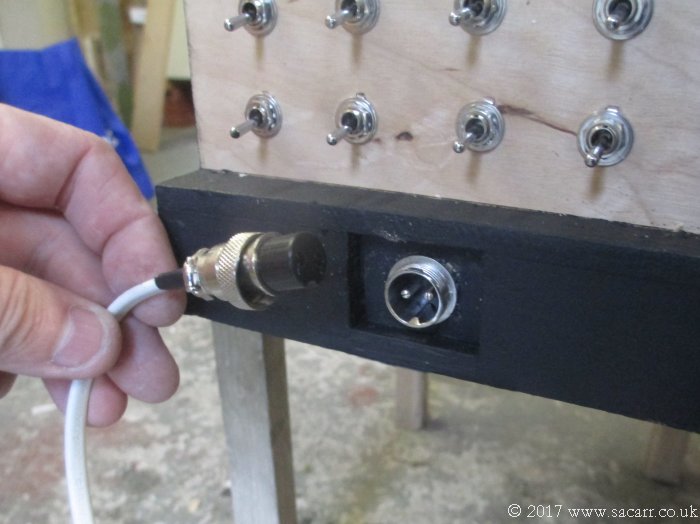
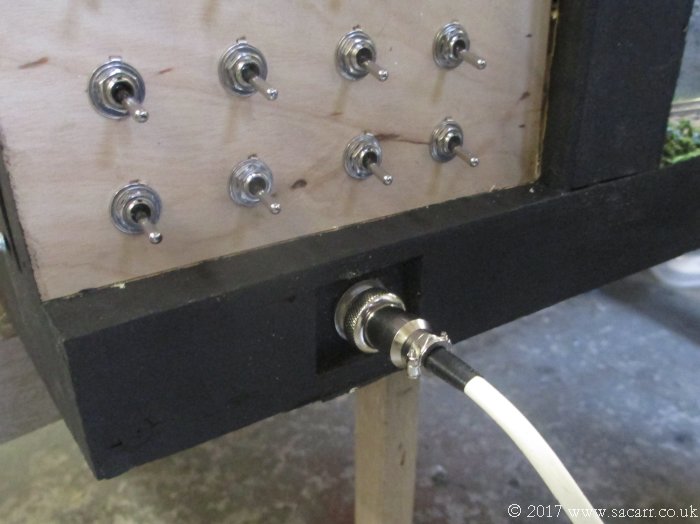
Due to illness, Christmas and a few other things, the layout hasn't been touched until yesterday, when I started fitting the track power socket. Due to wanting the layout to fit in a wardrobe, the socket needed to be flush with the framework. It was glued in and wired up yesterday, then left to dry before trimming, sanding and painting today.
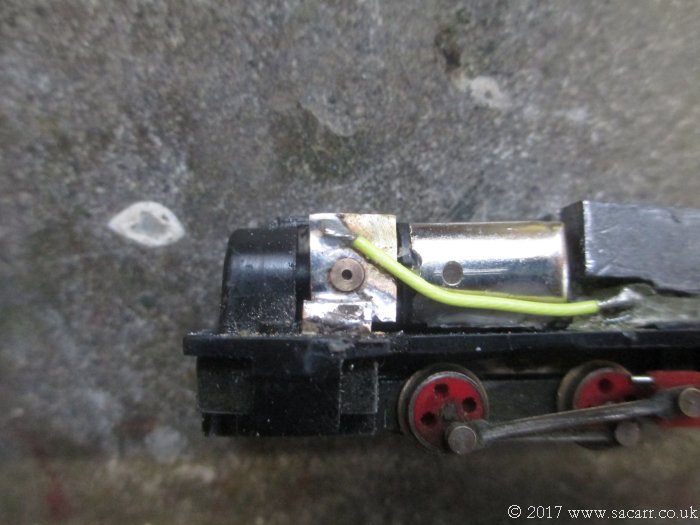
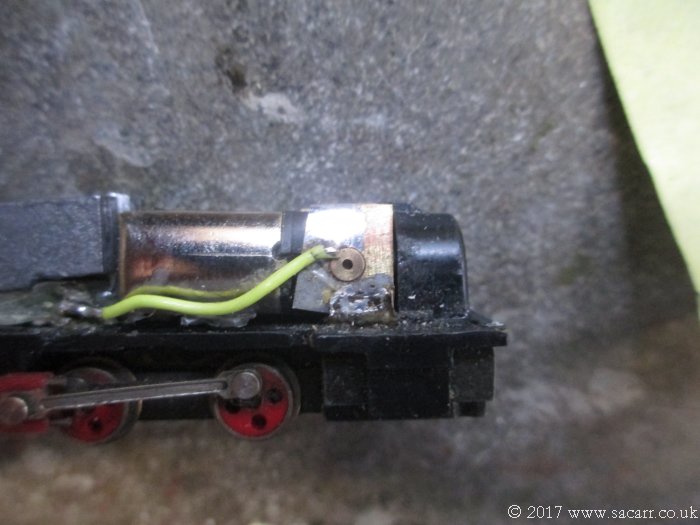
The loco I was modifying dates from the late 1970's. The original three pole motor ran, but wasn't great, so last year, a quick search on Ebay found a new five pole motor in an identical housing. The brass pickups from the wheels where they contacted the motor terminals had been very thin, and over the years of removing and cleaning the motor resulted in the brass splitting, and no longer gripping the motor terminals. The new motor contacts were also slightly further forwards by about 1mm, so the damage brass was cut away and new contacts added. This slightly forward position also meant the lead weight needed to be trimmed to clear the motor. The contacts aren't particularly neat, but about as good as I can get with my fat fingers and without melting the frame with the soldering iron! At least the new motor works now.
With the loss of some of the lead weight, and the longer chassis being light at the front, I filled the front of the boiler with some small pieces of lead, epoxied in place. This adds just anough weight to keep the front driving wheels in firm contact with the track.
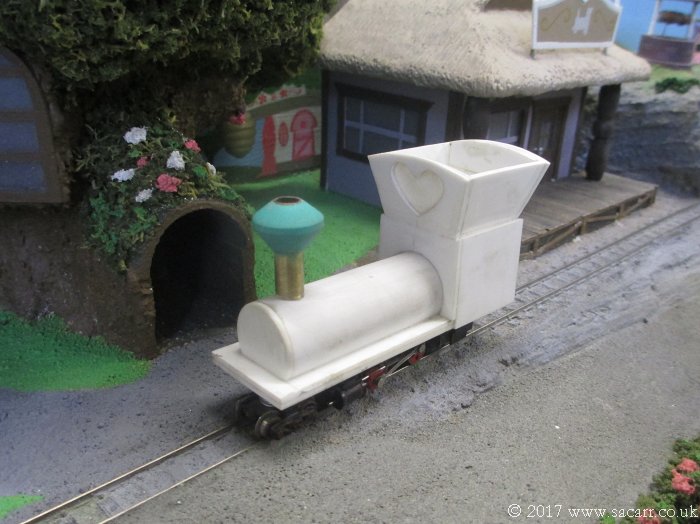
Here's the loco after a quick test run with the new motor fitted. I still need to finish the loco body and make an attachment point to keep it on.


")