armyairforce
Well-Known Member
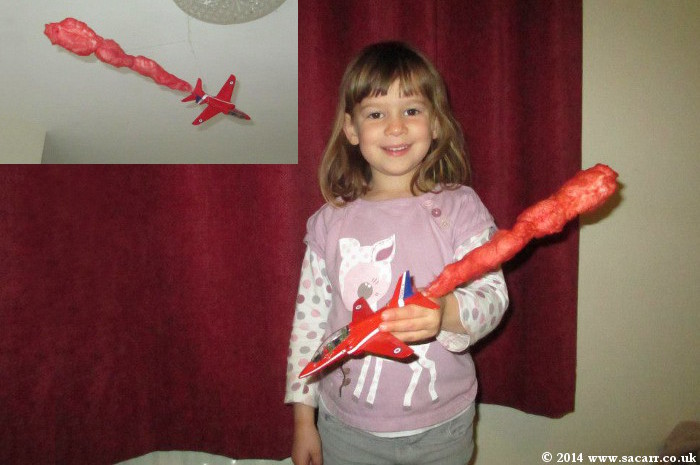
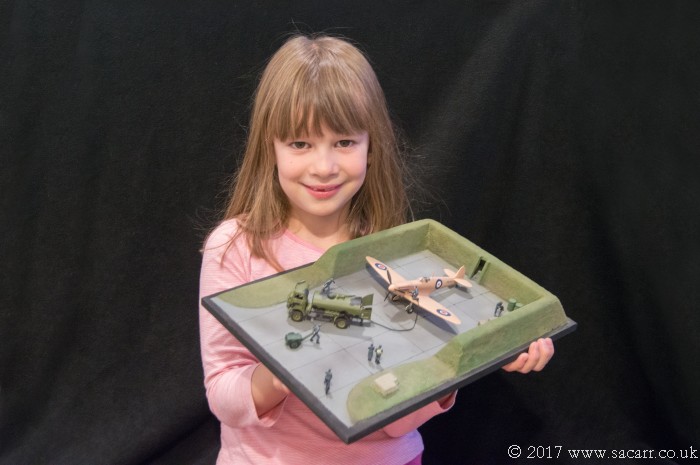
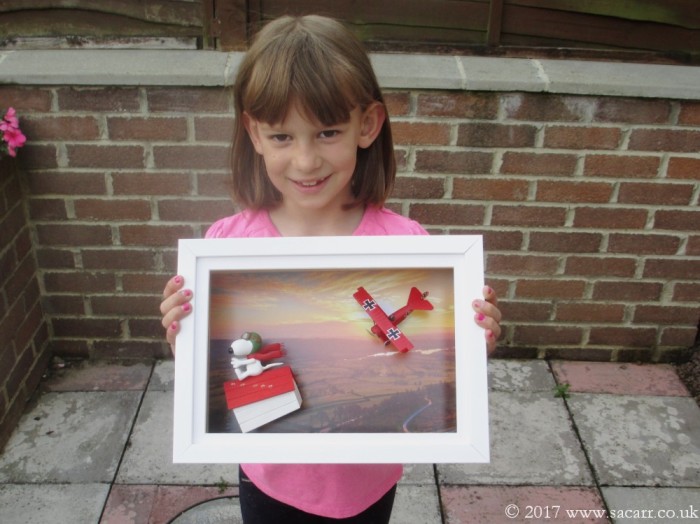
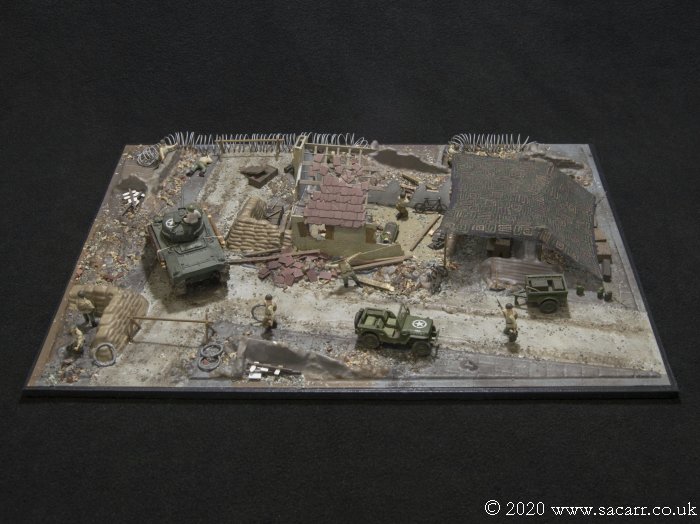
A model railway is something I've talked about with my 6 year old daughter for a while now as she loves making things. She's enjoyed building several Airfix aircraft kits already, a Red Arrows Hawk ( which she started at 3 years 11 months ), Spitfire diorama, Snoopy Verses the Red Baron and a Sherman diorama.
With the school summer holidays only a few weeks away, we decided a small model railway would be a good holiday project involving lots of skills. However, for a 6 year old girl, I didn't think a normal railway model was interesting enough to capture her imagination. My wife suggested a more fantasy railroad with fairy castles etc., but I still didn't have a good feeling about heading in that direction.
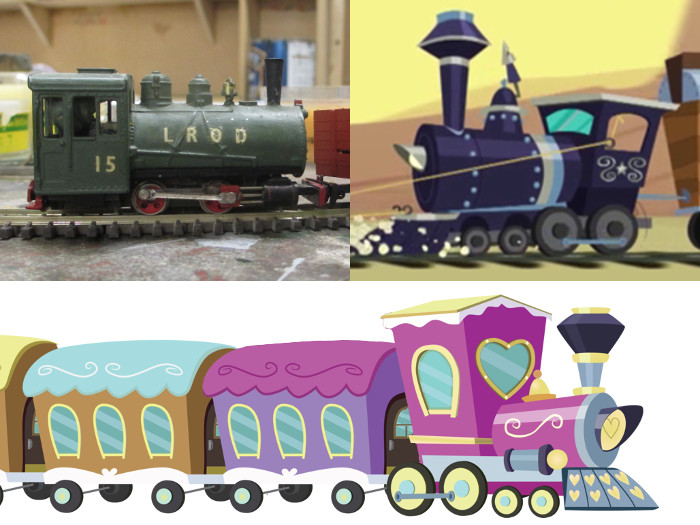
Then, a couple of days ago, my daughter and I were watching recorded episodes of "My Little Pony" on TV, and the particular episode featured the railroad that runs through 'Equestria', the land of "My Little Ponies". Hmmmm! the gears in my brain began to grind around and suddenly made a connection!!
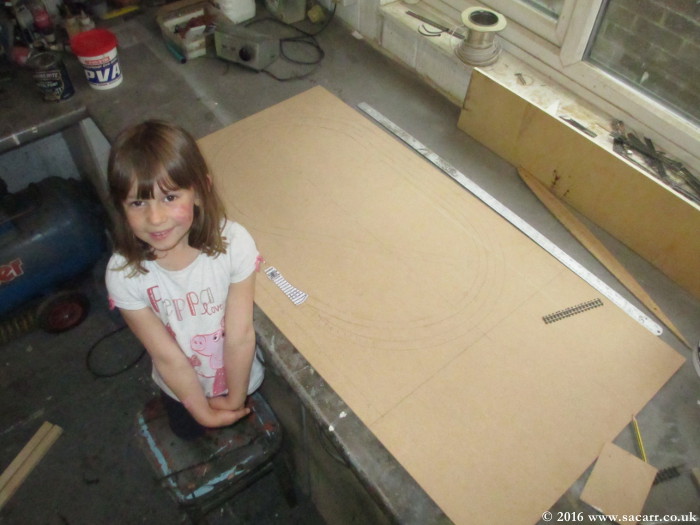
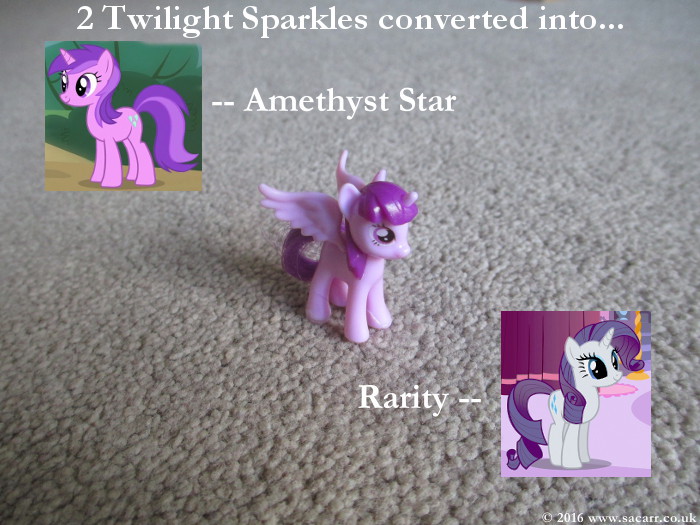
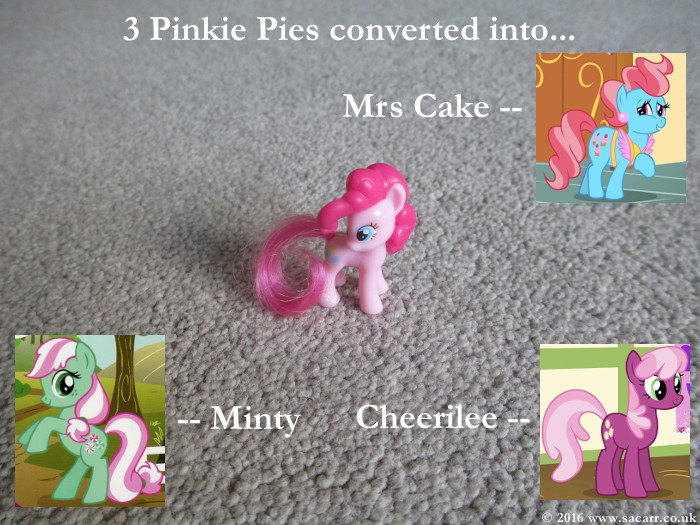
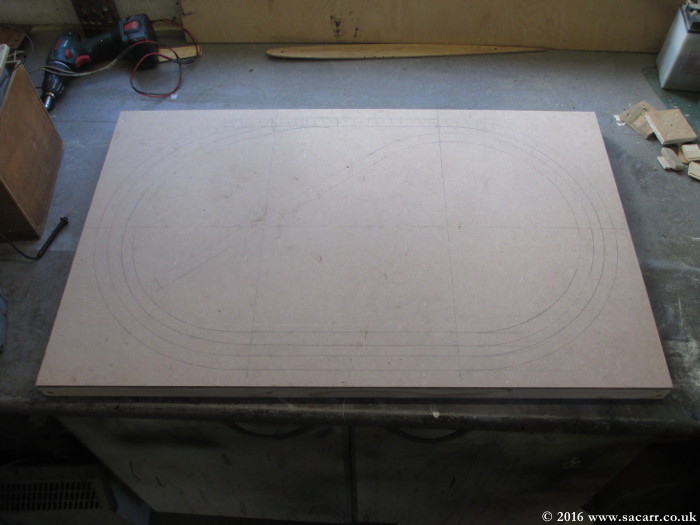
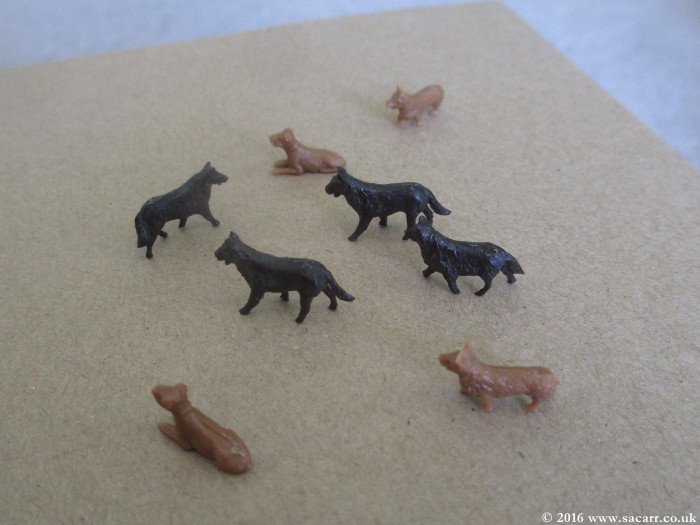
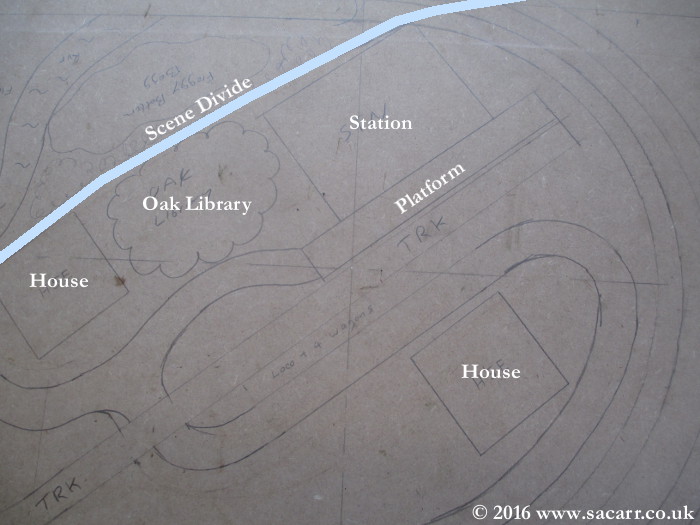
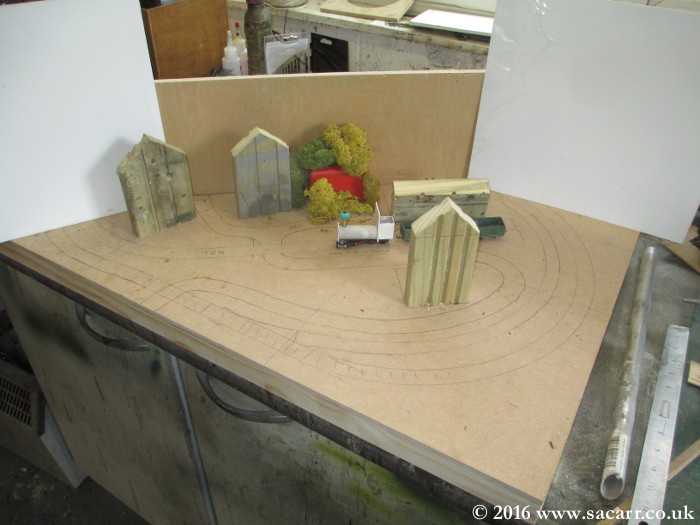
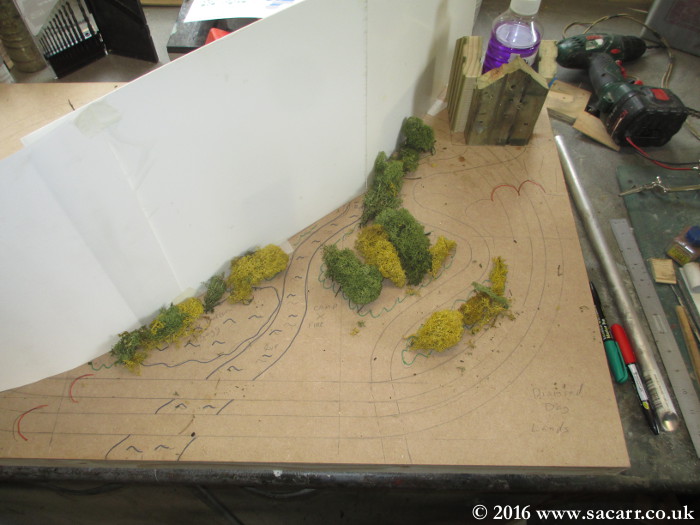
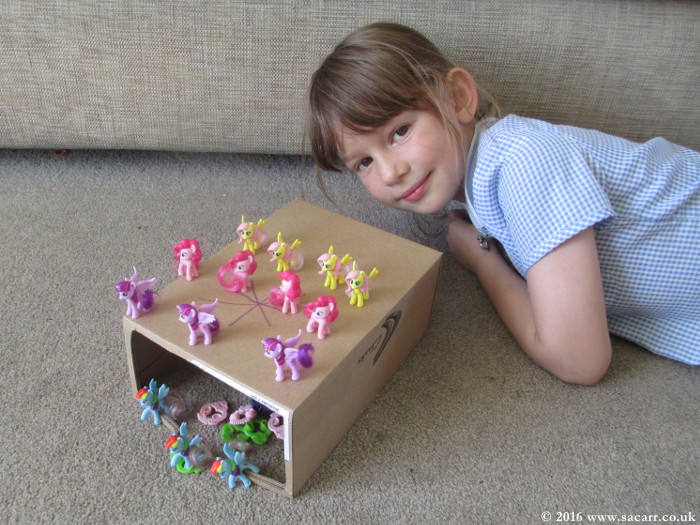
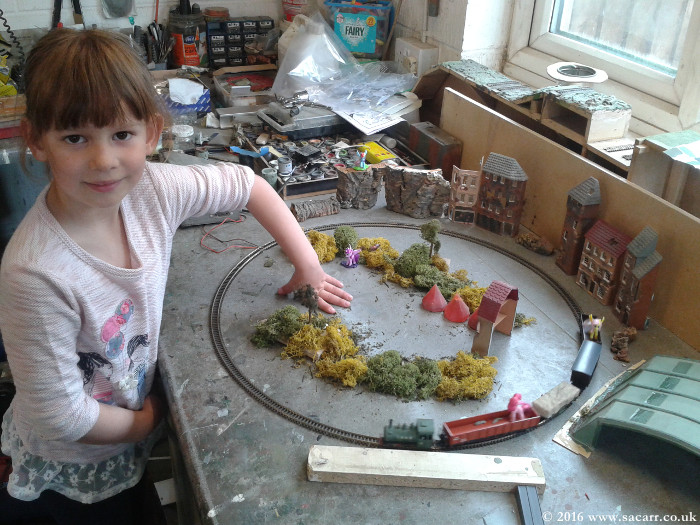
Kinder Surprise chocolate eggs have recently featured small toy "My Little Ponies" that were about an inch and a bit long. These would make ideal characters for a small "My Little Pony" themed railroad. My daughter was over the Moon with the idea; so that's what we are doing. The layout will be about 36 x 22 inches which will fit in the top of her wardrobe when not being used. It will be a simple oval with one switch leading up a small track to a station. There will be a dividing backscene through the middle of the layout which will create two different areas of interest.
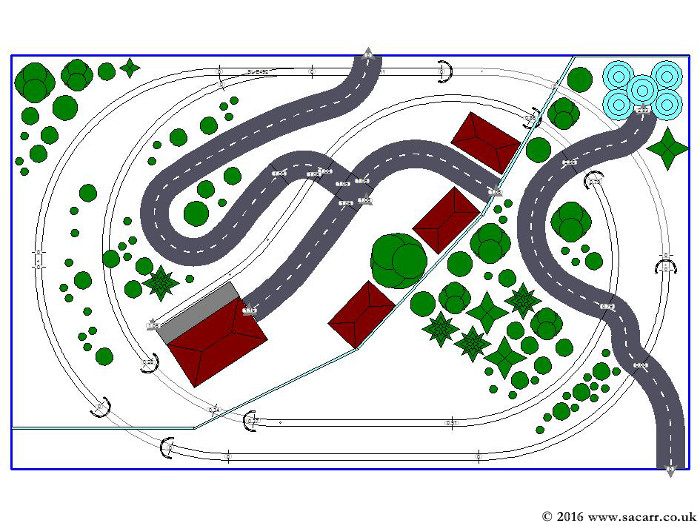
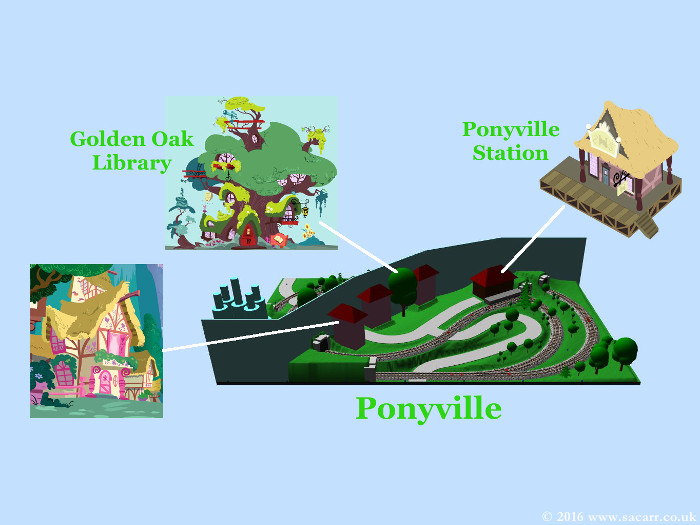
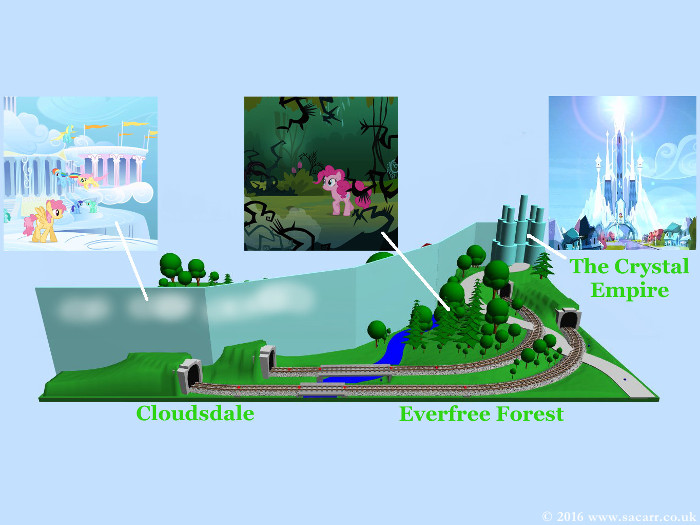
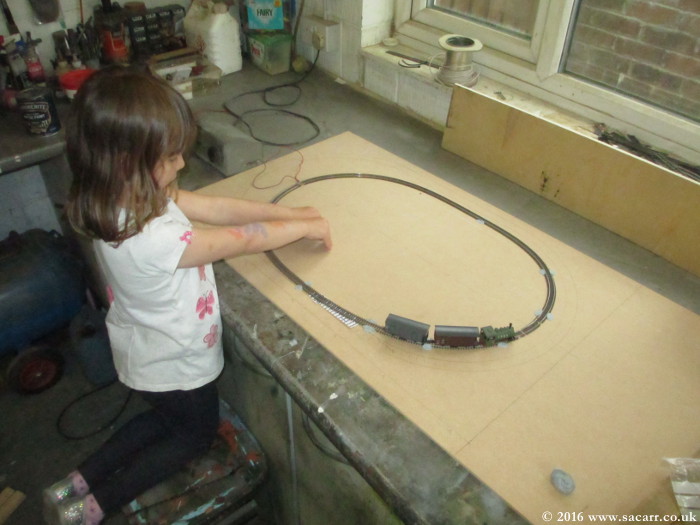
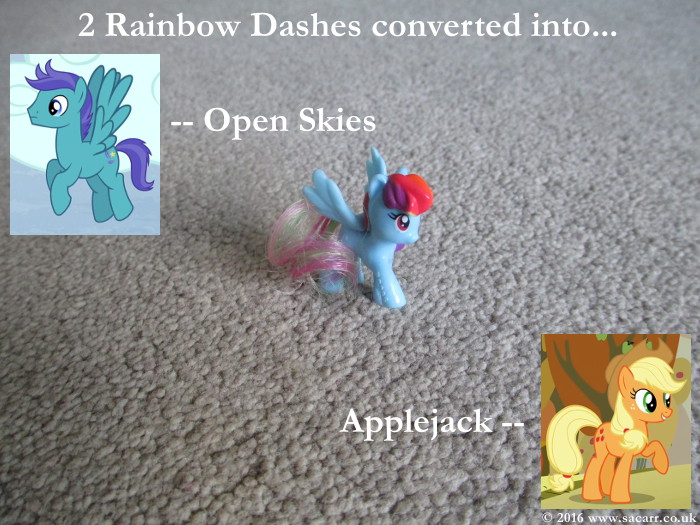
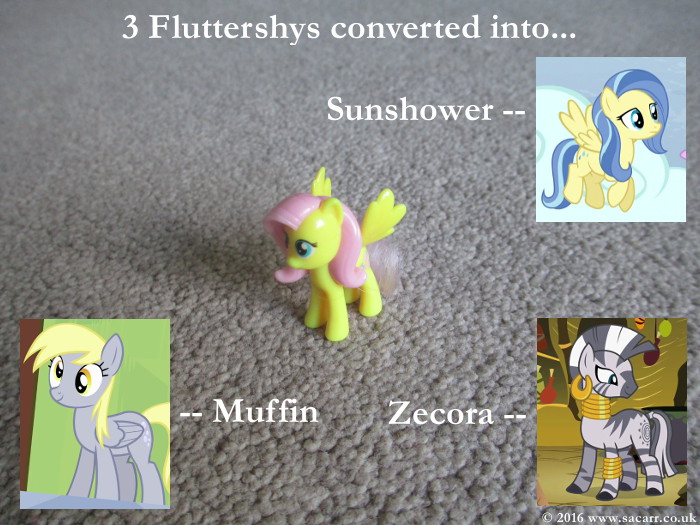
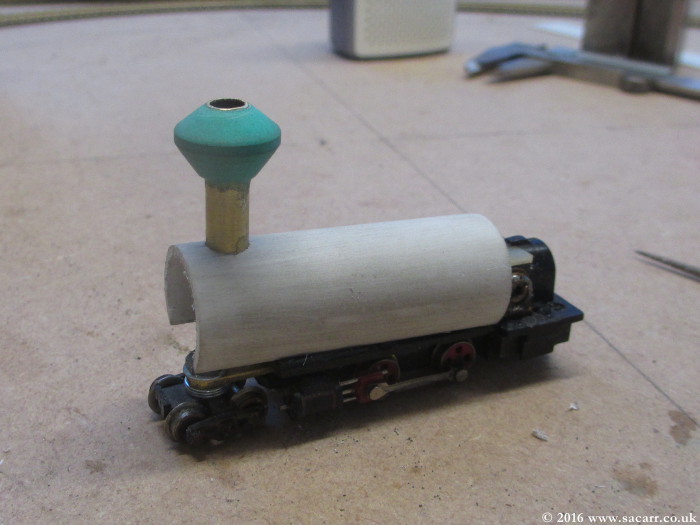
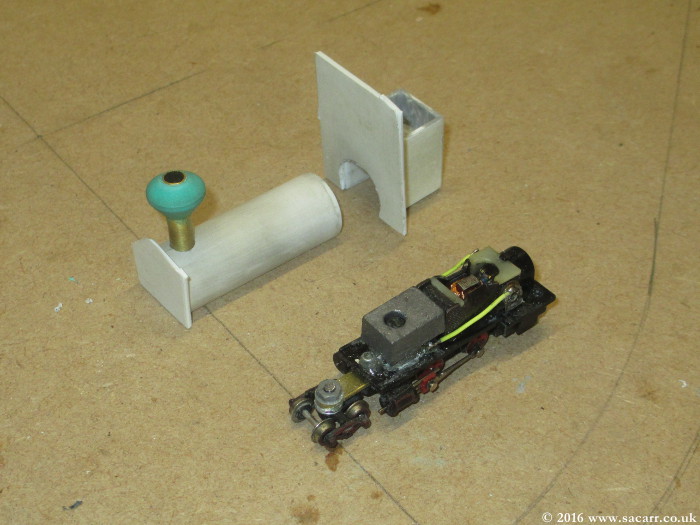
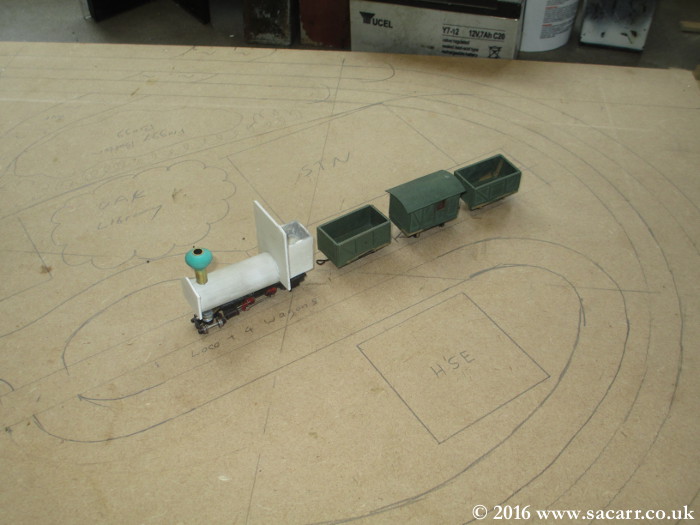
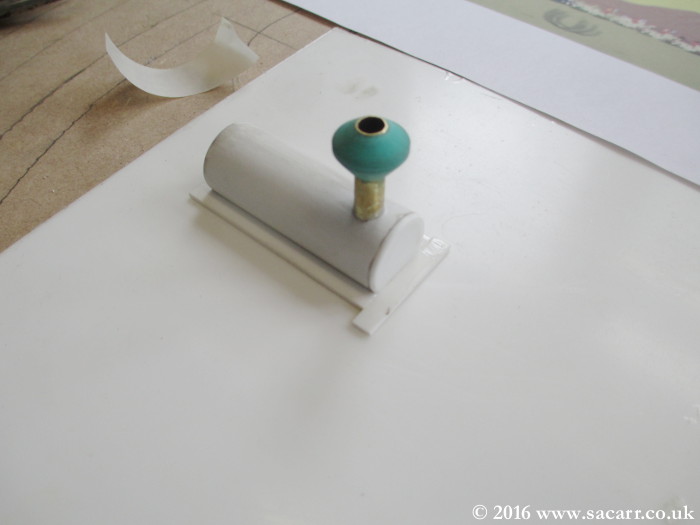
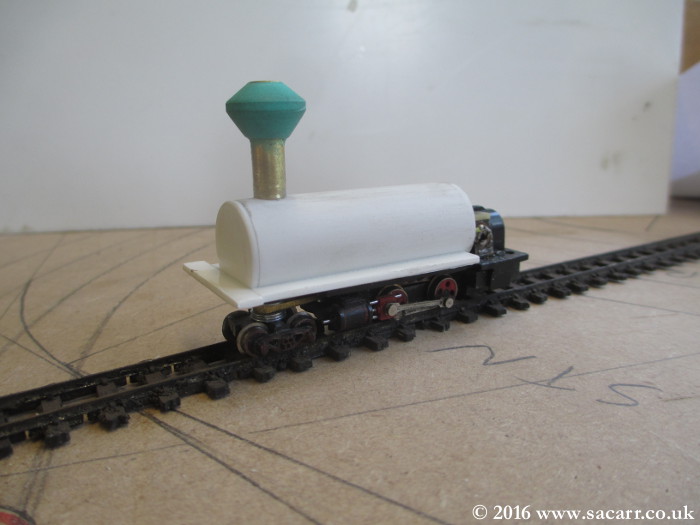
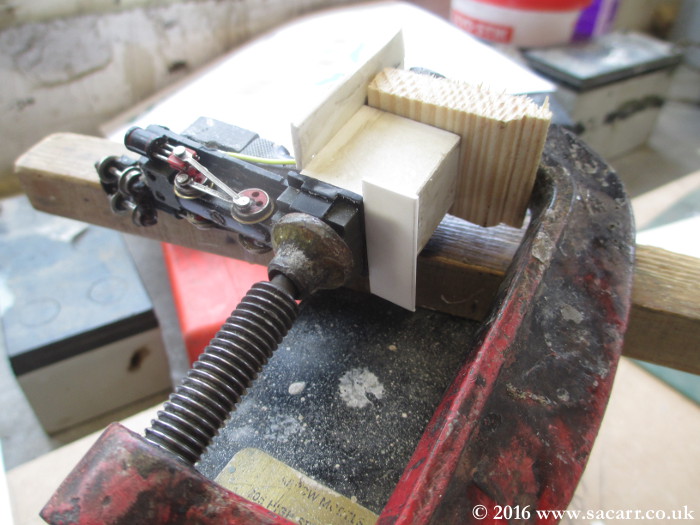
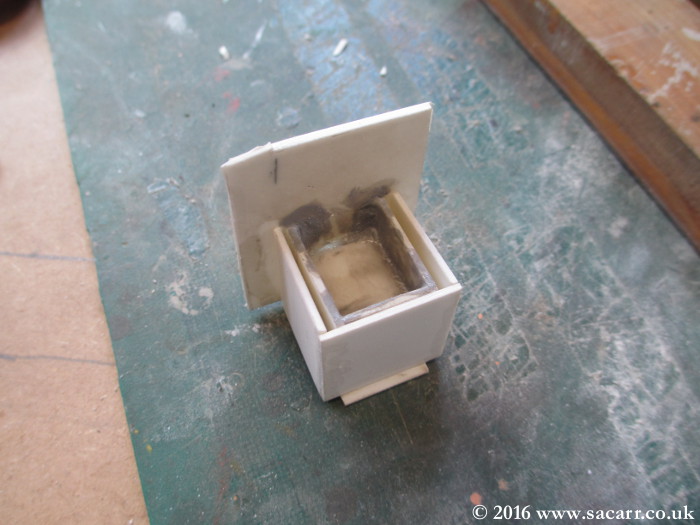
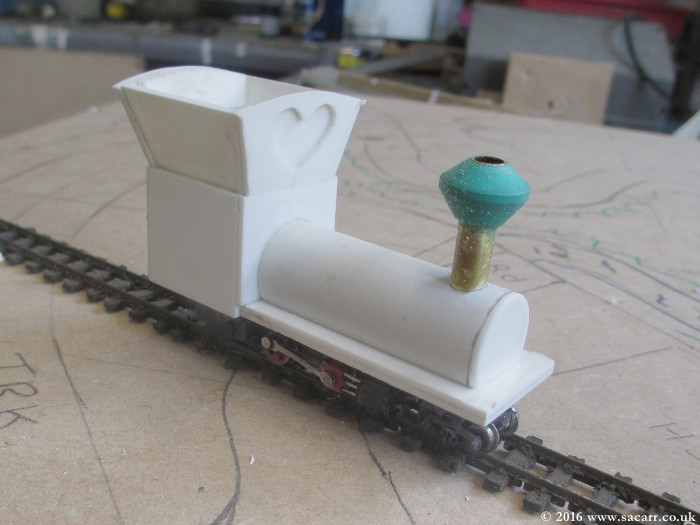
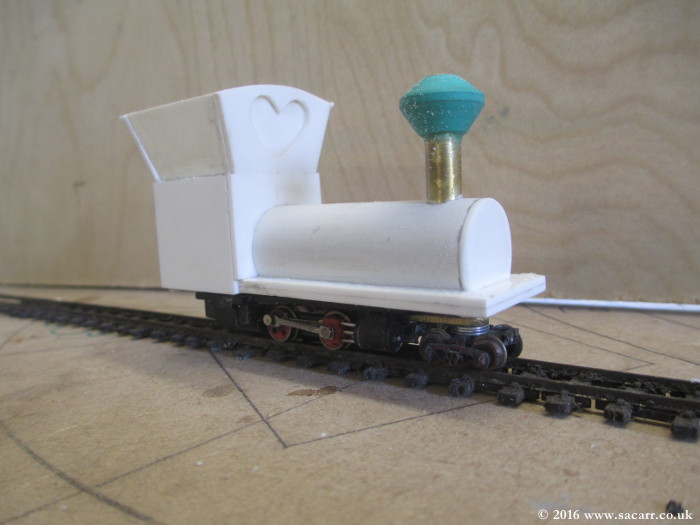
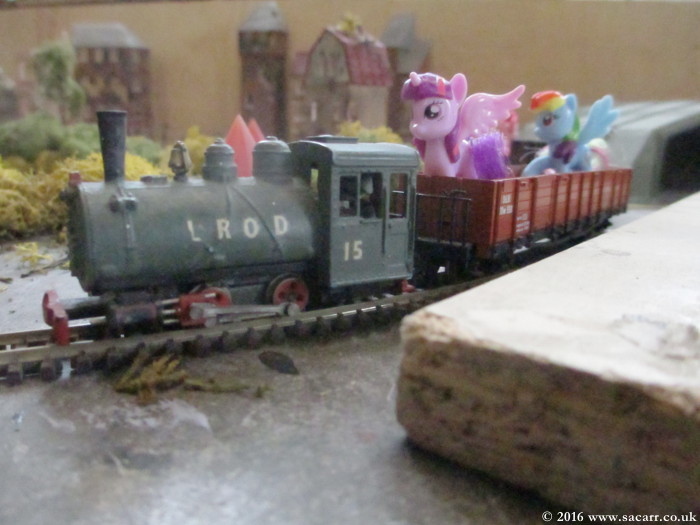
To work on a small baseboard with tight radius curves, but have more manageable detail size, I'm using the UK's OO9 scale narrow gauge track. A new loco body will be scratch built along the lines of the loco from the show, using an existing 0-4-0 chassis. Some existing wagons will probably be used until custom units can be made to match those on the TV program. The buildings will also have to be scratch built, using screen captures from the show to get a feel for the look of the place. The scale chosen is about right for the Kinder Egg "MLP's" to ride in the wagons. Several duplicates of the ponies will also be customised to create additional characters for playing on the layout!
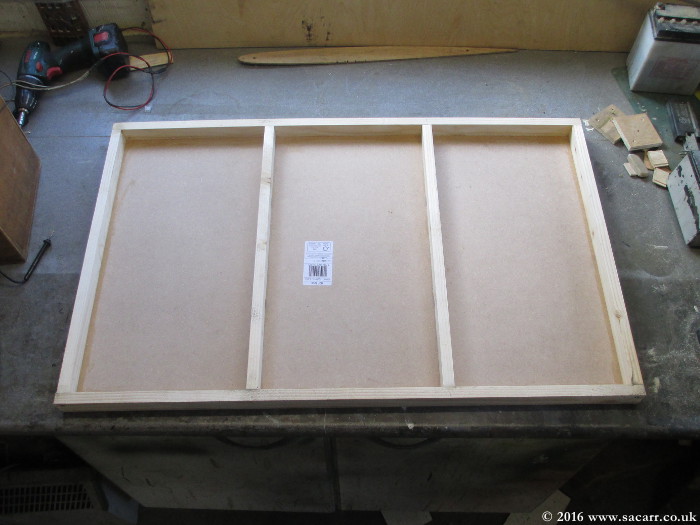
Yesterday, I got a running-in loop out so my daughter could have a play, and I could get a feel as to how well she could handle OO9 scale locos and wagons. The school holidays is still about four weeks away, but I'm going to get the baseboard made over the next few days, so I can work out track quantities and other details before a trip to the model shop for materials.
So if you want to follow the adventures of Rainbow Dash, Fluttershy, Pinkie Pie and Twilight Sparkle, and the construction of Ponyville, Cloudsdale and the Crystall Empire, tune in here over the coming weeks!
With the school summer holidays only a few weeks away, we decided a small model railway would be a good holiday project involving lots of skills. However, for a 6 year old girl, I didn't think a normal railway model was interesting enough to capture her imagination. My wife suggested a more fantasy railroad with fairy castles etc., but I still didn't have a good feeling about heading in that direction.
Then, a couple of days ago, my daughter and I were watching recorded episodes of "My Little Pony" on TV, and the particular episode featured the railroad that runs through 'Equestria', the land of "My Little Ponies". Hmmmm! the gears in my brain began to grind around and suddenly made a connection!!
Kinder Surprise chocolate eggs have recently featured small toy "My Little Ponies" that were about an inch and a bit long. These would make ideal characters for a small "My Little Pony" themed railroad. My daughter was over the Moon with the idea; so that's what we are doing. The layout will be about 36 x 22 inches which will fit in the top of her wardrobe when not being used. It will be a simple oval with one switch leading up a small track to a station. There will be a dividing backscene through the middle of the layout which will create two different areas of interest.
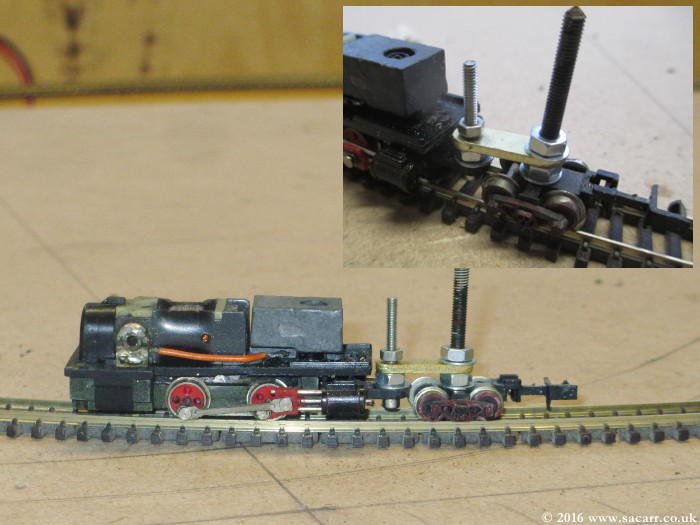
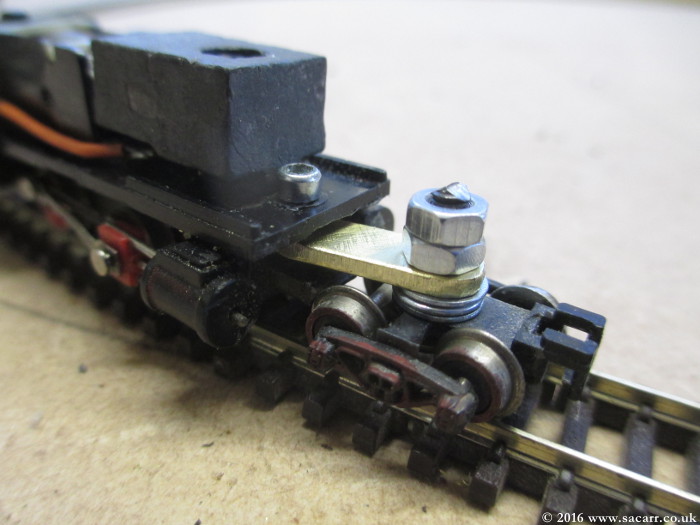
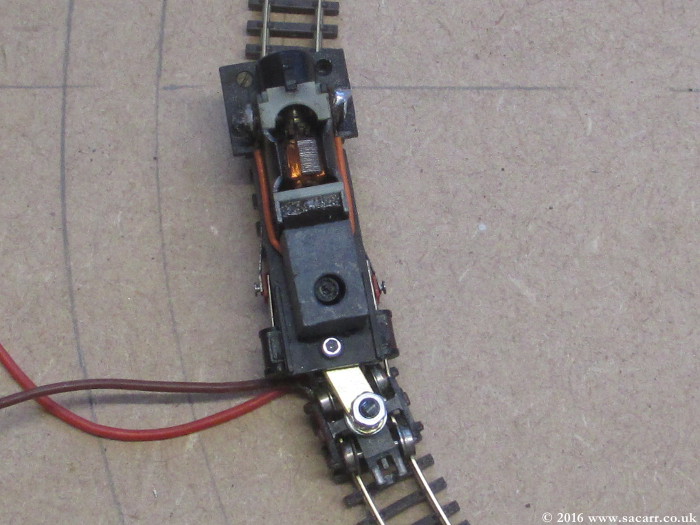
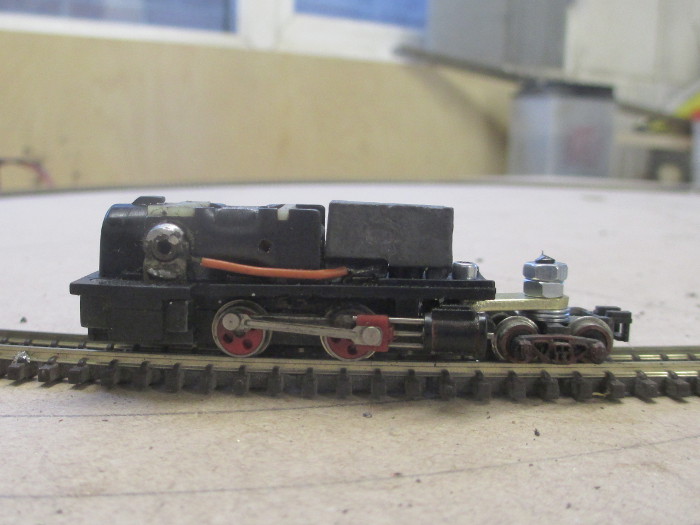
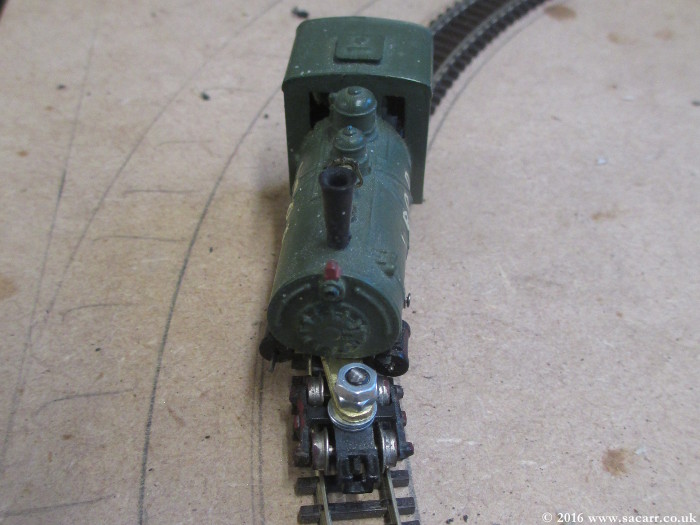
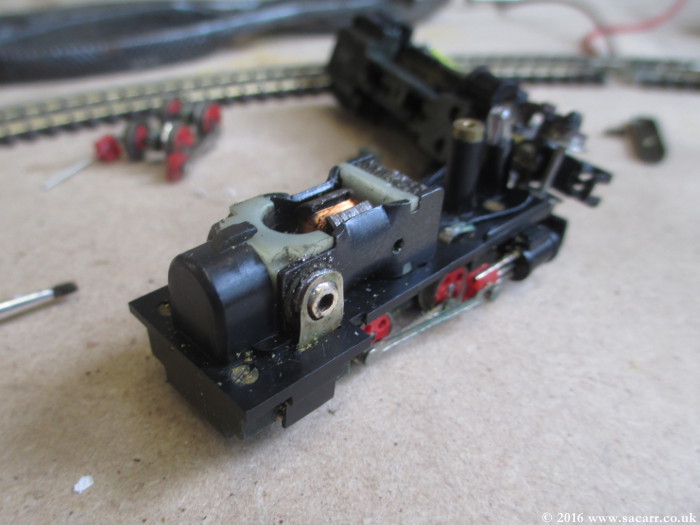
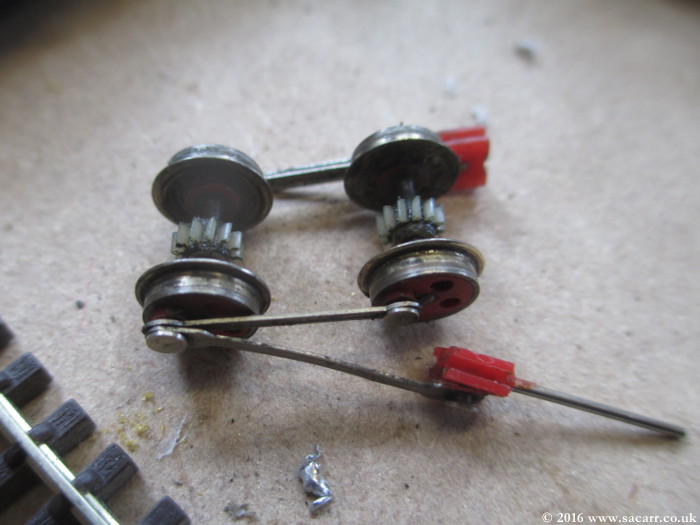
To work on a small baseboard with tight radius curves, but have more manageable detail size, I'm using the UK's OO9 scale narrow gauge track. A new loco body will be scratch built along the lines of the loco from the show, using an existing 0-4-0 chassis. Some existing wagons will probably be used until custom units can be made to match those on the TV program. The buildings will also have to be scratch built, using screen captures from the show to get a feel for the look of the place. The scale chosen is about right for the Kinder Egg "MLP's" to ride in the wagons. Several duplicates of the ponies will also be customised to create additional characters for playing on the layout!
Yesterday, I got a running-in loop out so my daughter could have a play, and I could get a feel as to how well she could handle OO9 scale locos and wagons. The school holidays is still about four weeks away, but I'm going to get the baseboard made over the next few days, so I can work out track quantities and other details before a trip to the model shop for materials.
So if you want to follow the adventures of Rainbow Dash, Fluttershy, Pinkie Pie and Twilight Sparkle, and the construction of Ponyville, Cloudsdale and the Crystall Empire, tune in here over the coming weeks!
Last edited: