The Equestria Railroad - My Daughter's OO9 scale "My Little Pony" Railroad.


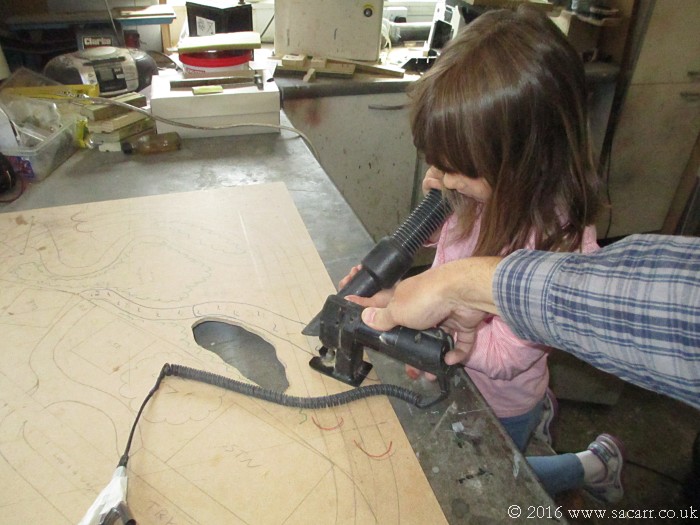
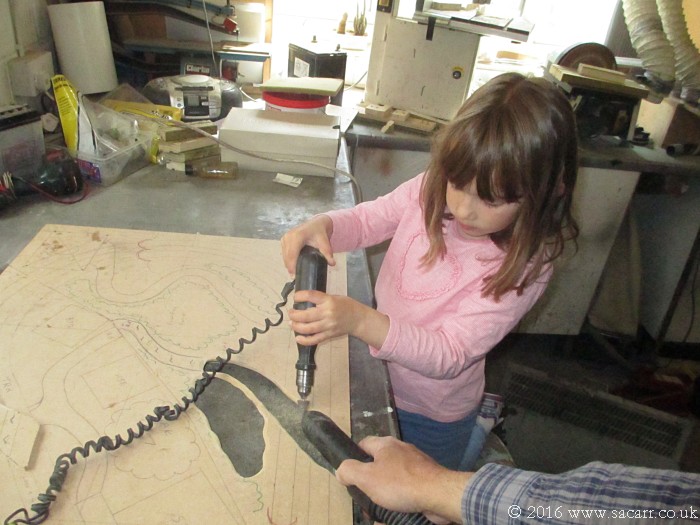
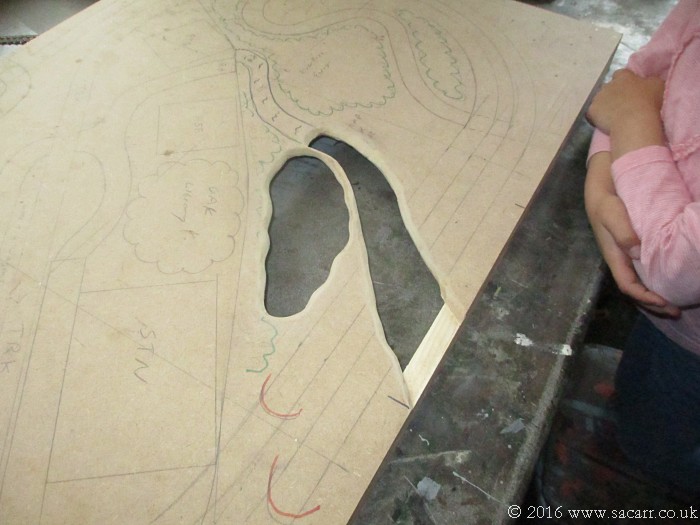
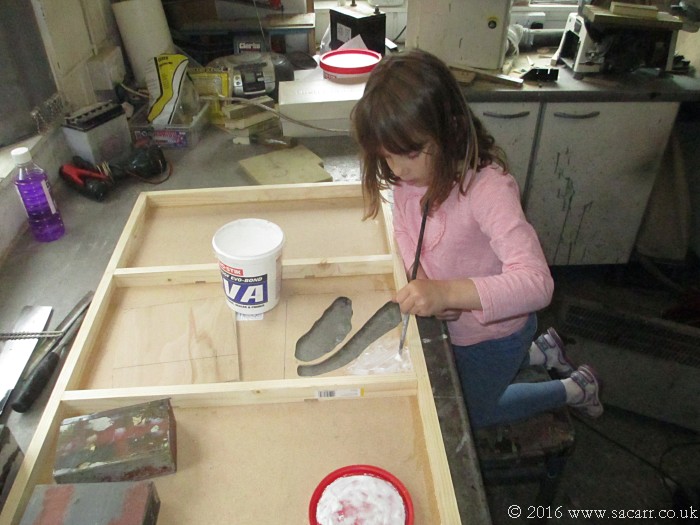
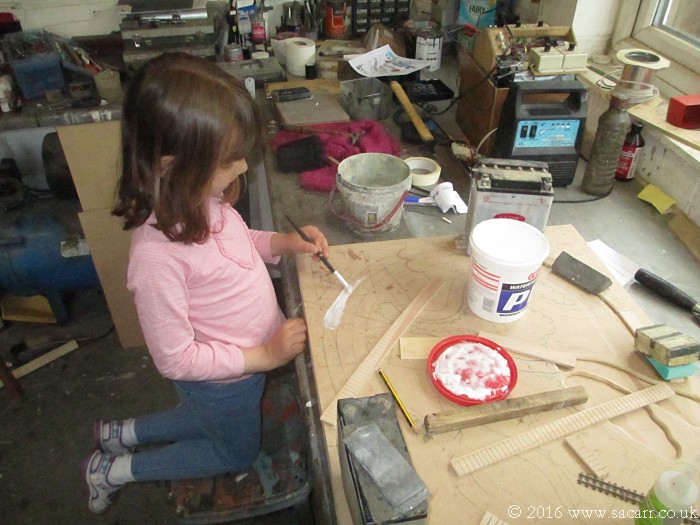
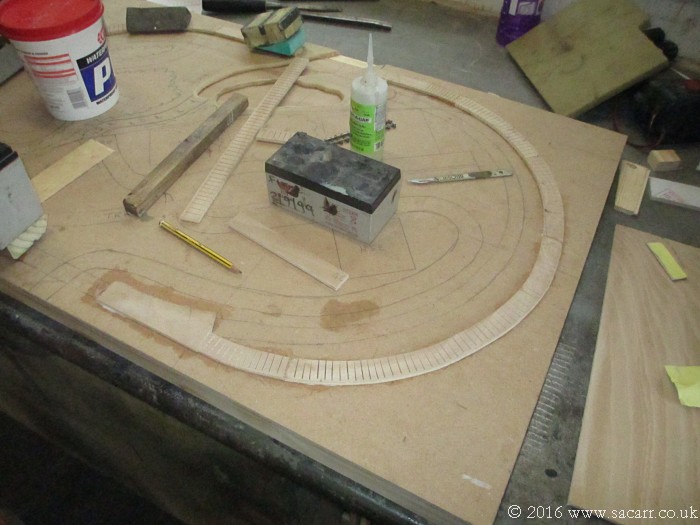
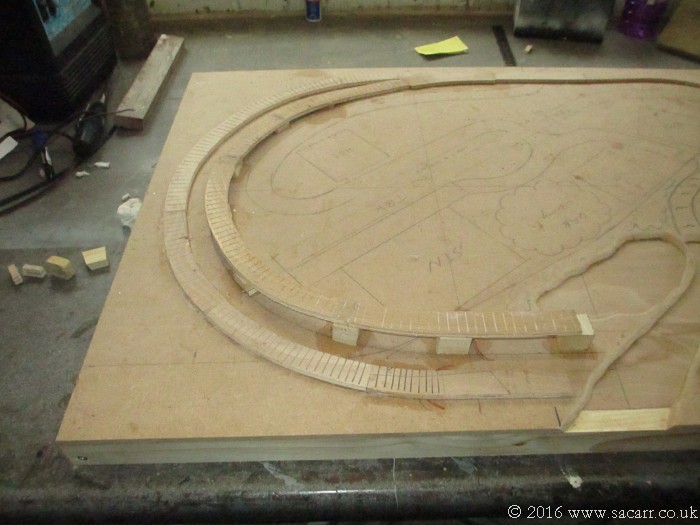
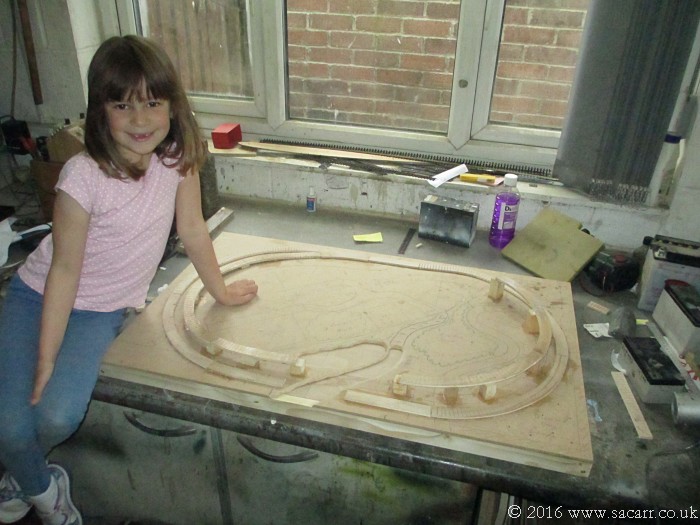
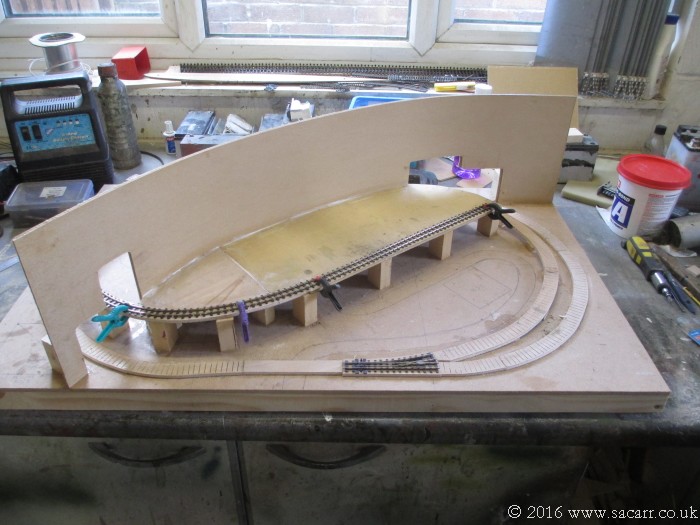
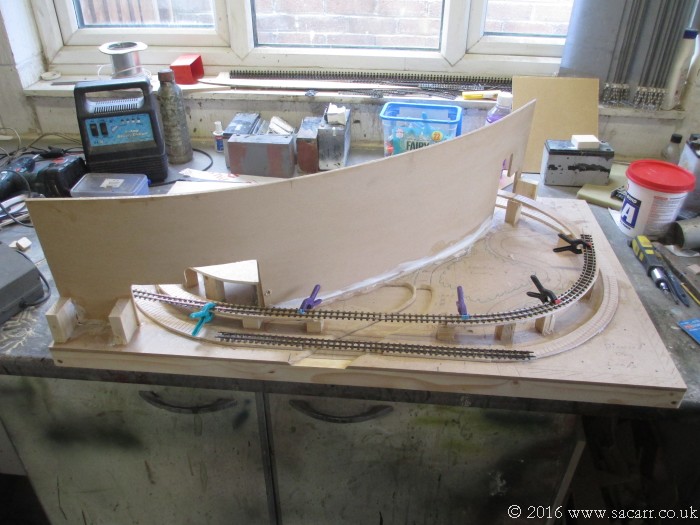
We collected the flexitrack from the model shop today, but the turnout that arrived was the wrong hand; so that's been re-ordered. I've also ordered a number of LED's for the layout, including some 'rainbow' coloured LED's to illuminate the Crystal Empire in various alternating colours. There's been no further building work yet, but I suspect the next step will be cutting the base board for the river and bog, then adding the track bed.
 
The teachers were on strike today, so little legs was off school. So what better way to fill in the day than by working on the railroad! We actually started by working on the fuel bowser for her Spitfire diorama, and then while glue and filler was drying on that, moved on to the railroad.

We began with cutting out the baseboard for the bog and river. My little 12 volt mini jigsaw has quite a fragile blade, so I did the cutting while my daughter vacuumed up the dust as I went.

mlp039.jpg


After that, I wanted to chamfer the edge of the river bank and bog. To do that, I fitted a cone shaped 'Permagrit' tool into my minidrill, to grind away the baseboard. My daughter did that part while I vacuumed up the dust.

mlp040.jpg
 
After working all around the holes, we had some nicely chamfered edges. The ground level will be built up in places around here to varying heights. The river will be coming down a hillside, so where the ground level will be built up higher, we didn't cut the baseboard. The transition from the elevated part of the river to the baseboard level will be a small waterfall/weir.

mlp041.jpg


With the base cut, we then glued a piece of 1/8 ply under the layout to form the base of the bog and riverbed.

mlp042.jpg
 
With the river area done, we moved onto the track bed. This was to be raised up slightly from the baseboard, and I cut a number of strips of 1/8 ply wood which were glued down.

mlp043.jpg


To allow the ply to curve, a number of slots were cut into the strip on the bandsaw. It was then glued and weighted down to dry.

mlp044.jpg
 
After testing the two locos we had on a test track incline, we began elevating the inner track bed, on its way up to the station.

mlp045.jpg


Done for the day, with the track bed almost complete. I don't think a day has ever gone so fast. We only had two half hour breaks, both of which we watched some "Research" episodes of 'MLP' and had lunch during one!

mlp046.jpg
 
Actually, it wasn't quite done for the day. Two last pictures for the night, now that the glue has dried and the weights have been removed.

mlp047.jpg


mlp048.jpg
 
The backscene was fitted today. It is made from two sheets of 1/8 Hardboard, with both rough sides glued together to help hold the curve in the backscene. It is also glued to the raised platform that will support the station and buildings. This was a job I did on my own, as it was quite a difficult operation forming and clamping the sheets together.

mlp049.jpg


mlp050.jpg
 
This fictional fantasy layout is a leap in a new direction and will hopefully lead to some interesting new challenges and some unique models.
I've always said in many ways a fictional setting is more difficult that a prototype. For a prototype all one has to do is "more research" for a fictional one must get very good at making things up in a logical fashion.

I'd spotted some additional Kinder My Little Pony toys on Ebay, ...
Did you not consider the my little ponies that McDonalds has run in the happy meals from time to time. I think they did a an Applejack and Rarity straight up. Or are those a different size (scale)?
 
I've not seen those, so no idea of their scale. These ones are about 1.5 to 1.75 inches tall and about 1 inch long.
 
Last edited by a moderator:
Clamps removed today. The back ordered turnout also came into the model shop today, so we picked that up after school.

mlp051.jpg


mlp052.jpg
 
I started re-painting the spare ponies today after the model shop trip. This is Amethyst Star, converted from a Twilight Sparkle with the pegasus wings removed. Only the mane has had a base coat so far.

mlp053.jpg


This is the first coat of white on Rarity, also converted from a Twilight Sparkle.

mlp054.jpg


This is Minty, converted from a spare Pinkie Pie. Her mane was trimmed and re-shaped to more closely match Minty. The green dried a bit dark, so a second coat will be mixed to a lighter shade of mint green.

mlp055.jpg


We're away for the weekend from tomorrow evening with one of our WW2 Jeeps, so no further updates until next week.
 
Last edited:
Last edited by a moderator:
Yesterday was the first day of the school holidays, so we had a full day working on and off with short breaks between. The first thing done was painting the track bed black, so if there's any gaps in the ballast, you won't see wood showing through.

mlp056.jpg


After that, we painted the riverbed and bog various shades of green and brown. It was a hot day, so it didn't take long for the paint to dry, after which we started painting layers of PVA glue for the water.

mlp057.jpg
 
While the PVA was drying, we began to cut some 120 grit sandpaper into stone shapes to clad the wooden bridge structure I'd made the day before.

mlp058.jpg


Using the tip of a scalpel to pick them up, they were placed onto the bridge, which had been painted with a slightly dilute PVA glue mix, mainly to slow down the setting time in the hot weather. The layers of 'stones' were slowly built up and then the first side left to dry.

mlp059.jpg
 
The first side of the bridge is done, and once dry, the overhanging edges were trimmed.

mlp060.jpg


While that was drying, we went into the garden to look for some stones for the river. A few larger pebbles were smashed up with a hammer to create some nice sized rocks for around the river, waterfall and bog.

mlp061.jpg


Back
Top