N-scale layout sub-roadbed: OSB + 2" polyiso foam.
I don't think foam-only sub-roadbed is a good idea since foam isn't really strong enough. Half-inch plywood with two-inch foam is the most popular method, and I think most practical for most layouts. At first I used 1/2" melamine (now I'm using 1/2" OSB), and a two-inch layer of polyisocyanurate foam, which is sold under the trade-name,
R-Max Thermasheath 3 at Home Depot, also known as
polyiso foam for short.
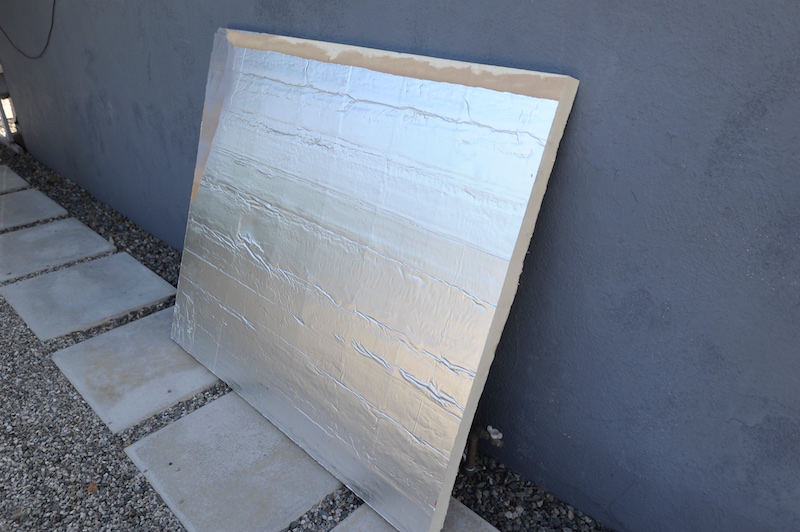
Polyiso foam is easier to cut and shape than extruded polystyrene (the pink or blue stuff), doesn't make a mess, and readily accepts solvent-based spray-paints and glues without melting. It's also extremely dimensionally stable according to a recent six-year industry study of roofing insulation materials. The only downside to polyiso is that it's covered on both sides with a thin sheet of paper-backed foil (I just paint over it). The foam cuts easily with a box-cutter type knife, and shapes with just a 3M sanding sponge. Here's a piece of polyiso I painted primer-gray:
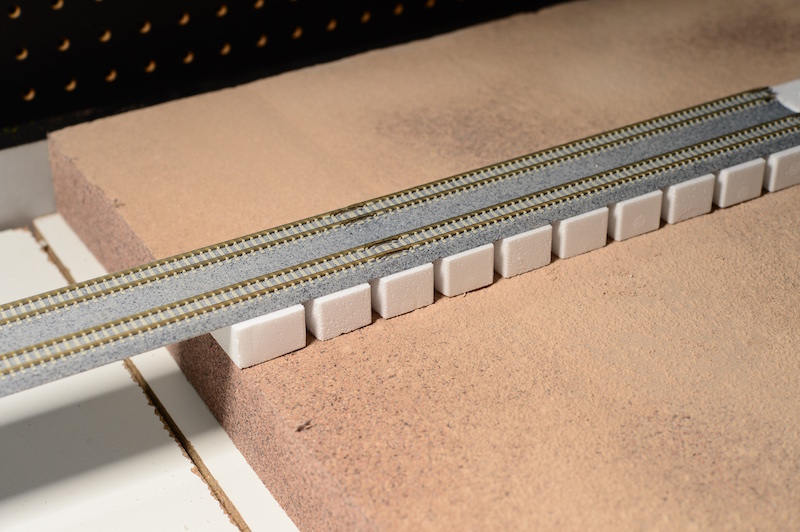
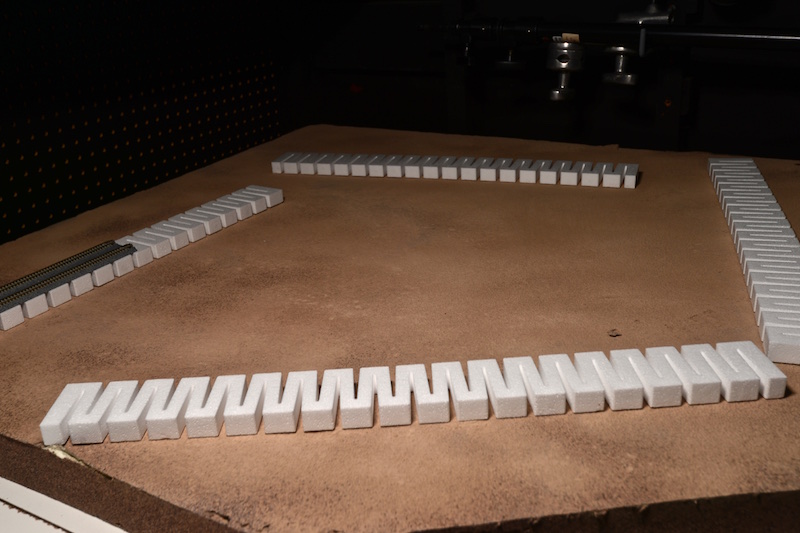
For my trackbed, I'm using 3/4" Woodland Scenics risers to elevate my trackwork slightly above-grade. I think this will make various grades surrounding the track easier to do. I've also built a number of Structo-Lite and Celluclay landforms on 1/4" Foamcore bases, so this slight elevation will allow me to set these at-grade more easily as well. I'll build up other above- and below-grade landforms to meet up with the Woodland Scenics' risers using one or more of my three basic bulk-scenic materials:
• USG Structo-Lite (gypsum plaster with granules of Perlite mixed-in; only $11.30 for a 50-lb. bag at certain Home Depots).
• Activa Celluclay paper-mache (only $12.49 for a five-pound bag using a Michael's 50%-off coupon).
• DAP Plastic Wood (used to fill-in small gaps; $8.98 for a 32 oz. tub at Home Depot).
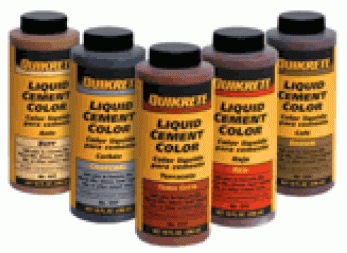
I also color all of my materials with Quikrete liquid concrete colorants while mixing for color all-the-way-through. These colorants are really concentrated and a little goes a long way. Using concentrated colorants, I won't weaken or compromise my materials' strength by using latex, acrylic or tempera paints (which require much more product to color).
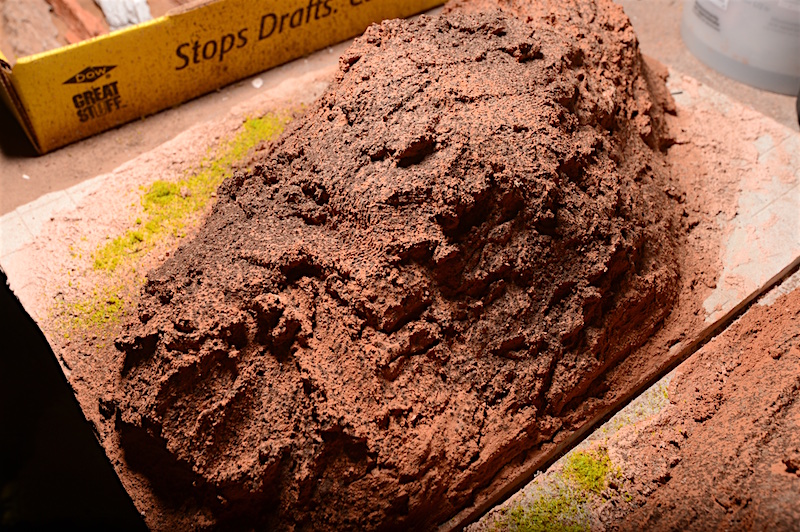
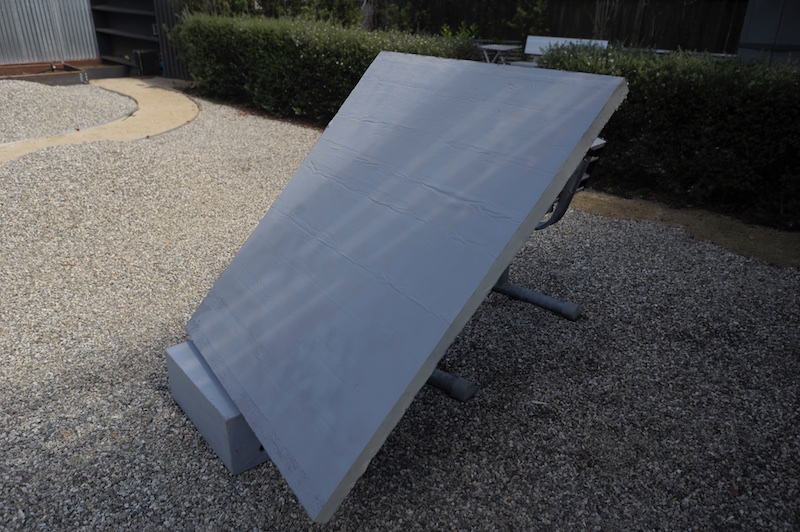
I still have to cover the risers and build a grade, most likely using Activa Rigid-Wrap plaster cloth which seems like the best deal at about $16 for five-pound box on Amazon. Below is the polyiso sheet sprayed with a textured spray-paint. Once dry, I sprayed the foam with 3M Super77, then I sifted a layer of Polyblend non-sanded grout all over the surface (I later discovered that sprinkling the grout then spraying liberally with scenic cement yields better much better adhesion):