HO flextrack ?


gator do 65

Member
OK, this is where i'm at, How many straight piece's of flex would you solder (in a straight line) together for a 34" R corner? I want to make my corners easy! And how would you go about it? Detail's please!
 
The circumference of your 34" radius is 213".
Divided by 2 and that is 106.5.
Divide 106.5 by 36" = 3 sections for 1/2 of a circle.
 
Last edited by a moderator:
You are going to still need to shorten the sliding rail(inside) on each piece so I doubt you could do it in one straight length without removing a lot of ties, maybe 2 or 3 from each end. I see gauge change happening.
 
I've found that no matter how large the radius is its better to solder in more than whats needed so that when the curve goes into semi straight it has a smooth transition with a smooth soldered joint. May take an extra set of hands.
 
Get a yard stick. Drill a hole big enough for a sharpe marker to fit in there at 34" put the marker in. At the other end, put a philips screwdriver end to secure it. Draw your curve with the marker in the yard stick at the 34" and rotate it where you want your curve to be.

You didn't mention roadbed? Lay your cork roadbed on your marked curve line.
 
How many straight piece's of flex would you solder (in a straight line) together for a 34" R corner?
I would not solder them straight and bend them. I would put one into the curve, slide the one long rail into the second and solder them in place naturally staggered.

But to answer your question As rzw0wr indicated, circumference = pie times the diameter. So 34" radius X 2 = 68" diameter * 3.14159 = 213.6" for a full circle. If your corner is 90 degrees that is 1/4th of a circle so 213.6" / 4 = 53.4". 53.4" / 36" = 1.4 pieces of flex track.
 
Last edited by a moderator:
You can solder them straight. Do stagger the joints. Two pieces will be enough for 90° curve. Lay the track starting at the center of the curve and work towards the ends.
 
gator,

I wouldn't solder more than 2 sections of flex track together before laying it. What I did was to only solder the outside rail, as that will be the one that is going to move if any do. The pressure of the curve will hold the inside rail nice and firm so no need to solder that.

Do as RBMNfan has suggested though, start laying your track from the center of the curve. That way, when you connect the second two pre soldered sections of track you should be able to solder them together so the meet flush. I would solder both rails in that case.

When I did mine track work, I started by pre joining 2 sections of track, then laying it then added single sections from then on. I just found it easier to control and manipulate one section of track than two. Pretty much the way Horseman has suggested. Just wish I had have staggered my joins instead of fart arsing around trying to get them flush.
 
Just one more question. How far apart should I stagger the joints?
I let the joints decide naturally. Since the inside is a shorter distance it will push further and further out each time. That way there is no cutting of rail until the very end and there is no loss of ties to hold the track in gauge.
 
Gator,

Horseman has it right, it really doesn't matter where the individual rail joins end up until the you get to the straights where you will need to cut the track so the individual rail joins are opposite each other.

With all of that being said, I may have to change something I agreed with earlier - the starting point for laying your track on a curve. Using the staggered rail join method means you don't have to start at the centre of the curve. In fact, it would be better NOT to.

I'd lay my first (double) sections of flex on the straight then lay the curved track in one section lengths letting it sort out its own final position with respect to the joins. Having staggered joins equates to strength and reduces the possibility of faulty track gauge. Last place you want track problems is on a curve.

That sound about right to you too Horseman?
 
I solder my joints when both pieces are straight. I do not stagger the joints. I do not remove ties - I thin the last tie to provide clearance for the joiner. I have no problem with kinks at the joints.
 
I don't solder until the rails fall where they wish to along a given curve. I do stagger the one sliding rail, but try not to insert the 'new' rail into the empty spike details more than about six ties deep if I can help it. Again, it depends on what you are mating along the curve and how sharp the curve is. I only ever solder once everything is in place and aligned, and tacked down so that it won't move. Then, I ballast and let the ballast retain the curve I want. Remove spikes or track nails/screws and move on to the next part.
 
That sound about right to you too Horseman?
Yes, staggering reduces the kinks easily caused by soldering in place and avoids the flatspots and re-gauging of soldering straight and then curving.
flextrackjointcurve.JPG
 
Last edited by a moderator:
Horseman,

You only solder the immediate area where the rails join as well. I'll have to remember that and not run solder the entire length of the joiner in future.
 
Horseman,

You only solder the immediate area where the rails join as well. I'll have to remember that and not run solder the entire length of the joiner in future.
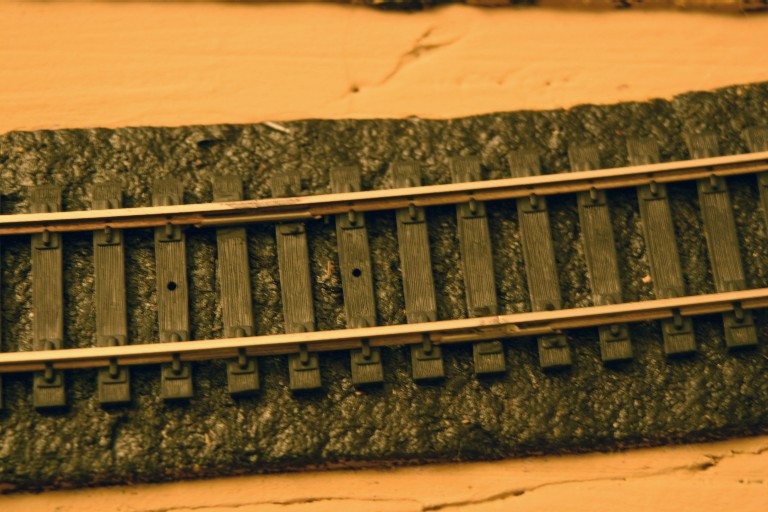
Yes, I solder as little as possible. AND Well unfortunately the photo is to show the offsetting of the joints not my lousy soldering job. If that would have been a "good" soldering job the solder wouldn't be nearly that blobby and visible.
 
Your way too hard on yourself mate ... would hate to know what you really thought about my soldering if you consider yours (in the photo) to be too "blobby and visible. I did notice the staggered joins as well, noted them first a foremost :)


Back
Top