3 Bay Car Shop


I have noticed that but I am an Aussie so I am still (even after 10 years of living here, on Aussie time. Anyway, that's my excuse, what's your? :)
 
Well, I contacted Miller about the lights and whether or not the plugs can be removed. This was their reply:

Hi Tony The plugs can not be removed, they are high voltage silicone plug at 350 volts AC...
Because of the plugs, that look too big to conceal, I doubt they will be of any use to me. Looks like I go back to the good old fashioned SMD's and Resistors
 
Okay, I now know how I am going to do this. Taking a step back and rethinking the whole thing got me to the answer. Stay tuned for the out come :)
 
So I AM going to use SMD's + Resistors as, for me, that is the only logical thing to do. In order of achieving that, I need to solder 4 SMD's along two lengths of 30 gauge wire. Each SMD will/should end up being central above the area between the pits when installed. Note I did say "should be".

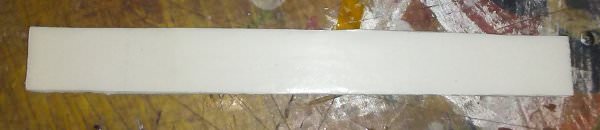
So let the work begin. I started out with a length of double sided tape attached to a length of styrene:

LjzYzW8.jpg


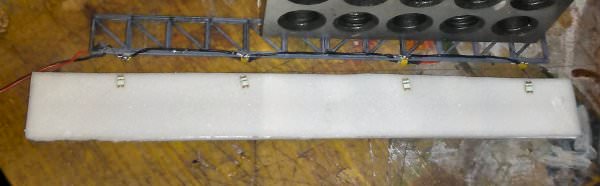
Next, I lined up where the SMD's needed to be located and lightly pressed each onto the tape:

G4vWD32.jpg


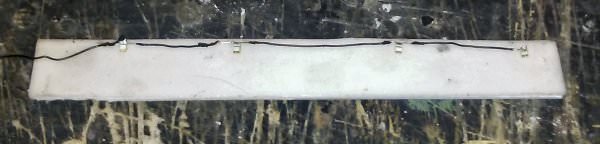
That held the SMD's in place while I soldered the 30 gauge wire to each:

GaybjJq.jpg


The same process for the soldering of the other wire will be used obviously.

Each length of wire is long enough to go across the shop, down one side and a further 6" beneath the bench work where they will attach to 26 gauge "bus wire" that will run back to a Toggle Switch. Well, that's the theory anyway.

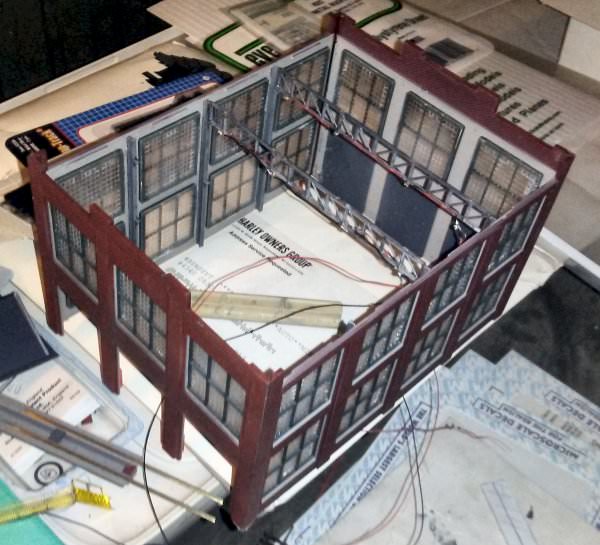
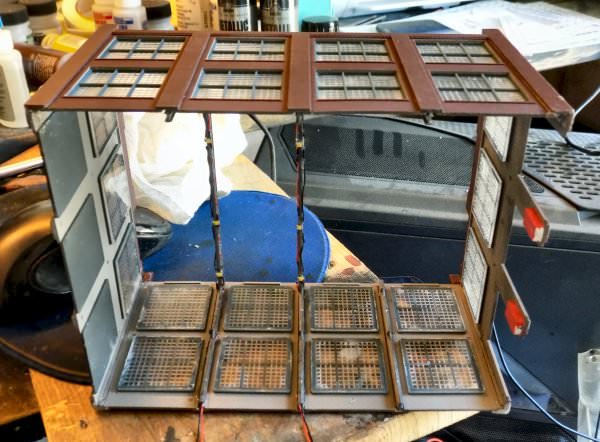
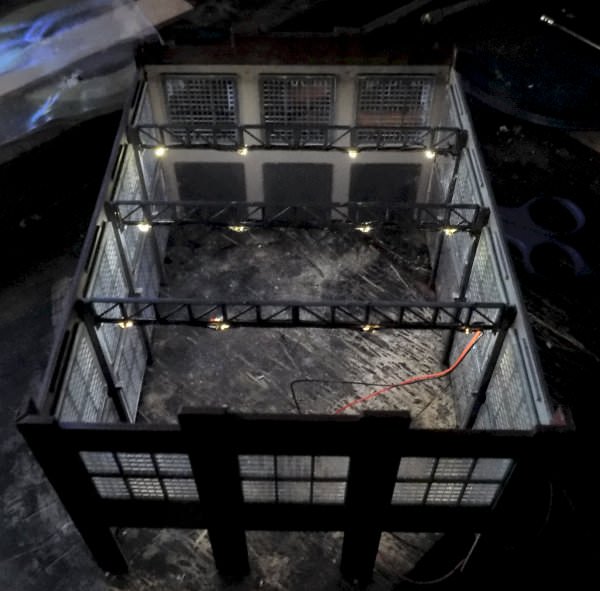
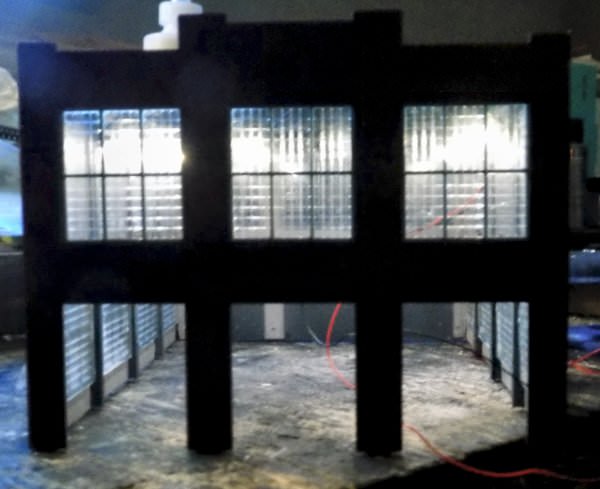
Only three of these assemblies with done and each will be attached to the bottom of the three trusses running across the shop. The wires will be "pressed" into the side of the trusses which, hopefully, will add to their concealment. The wires will then be painted the same color as the truss - gunmetal grey metallic.

The ends of the wires will run nicely down the sides of the verticle beams and through the bottom of the Shop floor via small holes yet to be drilled.
 
Morning Sir, yep I have to say, things are moving along pretty well and it isn't often I can say that with any seriousness. I can at last start on the floor components. Yippee!
 
You have until this evening to get one done! :)

Know what you mean. I have around 20 or 30 kits sitting around here waiting to be done, mainly DPM Kits. I'll pick one up, look at it and say - nah, I'll do it tomorrow. Once I start though - I hate having half finished stuff laying around and told myself that I wasn't going to start anything else till "this one" is finished.

What sort of kits did you get?
 
Yes sir!
I started the cabin as it's a laser cut wood structure. I figured I'd work on that and while each time I have to wait for something to dry, I can work on the track switches I need to install. I only have two weeks to get everything done, clean up my disaster and get ready to start working on momma's Christmas layout. All this while trying to teach my son to drive so he can get his license, fix the gutters on the house, trench and bury an electrical cable and install a cooler on the scooter. I'm gonna run some trains...........LOL
 
Darn, no wonder you don't sleep too much!

One of the reasons I work at night on the hobby is there is nothing else I can do or should be doing. Mot of what I need to do gets done in the mornings once the sun comes up and the rest of the world is awake enough for me to make noise if needed.

I love laser cut kits or anything to do with wood to be honest. I bought a Laser Cut Station from Hattons (UK) a few months ago and can't wait to build that. I also picked up some excellent "typical Australian" laser cut kits around the same time and would love to get them done, or one of them anyway. Once I get the layout under way and have bench work down I'll be more enthusiastic and prepared to put them together I think.

I hope your going to post pics of your cabin and other kits ... it's always interesting to see what others are doing and how they do things.
 
Mike

Thank you an the experimentation is over, what you see (albeit a lousy photo) is the end result ... 4 X 550 mcd SMD's attached to a 1K resistor per truss. I have one more to do then can hook it up so I can see just how it will look. Worse case scenario it maybe too bright and I will have to tone it down a bit with a larger resistor or 2.
 
Got all the wiring sorted out and pretty much hidden I think:

5gsd3Cl.jpg


HyDbw0V.jpg


Give what can be seen a coat of paint and drill a couple of holes in the floor and it should be good to go. Two lights installed - one more to go!


Back
Top