goscrewyourselves
I'm the one
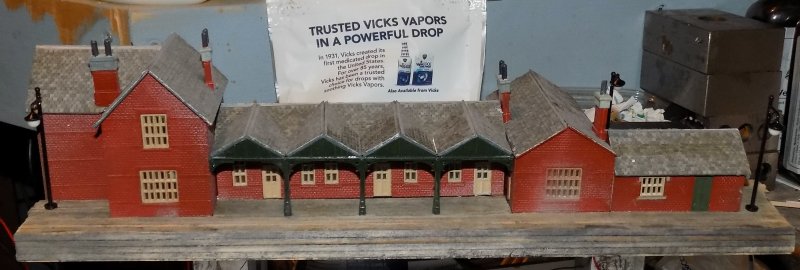
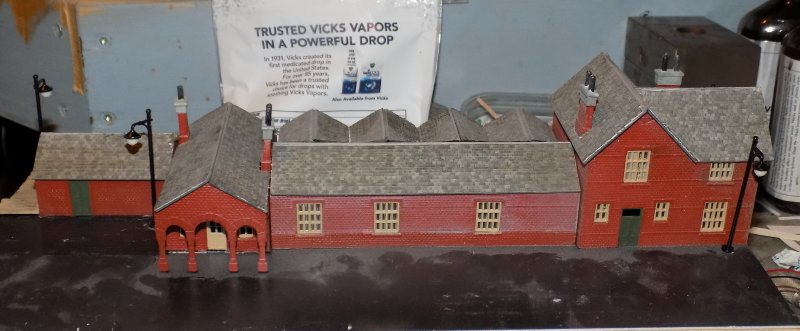
Well it is actually a British Station but is very similar to some larger Australian Country Stations ")
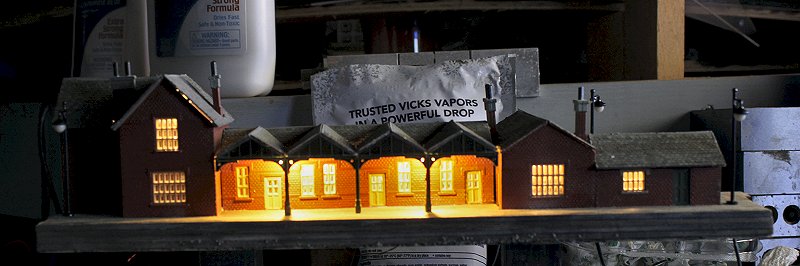
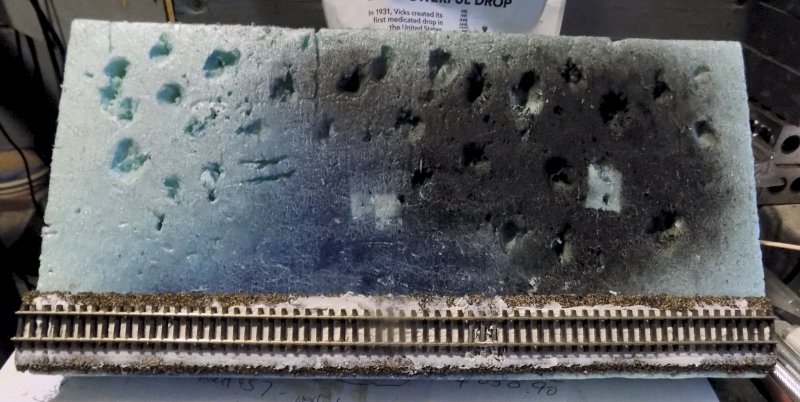
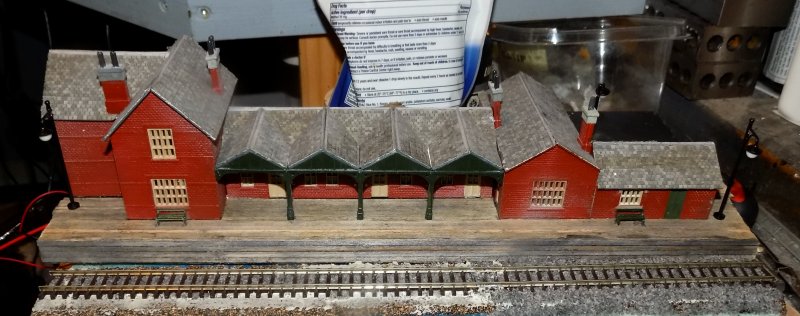
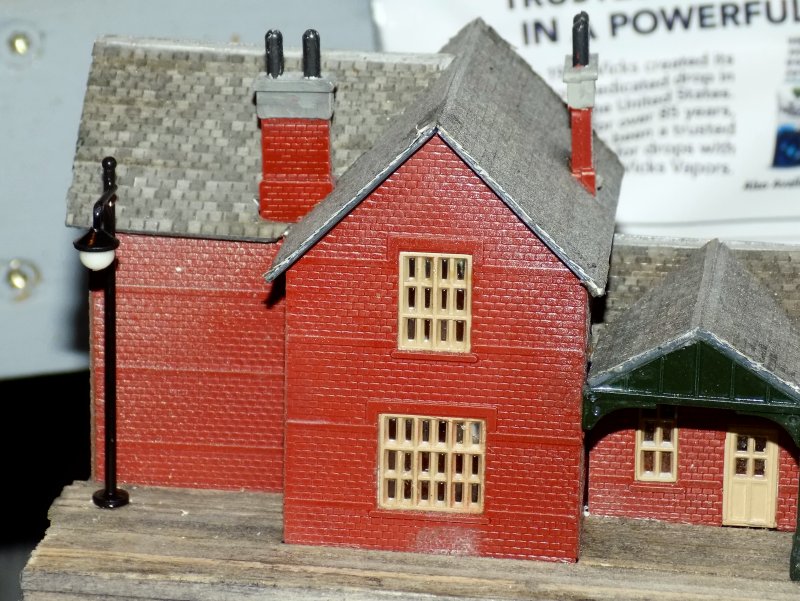
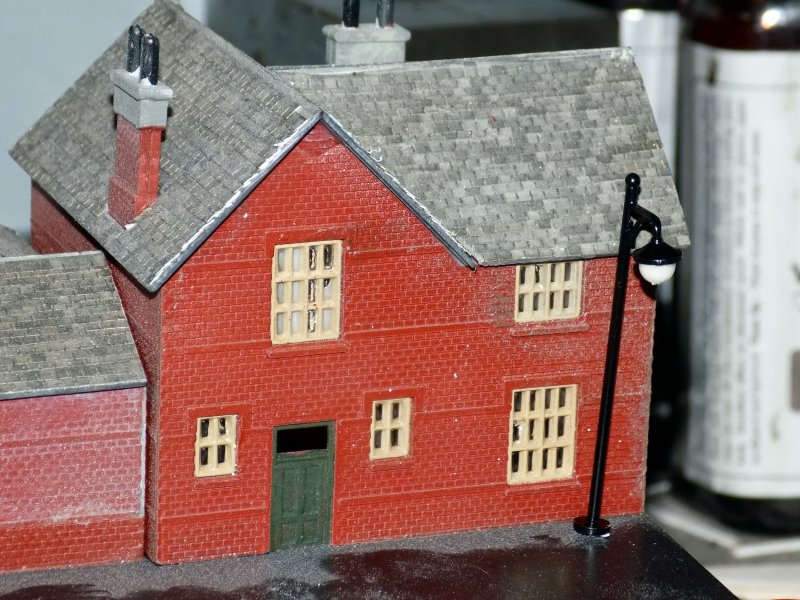
Anyway - I built this (an Osborne Kit) a little while ago and lit the interior as well as the beneath the rear (track side) verandah. I was looking at it this evening and realized I never did get around to putting in lights on the platform and the front of it. As such - that is what I have done:
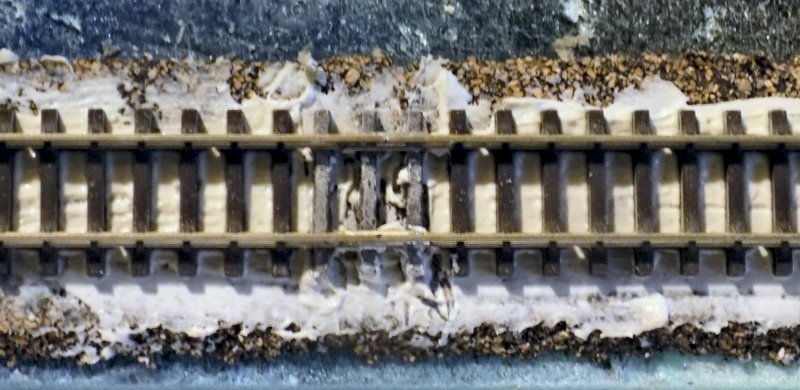
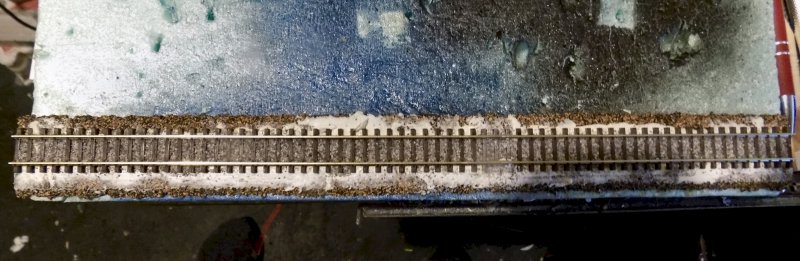
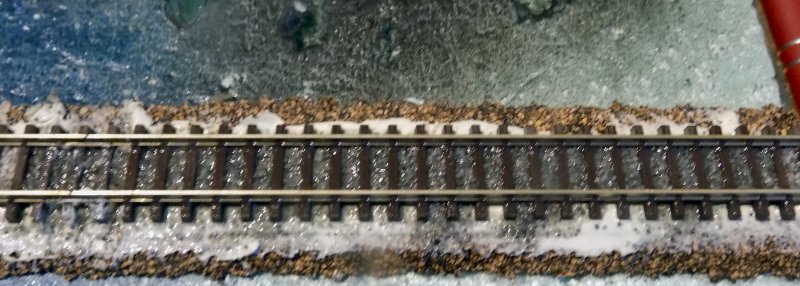
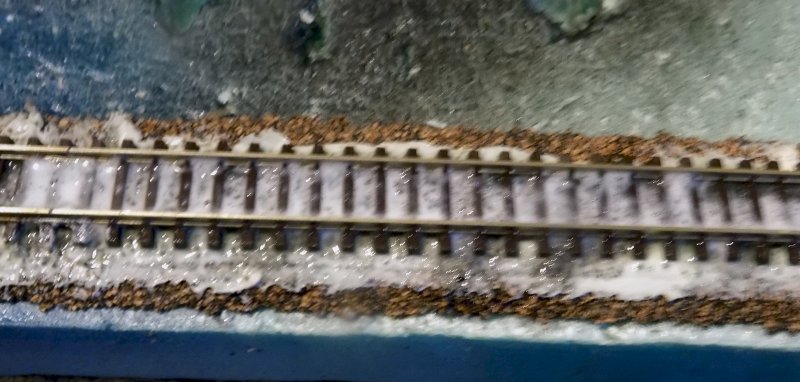
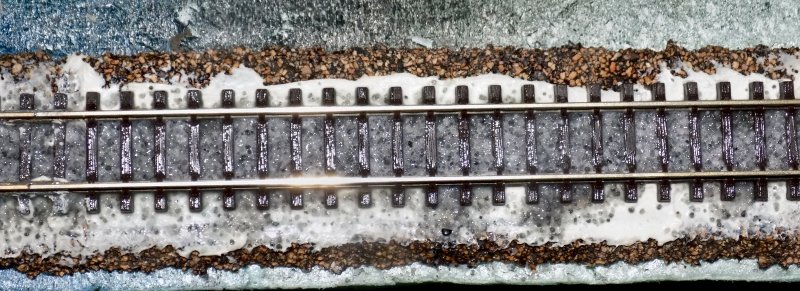
Track Side:

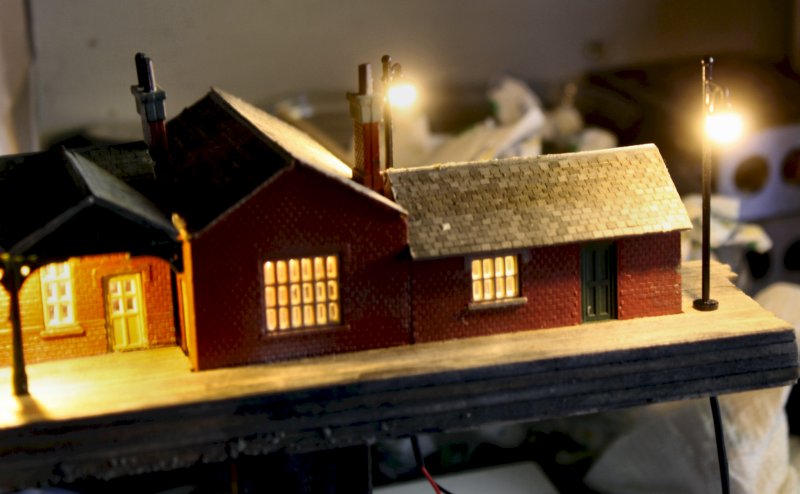
Street Side:
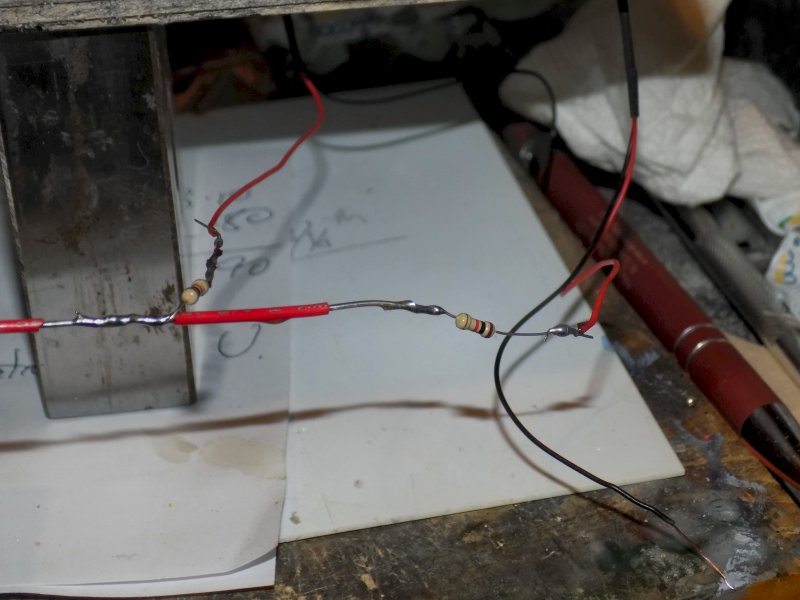
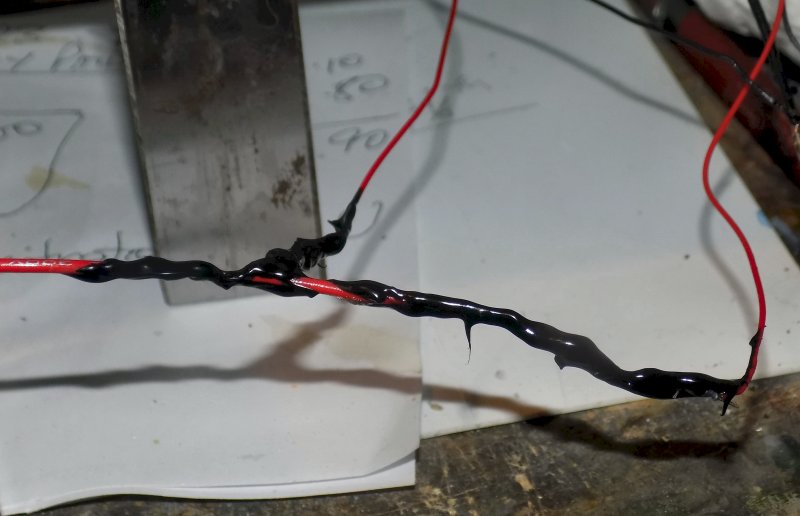
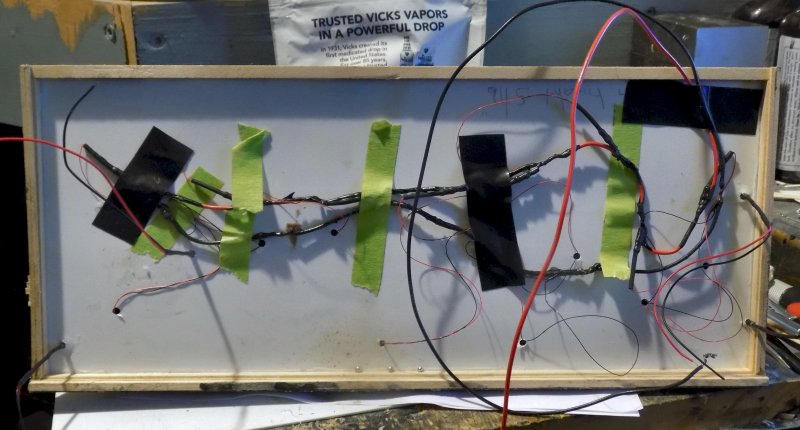
And why I shouldn't do electrical stuff:
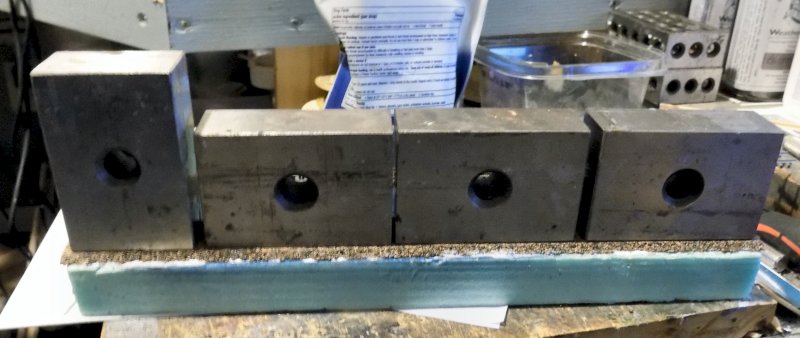
So, I need to add the resistors to the lights which, yes I know, are not the most realistic for a platform; however, I had/have a heap of them from Aliexpress so what the heck - use your imaginations
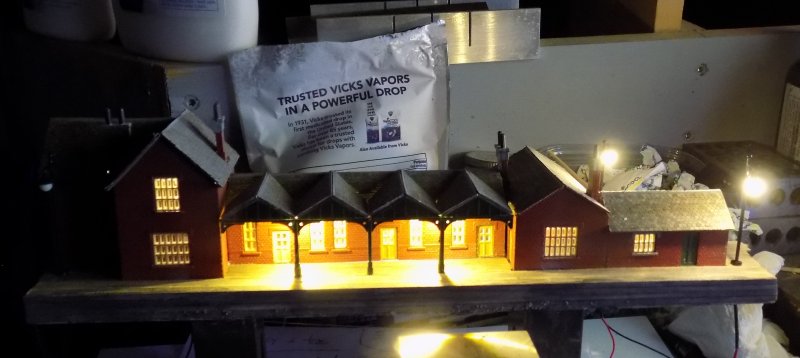
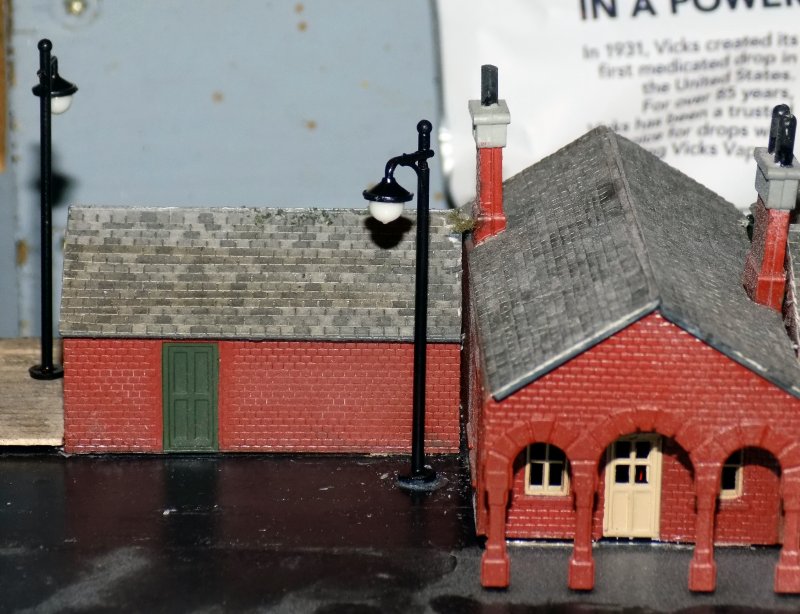
Anyway - I built this (an Osborne Kit) a little while ago and lit the interior as well as the beneath the rear (track side) verandah. I was looking at it this evening and realized I never did get around to putting in lights on the platform and the front of it. As such - that is what I have done:
Track Side:
Street Side:
And why I shouldn't do electrical stuff:
So, I need to add the resistors to the lights which, yes I know, are not the most realistic for a platform; however, I had/have a heap of them from Aliexpress so what the heck - use your imaginations