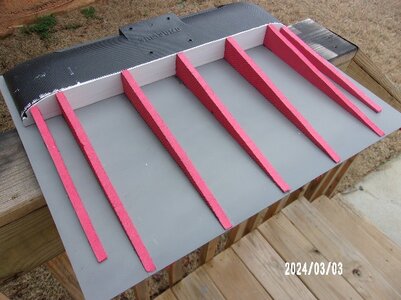
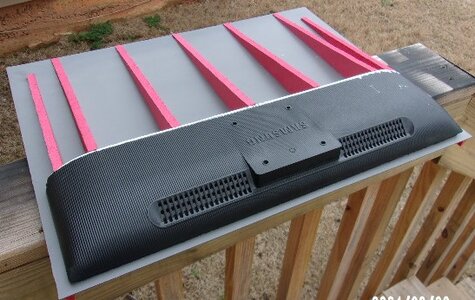
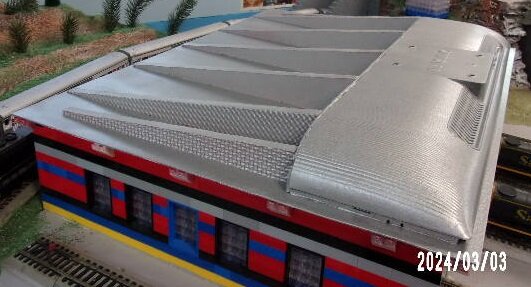
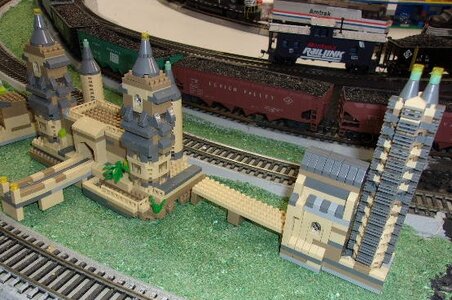
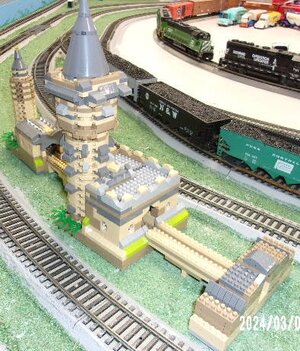
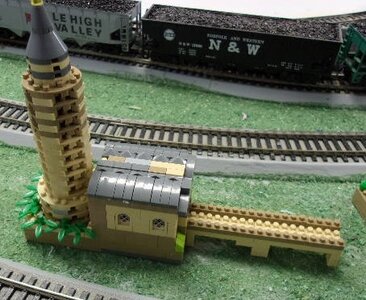
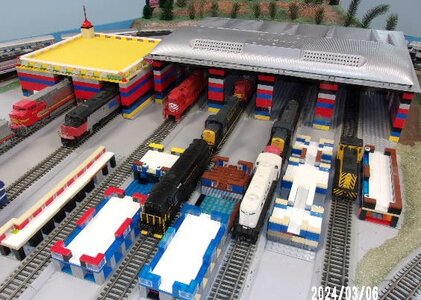
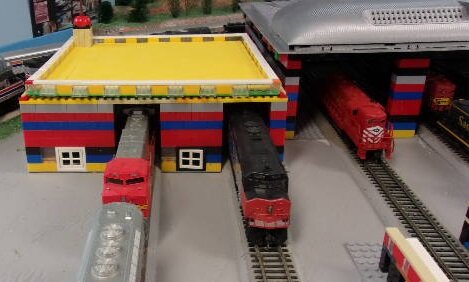
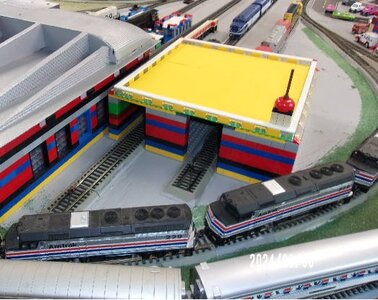
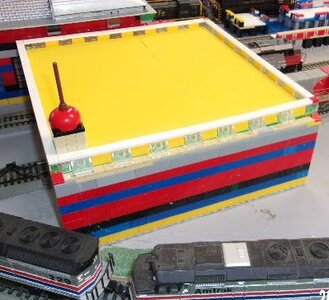
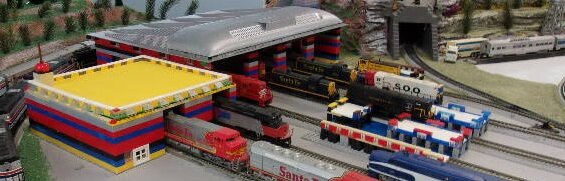
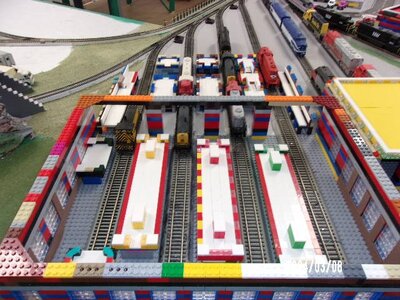
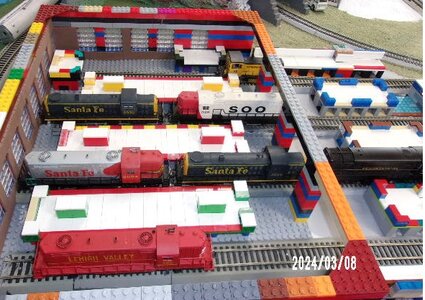
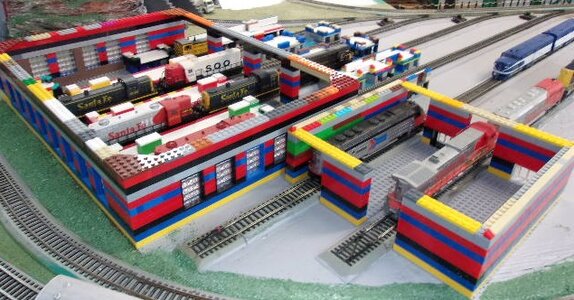
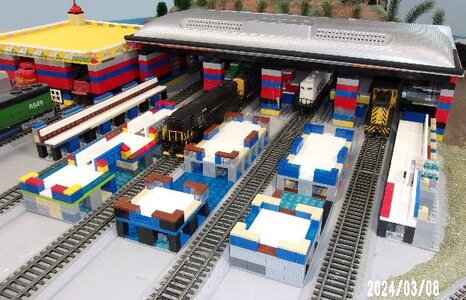
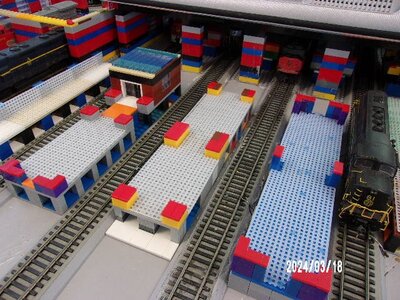
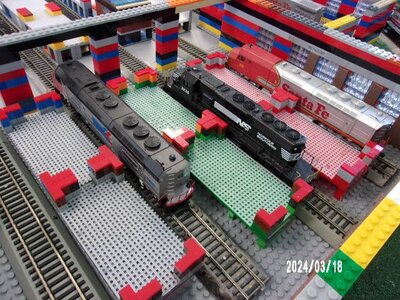
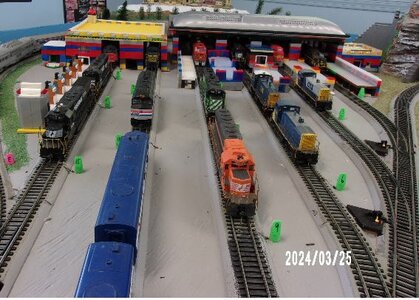
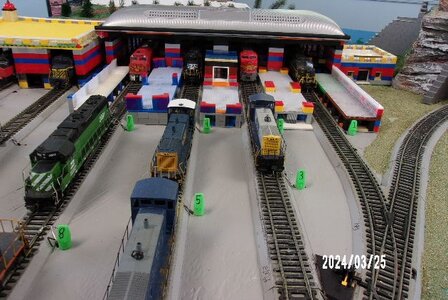
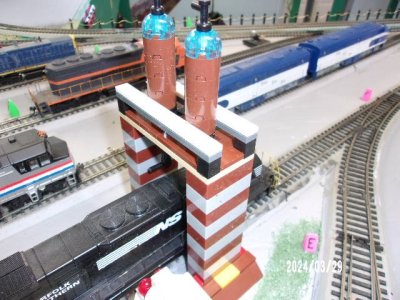
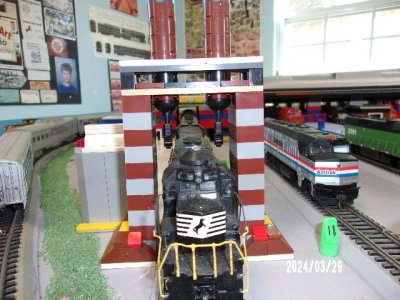
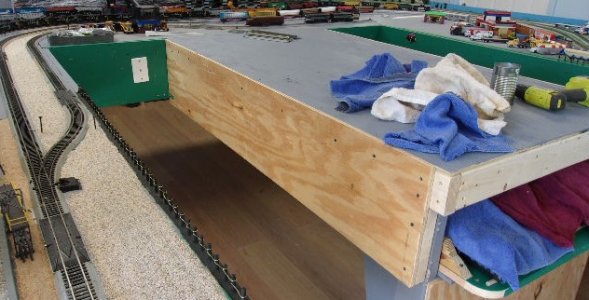
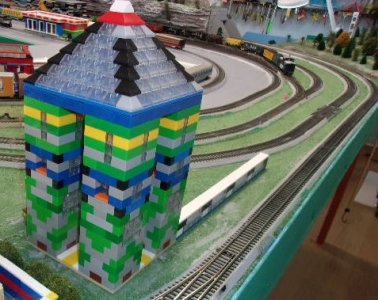
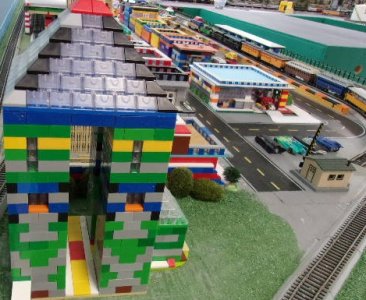
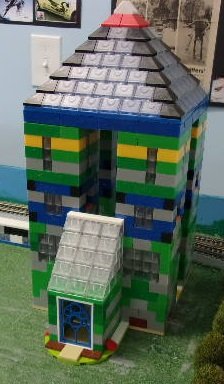
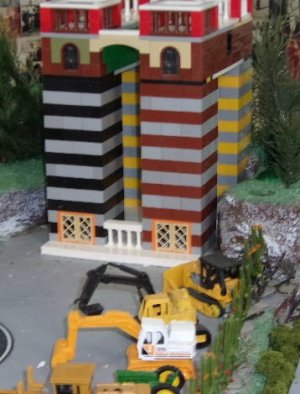
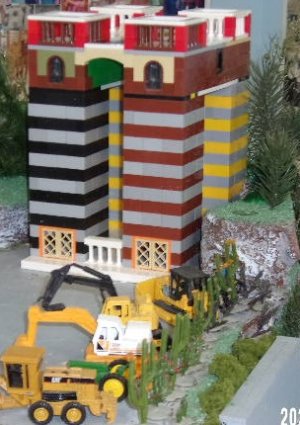
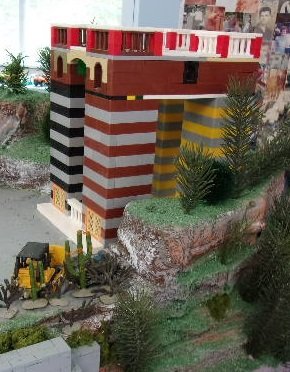
Made engine work stations inside the Engine Shed today. All Lego items & I also added some trim to the front of the roof on the engine shed. There was a 3/8ths opening on the front & about 6" on the sides. I used some wood dowels to fill in that space & glued it all w/E6000 glue.
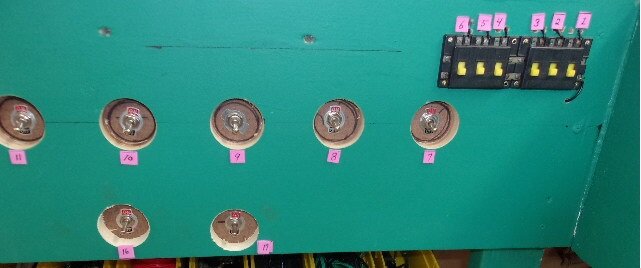
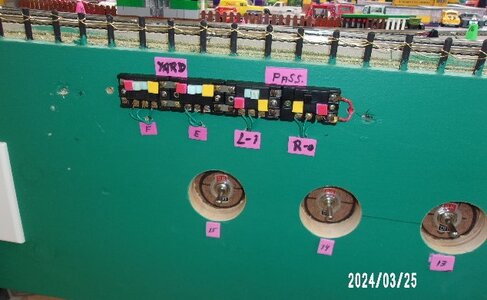
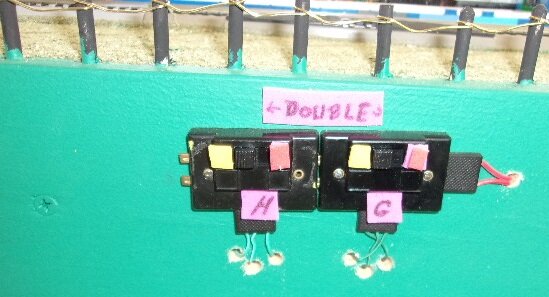
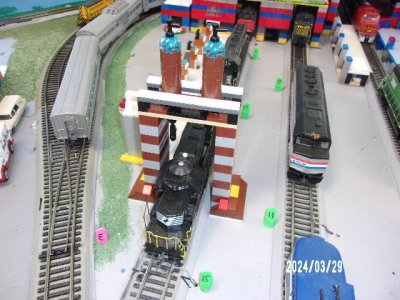
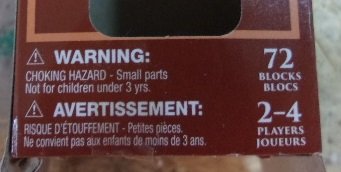
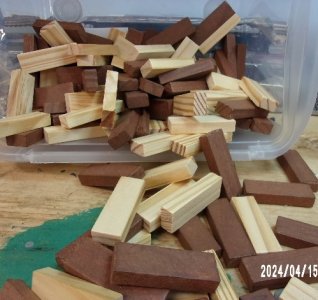
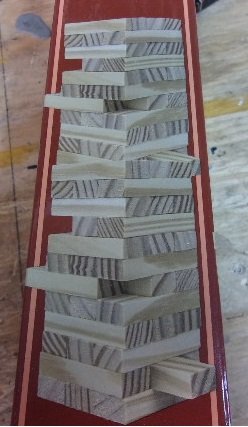
Tomorrow I hope to start adding LED lighting to both of these buildings & cutting all of the blocks to seperate at least 4 engines on each track in front of both buildings. This part of the layout looks like it is real crowded, but it's not. The next big project is building a fueling & sanding track someplace around these buildings.