You are using an out of date browser. It may not display this or other websites correctly.
You should upgrade or use an alternative browser.
You should upgrade or use an alternative browser.
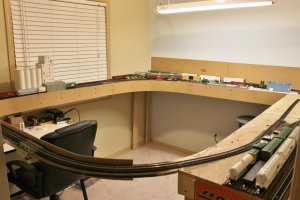
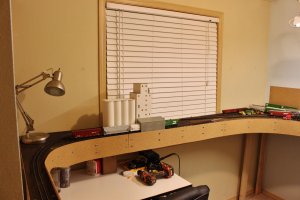
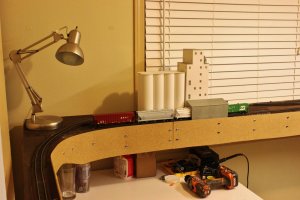
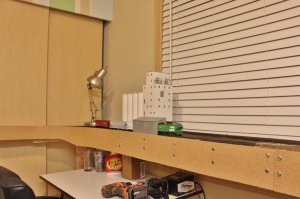
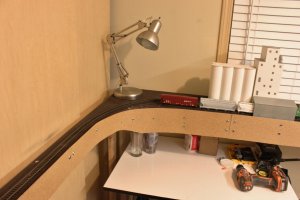
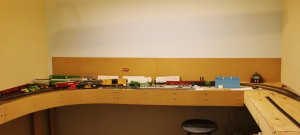
My HO "L-Shaped Switching Layout" (96"x92"(16" Shelf Width))...
- Thread starter justn2trains
- Start date
justn2trains
Member
justn2trains
Member
justn2trains
Member
justn2trains
Member
justn2trains
Member
justn2trains
Member
justn2trains
Member
justn2trains
Member
justn2trains
Member
justn2trains
Member
justn2trains
Member
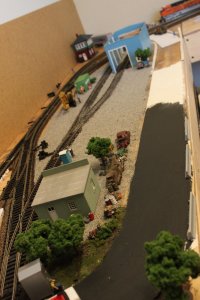
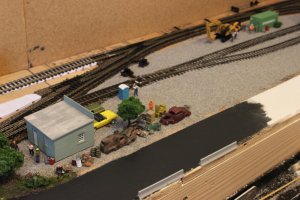
Thanks! Yeah, I been meaning to hit Home Depot....I have seen some plexiglass there that I could rip down to 3" strips....just been busy with the holidays.Scrap yard area starting to look good! Might want to add some sort of guardrail(s) to 'the bridge' so your equipment doesn't take 'the dive' if you have an 'oops.' You've done a lot in a small space!
justn2trains
Member
your moving along real good now justin. looks good
...................Thanks G!
justn2trains
Member
justn2trains
Member
justn2trains
Member
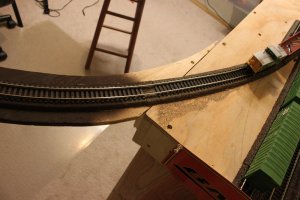
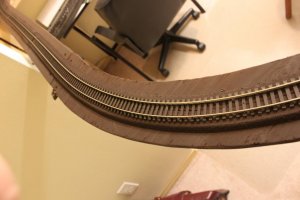
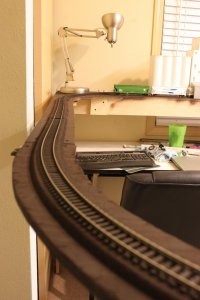
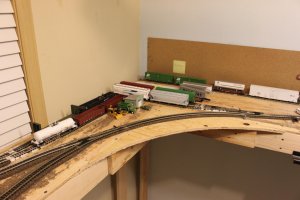
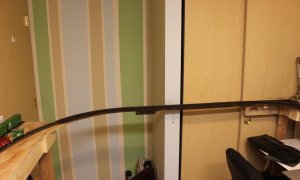
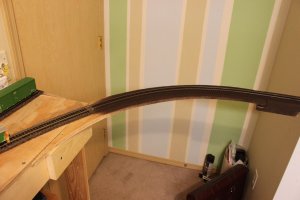
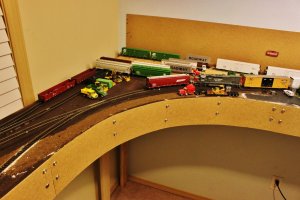
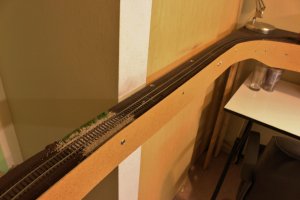
Quick view on how I braced the radius.
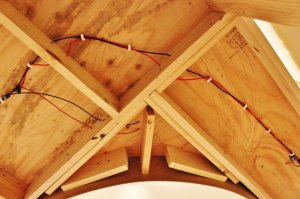
View of my my wiring, I put a ziptie around the blue connector...I just didn't have one installed in this picture.
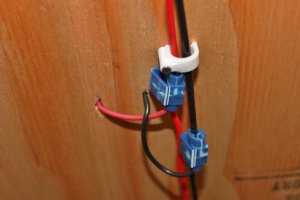
I nail in some hangers to keeping the wiring up and tight.
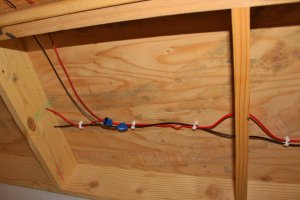
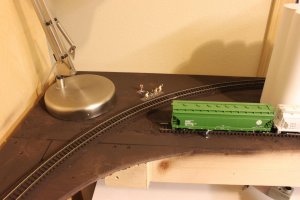
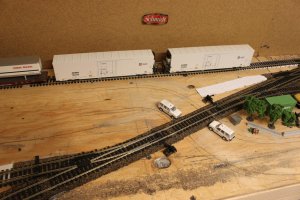
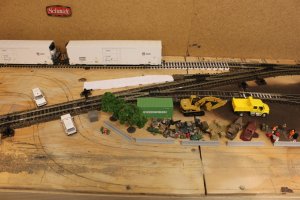
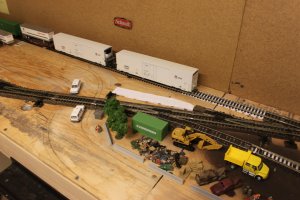
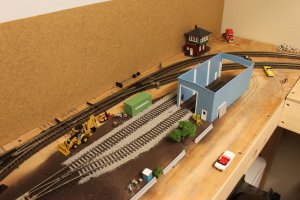
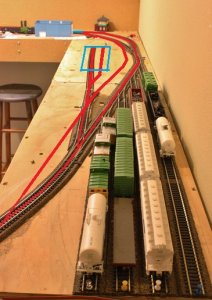
I will be adjusting the yard section a bit...I will make the right track isolated from the mainline so the yard switcher can move cars around and have the mainline clear.

View of my my wiring, I put a ziptie around the blue connector...I just didn't have one installed in this picture.

I nail in some hangers to keeping the wiring up and tight.

I will be adjusting the yard section a bit...I will make the right track isolated from the mainline so the yard switcher can move cars around and have the mainline clear.


