My first REAL layout.


It's about that time!

So for that past few weeks I have been making efforts toward the reclamation of the back parts of my shop for my model railroad room. It has been a less than fun time, but the reward is worth it I think.

I noticed back a few posts ago that not all of my pictures showed up, so I will be reposting them so you all can see what I have been up to.
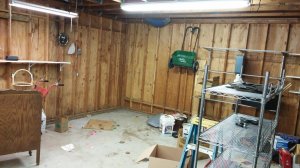
0105150914.jpg
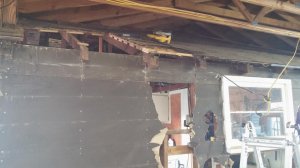
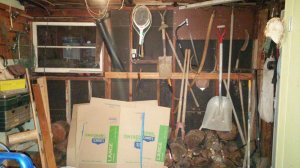
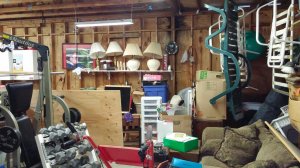
This is where the door entering the layout room will be. Left side of the door is roughly center of the window.
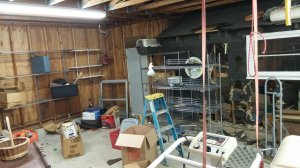
0105150916a.jpg
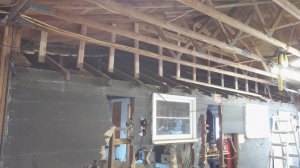
This is looking from the "South" side of the room. The reason for distinguishing room orientation will be apparent later.
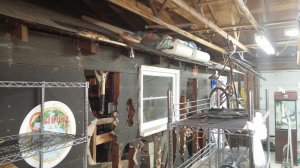
0105150917.jpg
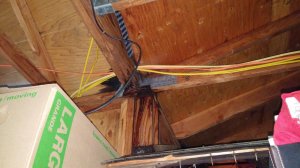
This is the bane of my existence at the moment. I have been fighting to figure out why there is a leak here, but I think I have it stopped.

I will follow this post with the after pictures.
 
And continuing on...

So this is where I am today. Not there yet, but not too far away either. So close yet so far as they say.

0215151945a.jpg
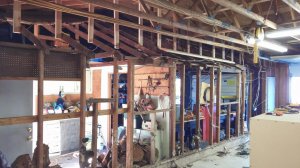
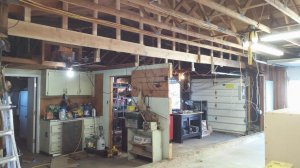
This is looking from the South-West corner of the room roughly 7 feet from the floor. No I'm not that tall, not even close. Vertically challenged is what you'd call me.

0215151945.jpg
This is looking from the North-West corner of the room roughly 7 feet from the floor.

0215151946.jpg
The removal of this wall will be starting this week. I first need to do some load transfer framing to get the load of the roof off the wall. Then it all comes out, and a new full height wall goes up with a door.
 
I am no roofer, but you ned to get that leak fixed. Leaks are the worst. After that wood rots, it is hell to replace.

It looks like it is where a valley is. The problem is that the leak could be higher up on the peak, (a hole in the flashing, or something, but it is coming in under the roof) and only coming through to the wood there at the bottom. Calling a good roofer may be worth the money, as leaks will cost you way more in the long run. Just my opinion.

Yes, I agree. And boy howdy has it been a head scratcher trying to figure where that leak originated from. I think I have it stopped for now, at least temporarily. The entire house will be getting re-roofed this spring/ summer so I'm not too worried about doing anything permanent.

Thanks for the advise.
 
New Track Plan!

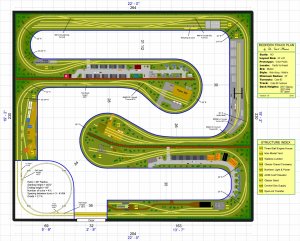
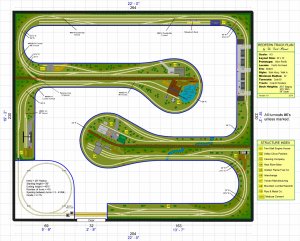
Well, as I work toward getting my layout room completed, I decided that the amature track plan that I had done in SCARM was simply not good enough. I wanted something that would support a group of people, or just me and my kids, that could run prototypically, or continuous. If you have been following Derek Glass https://www.youtube.com/user/dglass77/featured on Youtube, you may know he had his track plan done by Bill - The Track Planner. After checking out Bill's website http://www.thetrackplanner.com/ I felt that this would be a good direction for me to go and get a proper layout design done. So this is what has come from that.

2 Redfern Track Plan Ver 1.1 Main (1280x1029).jpg
This is Phase 1.5, the main level of the layout. This is where the more Urban scenery will be done (towns and industry) and there will be a lot of opportunity for various operations. There is also a continuous running bypass on this level.

4 Redfern Track Plan Ver 1.1 Upper (1280x1029).jpg
This is Phase 2, the upper level of the layout. This is going to be a rural area with smaller industries that either get fed by or feed industries on the lower level. There will also be an interchange area here where I can run different railroads and do some power transfers. There is also a reversing loop here so I can run continuous from staging to the top and back down if I should so choose. There is also a continuous running bypass on this level.

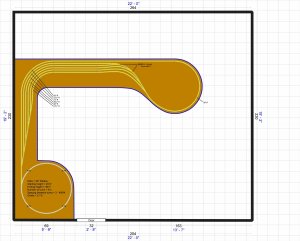
Redfern Track Plan Ver 1.0 (1280x1029).jpg
This is Phase 1, the lower staging level. this is pretty self explanatory, but I will also be using this as a reversing loop to do some continuous running from bottom to top and back again.
 
Progress.

The vision is starting to take shape. I have so far been able to do all the roof repairs and remove the existing wall that was in the way. Now I will be getting some concrete cutting done to make room for a door, and also to remove the old foundation between my garages that will no longer be needed. Here is a few pictures to show the progress.

0221151052.jpg
Started the removal of the roof material that was weighing down the old and irrelevant roof section. There was a LOT of weight here, and I am glad I took off as much as I did.

0221151439.jpg
All roofing material is off and the supports have been set in place. These supports are essentially hangers for the original roof truss system. They transfer the load of the old roof (which is not much in most places now) up to the new roof and then out to the walls.

0228151211.jpg
With that done the weight of the roof was off the wall and it could come out. With a little electrical maneuvering it wasn't all that difficult compared to the roof.

0228151510.jpg
And then there was no wall!

I still have plenty of a mess to clean up, but it is going to start moving pretty quick from here. Most of the mess that is visible here is an inherited mass of stuff that was never gone through and sorted after my father's passing. This project has sort of jump started that process, and I feel like it is time to stop letting it pile up and do something about it. And for me, that means renting a large dumpster and trashing anything without sentimental or monetary value. Also I have placed a large amount of stuff into a storage container and will weed through that as we enter into spring time for some garage sale materials.

That is all for now. I will hope to have an update by next weekend.

I look forward to feed back.
 
Bench Work.

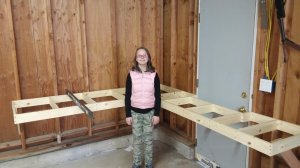
I got to spend a little time with my oldest this weekend building a couple sections of bench work. This is very exciting for me, as it gives me a visible reminder of what the heck I am even doing here. It seems like it has been a lot of work for no reward up to this point, and getting this little bit of bench work done helps immensely.

0308151722.jpg

If you look at the picture, the placement of the 4 foot level to the left of my daughter is where the bench will double back and go out roughly 14 feet into the first peninsula. That is roughly 35" between sides, around 34-1/2" with facia.
 
Insulation? Drywall? Will make the layout comfortable and help keep it clean.
Steve
Ah, yes, insulation is coming soon and so will drywall. I will not be going full height with the drywall because I will simply end up covering it up anyway with backdrop. But I will be dry walling any areas where there is no backdrop or that are visible.

Also, being as I am in the HVAC industry, I will be running a seperate supply and return duct from my heating and cooling system to the layout room. They will be zoned indepndently from my main house so I can controll that space seperate as well. This will help a great deal with filtering the air in the layout room to keep things clean too.

If anybody here lives in the Portland metro area in Oregon check out my business, I appreciate all the support I can get.
www.greshamheating.com

Thanks.


Back
Top