Mark,
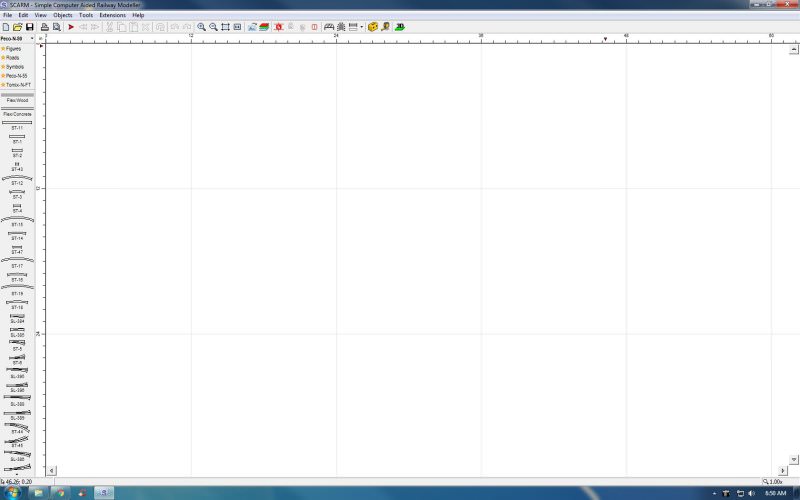
It is really simple. when you open scarm you'll be confronted with a blank "page" for the sake of a word. Down the left side you should have a list of track pieces for a given type of track, in my case Peco-N-80. At the top of the page (on the left) you'll see the Track Type Named. If you click on the little down arrow you'll get a list of all (or most) of the Track Manufacturers together with the codes they make.
So once you have selected your track type Make and Code all of the track pieces made by that company will appear down the left side like this:
All you now need to do is left click on the track piece you want and drag the piece of track onto the "blank page" then release the left hand mouse key thingy. When you release the mouse key the track will remain "red" until you click somewhere in the blank page.
If you want to use the same piece of track again, all you have to do is click on the track piece and it will automatically connect to the other piece. If you want to add a "curve" click on the curve and two options will open for you - the direction of the curve. Click the way you want the curve to go and it will be added to the track plan.
Option 2 (the way I do it) is to click and drag a piece of track onto the blank page as described above then do the same for every other piece of track you want to use. When you do that, you need to drag the new track section to one end of the previous section and move the "arrow" of the new piece over the "arrow" of the previous piece. When the arrow/s turn "green" release the mouse click and the track will automatically join/connect.
Now, for "flex track" the same principles apply, EXCEPT it is flex so when you drag it onto the blank page and release it it will still move around. One end of the Flex will be "hooked" but the other end will flex so you can shape it. Once you have the flex the shape you want it to be left click and it will stay locked in the position you have chosen. When using flex track as you move the curser along the length of the track you'll see a red line appear as well - the track will turn red. The red bit is the bit that has been set in place but WONT be fixed in place until you click to do so.
If you "goof up" and want to remove a bit of track you have put down, left click on it so it turns red then right click on it to give you a list of options including "cut".
That is about as basic as I can get it mate and hope it all makes sense. If not, I'll throw together a video for you so you can see what I am saying. Try doing a small plan using "Sectional Track" to get the hang of getting the pieces onto the "blank page" and so forth first as they wont give you any issues.
One other thing when using flex track - down the bottom of the screen you'll see a bunch of numbers. One of those numbers displays the "RADIUS" of the flex as you "bend it. So, if you want a 20" radius, lay your flex on the blank page, move your cursor to the end of the piece of flex or until the entire piece turns red then move your mouse downwards and watch the flex "flex". As you do that, watch the RADIUS figure down the bottom change, getting smaller the more yu bend the track. Keep bending the track until the R - RADIUS number reads 20 and bingo, you have 20" radius curve
")
Let me know if any of this is unclear or if you have any other questions and I'll do my best to explain things.