Conway Coal Yard progress


Black Davy

Member
Coal Yard Progression,

So I am working on the fictitious version of Conway Coal so I can show the different scale versions of Coal I have.

I am utilizing inexpensive scratch build material most anyone can utilize to produce a decent looking set up.

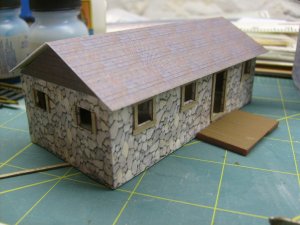
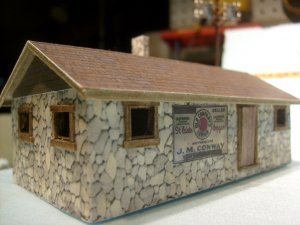
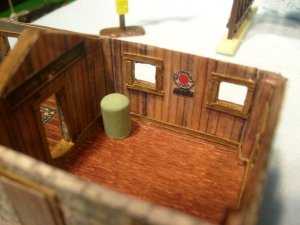
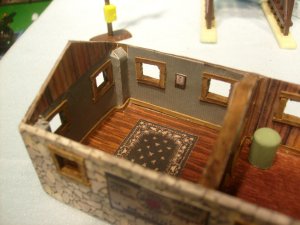
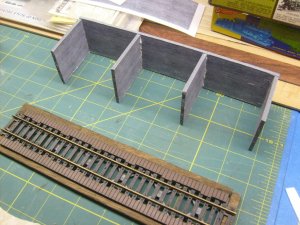
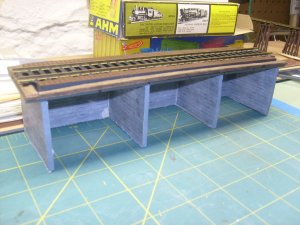
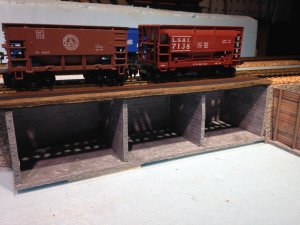
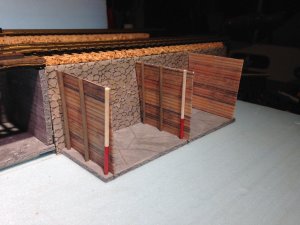
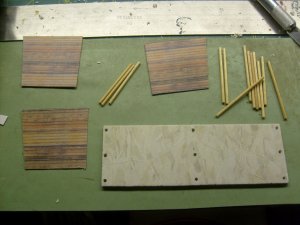
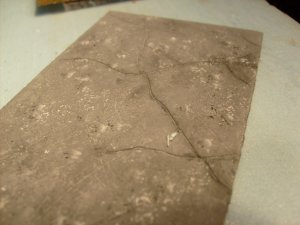
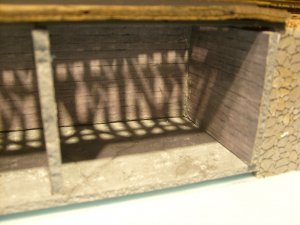
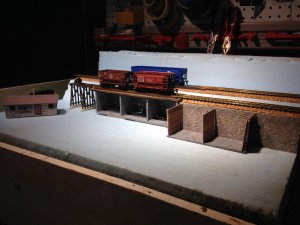
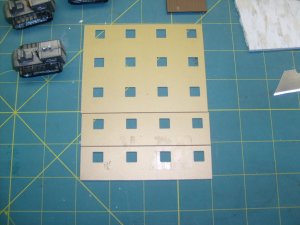
I work in Retail Construction so I am recycling materials. Initial side walls for coal office were some plastic samples from a vendor that had square holes punched in it so I decided to use it. Next center support wall and floor slab and chimney is VCT tile used in bathrooms or stockroom floors, this stuff is slightly flexible and very carve able and holds paint well. I also used this for the concrete retaining walls of the coal trestle and stone retaining walls. The trestle span is the bottom of abridge from my Tyco Big Pine Lumber set along with the supports at the end bumper. I also use cardboard backing from the hotel note pads when I travel these were used for the roof on the office and all the door and window trim, also for the backing of the wood pocket dividers. I have used small dowels used from craft stores used to stir craft paint for the side wall support posts on the wood pockets.

2” foam is used for the base.

. S6305091.JPGS6305093.JPGS6305098.JPGS6305103.JPG
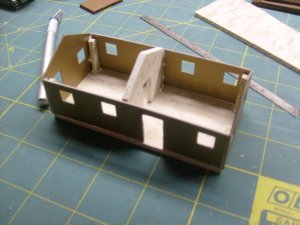
 
More progress photos

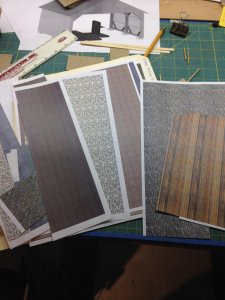
S6305104.JPGS6305107.JPGS6305092.JPGS6305090.JPGI have also been using printed paper glued for exterior wall, retaining walls, interior wall. I also took photos of my coal signs and put them on Photoshop then to AutoCad reduced the scale and printed them out. The photo wood and stone photo realistic images from AutoCad, I had seen on one of the forums that someone had posted similar images that anyone could use. I will weather the photo images with pastel later or leave alone who knows at this time.
 
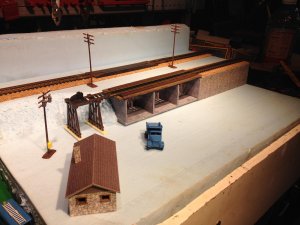
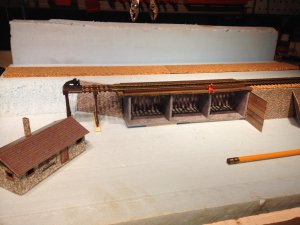
Starting into the layout on foam now. All the items are just loos in place, the wood coal pockets still need diagonal supports and other stuff.
IMG_3933.jpgIMG_3934.jpgIMG_3936.jpgIMG_3935.jpg
 
Some details on side coal pocket

S6305115.JPGS6305114.JPGS6305110.JPGIMG_3938.jpg
Thats it for now. I need to start sourcing some materials for the ground cover.

Thanks for looking.
 
That looks really good. I like that you're re-purposing most(or all?) of your material. Keep the pictures coming!
 
Nice! Are you a L&NE modeler? I like the exterior walls on your office-how'd you get the stonework? Things look good!
 
I am modeling the Fitchburg Division of the Boston and Maine 1900 - 1950 + era, with concentration on the Greenfield, Mass Yard. Conway Coal is located on the west end of the yard with its own siding that was spur off the southern side of the yard. Although this is not a true representation of the yard it will serve its purpose for displaying my coal. Lines that delivered coal to the yard were, B&M, PRR, Erie, D&H, NJC, L&NE, OCLNC, B&O, LV, CRR, Reading, CNJ.

As for the stonework, I am taking Realitic Photo Images from AutoCAD 2008 scaling them to the size I desire and printing them out.
IMG_3963.jpg
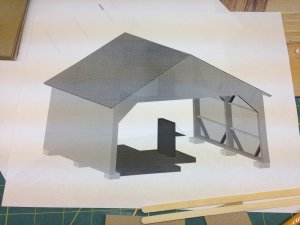
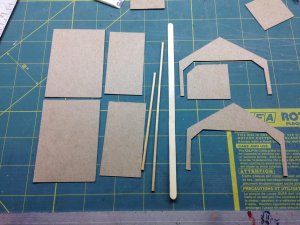
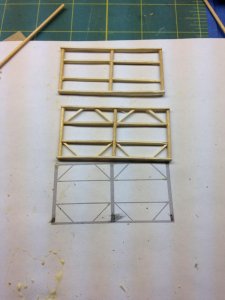
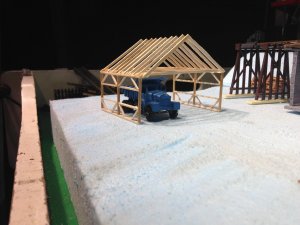
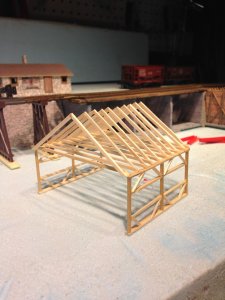
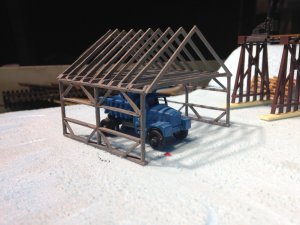
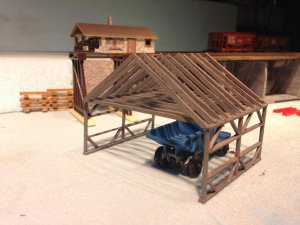
Now I am starting to work on my coal scale building, this will be a scale replica of the one that is on my property now. Not sure how far I am going to go, scratch build with card stock and photo images of boards or split up my coffee stirers for the boards.
IMG_3965.jpgIMG_3948.jpgIMG_3949.jpg
 
Last edited by a moderator:
Very, very nice work BD, I really enjoy scratch building and kit bashing. Great job on the coal complex so far.
 
Execellent work, and on a low budget. I keep throwing this link out there, you appear to be someone who would make great use of it. http://www.cgtextures.com/
Retaining walls and a million other things to print of and use.
 
Thanks for the link Gary! never know what I can use.

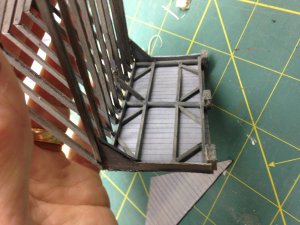
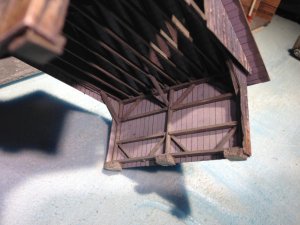
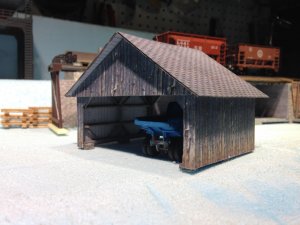
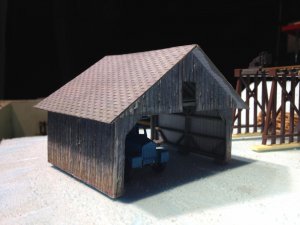
So some more progress on the scale shed, everything here is built from coffee stirers split. I am still torn on weather to do printed paper on the outside face or split mor coffee stirers. I guess I will mock up both and see where it goes this weekend.
IMG_3974.jpgIMG_3972.jpgIMG_3978.jpgIMG_3979.jpg
 
Coal Platform Scale Building

Well thanks to Gary B I found some great wood siding and slate roof photos from the link http://www.cgtextures.com

I saved them to Photoshop croped, added and blended to the size needed, saved as JPEG imported to AutoCAD and scaled to the correct size and printed, dand these are nice photos.

Work will progress today on the platform scale.

IMG_3980.jpgIMG_3984.jpgIMG_3982.jpgIMG_3983.jpg
 
That turned out really good! I think I am going to have to build one like it for my tractor if I ever decide to buy the tractor I have been eyeballing at my LHS. Thanks for posting!
 
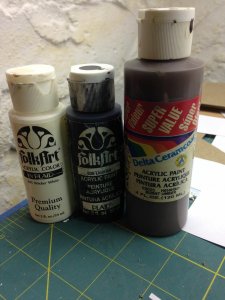
BB, wombat thanks, IMG_4001.jpgKevin I'm using basic craft store acrylics, I never have a formula, I usually start out on the thin side with water and do a wash then add and mix as I go, the mix may change and thats ok since there is no consistancy in the real world. White, Black, Brown and Green are pretty much my staples for mixes.
 
Scale building progress

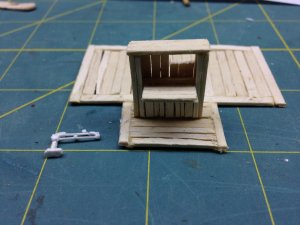
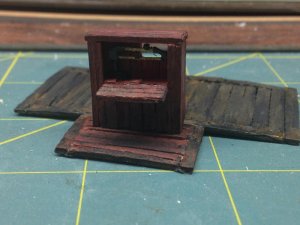
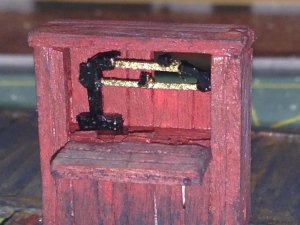
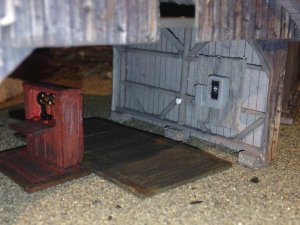
I made the Fairbanks 20,000 lb pit scale platform and housing from coffee stirer sticks, the Fairbanks scale beam was cut out of styrene. The washes were a combo of Testors acrylic washes and enamel stains also some acrylic red mixed in with the wash, after that chalks were used.

I used VerCiTile to make the electric meter and swith mounted to backboard, I still need to paint the outlet and ad wiring.

The Building and scales are not in perminent place yet.
.IMG_4342.jpgIMG_4490.jpgIMG_4491.jpgIMG_4493.jpg


Back
Top