goscrewyourselves
I'm the one
Thanks for the kind words, all are appreciated.
Lynn:
What I think I am going to do is buy a "sheet" of N Scale Brick and use it to try various things. I have to admit that I am apprehensive about doing it to a structure in case it doesn't work out properly and I ruin it. I will try what you suggest and I will use "my thumb wife" to rub the the excess of; although, I don't think she'll like it")
Jeff:
It is nice to have the "real thing" to be able to reference - wish I had have thought about that years ago. Funny how what is right under your nose some times gets over looked
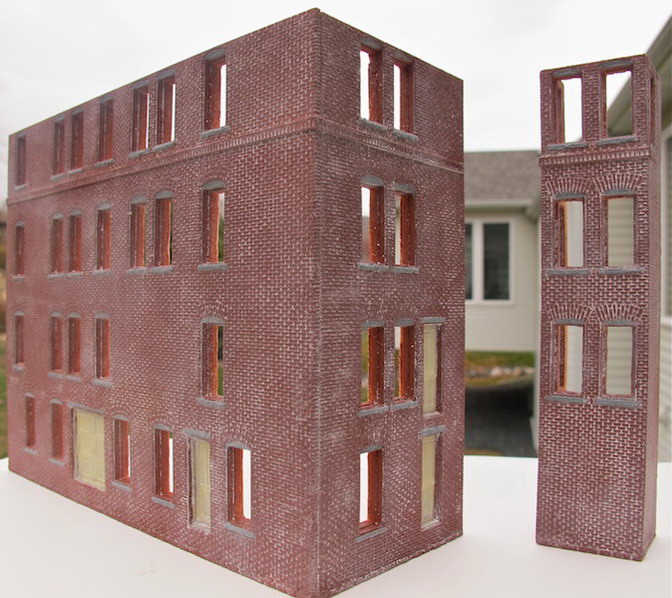
Your absolutely right about the air brushing, it would make it look too uniform I think. I did a bit more by hand last night and am starting to wonder about the paint. For some reason it doesn't want to stick to the walls in spots. I don't know if it is the paint or if it is the primer causing the problem (Model Master) or if it is "oil" on the walls.
Edsland:
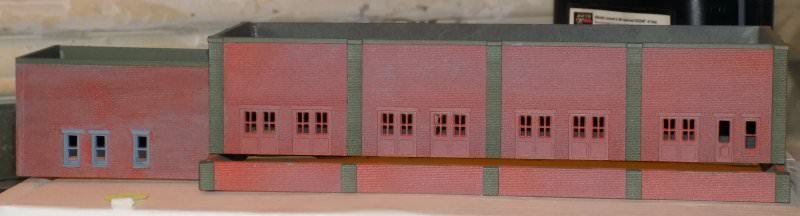
Thank you and working with N Scale is a challenge compared to HO scale. I do use a magnifier to work with it be it painting or putting the kits together. This isn't going to make any sense what so ever but when it comes to the painting, I am finding it a little easier. Don't ask me why, perhaps I am just getting better at it.
Willie:
Have tried doing mortar that way and I could never get it to work properly. I was probably using too much paint because theoretically that process should work.
flyboy:
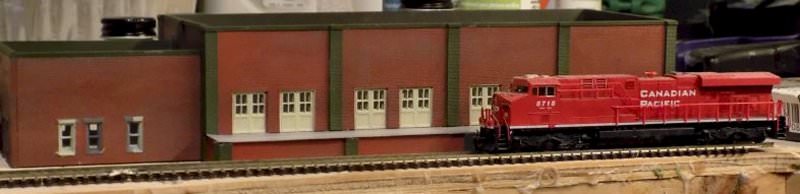
Thanks as well and yeah, I think it is turning pretty well.
Lynn:
What I think I am going to do is buy a "sheet" of N Scale Brick and use it to try various things. I have to admit that I am apprehensive about doing it to a structure in case it doesn't work out properly and I ruin it. I will try what you suggest and I will use "my thumb wife" to rub the the excess of; although, I don't think she'll like it
Jeff:
It is nice to have the "real thing" to be able to reference - wish I had have thought about that years ago. Funny how what is right under your nose some times gets over looked
Your absolutely right about the air brushing, it would make it look too uniform I think. I did a bit more by hand last night and am starting to wonder about the paint. For some reason it doesn't want to stick to the walls in spots. I don't know if it is the paint or if it is the primer causing the problem (Model Master) or if it is "oil" on the walls.
Edsland:
Thank you and working with N Scale is a challenge compared to HO scale. I do use a magnifier to work with it be it painting or putting the kits together. This isn't going to make any sense what so ever but when it comes to the painting, I am finding it a little easier. Don't ask me why, perhaps I am just getting better at it.
Willie:
Have tried doing mortar that way and I could never get it to work properly. I was probably using too much paint because theoretically that process should work.
flyboy:
Thanks as well and yeah, I think it is turning pretty well.