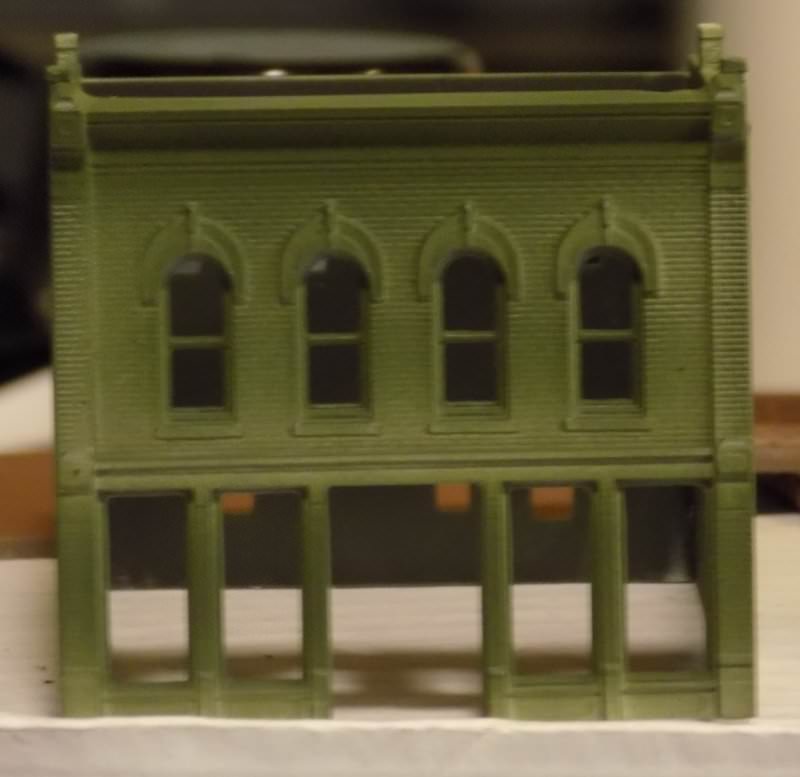
For your lighting, you want to consider "warm white" LEDs over "bright white". Run a test with one of your nearly completed structures. A frequent problem in lighting structures is the intensity of the light (LED or incandescent) causing the walls to glow. There are 2 ways to combat this: reduce the intensity of the light and / or paint the interior of the walls flat black. It's easy to reduce the intensity of an incandescent bulb, just reduce the voltage. With an LED, it's a little more complicated, but doable. With an LED, you can't just reduce the voltage. Below a certain point, the LED just shops working. It's possible to get a very dim glow from an LED with a process called PWM: Pulse Width Modulation. If anyone is interested, I can start a new thread on how to do it. You may also want to consider adding dividers to the interior of the structure so that the whole building isn't lit when one lamp comes on.

")