The Equestria Railroad - My Daughter's OO9 scale "My Little Pony" Railroad.


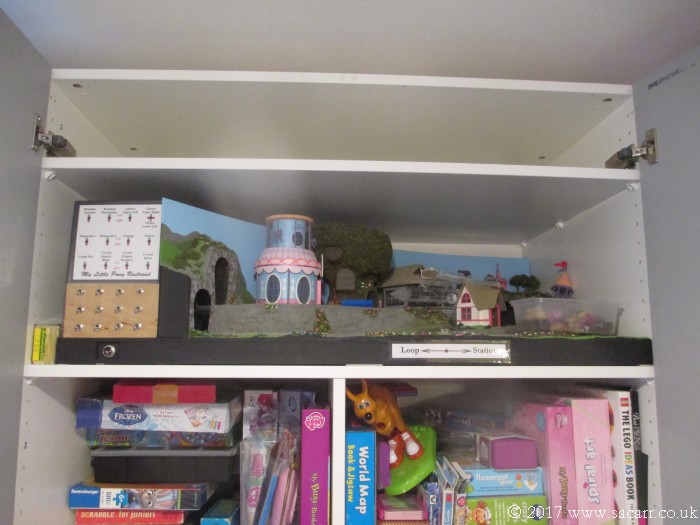
Your work is amazing. I don't know what more adorable the train layout or your daughter. No really it's your daughter but your train layout is great.

Dave
 
I clicked on the link expecting a laugh, but I read through every last page. Amazing work, and thank you for showing so much of how it was done. I really learned a lot from this!
 
Thanks. Glad you enjoyed the read. I think I've mentioned before in this thread that I wondered how many people would just walk on by the thread title. On the layout, there's been quite a few things my daughter hasn't been able to do, or I won't let her, like soldering, but she has enjoyed being involved where she can. Just at the turn of this year, she also completed her Spitfire diorama, most of which she did do herself, although I was giving advice and holding parts while she glued etc. Here it is....

lytabuild_spit061.jpg


lytabuild_spit069.jpg
 
A couple of days ago, we had a clear out in the top of my daughter's bedroom wardrobe, and the railroad migrated from the workshop to its new home. The ponies ( in a box ) and tall parts of the buildings just lie on top of the front of the layout. The controller goes on the shelf above. A perfect fit, with just enough space to slide in and out. I added some felt pads on the bottom of the layout's timber frame to aid the sliding on the shelf. Just the loco and wagons to do now.

mlp345.jpg
 
18 months on from my last post, I still haven't got around to finishing the scratch built loco ( embarrased!! ), but we have been busy over the last few days. Since completion, we've been using two off the shelf open wagons and a black 0-6-2 loco which are seen in the following photos.

mlp347.jpg


mlp346.jpg


mlp348.jpg


mlp349.jpg
 
The loco, which dates back to the early 1980's, had seen better days. Plastic fatigue saw two broken con-rods, the electrical pick-ups were badly worn and had already been modified to remedy the situation, and plastic fatigue had also caused cracks in the body shell around the front of the boiler and water tanks. These factors pushed me into feeling that it had little value as a normal OO9 loco that could be sold on in future. Instead, I would give it an overhaul and repaint into a "My Little Pony Railroad" locomotive, hopefully to be joined by the scratch built loco.

Disassembly was fairly straight forwards, but it was filthy inside!
mlp350.jpg


The motor however, was very clean and ran well.
mlp351.jpg


Here's the electrical pick-ups and the funnel, which is also the screw to hold the body shell on.
mlp352.jpg


The chassis with the remains of the con-rods and valve gear removed. There was lots of fluff tangled up in the wheels and they were also spinning on the axles, allowing the wheels and con-rods to move independantly from the geared together axles. This may have helped to break the con-rods.
mlp353.jpg
 
After gluing and clamping the cracks in the boiler and water tanks, the shell was given a coat of primer.
mlp354.jpg


Based on a picture from the show, some purple/pink paint was mixed up and the shell given its top coat. It was then left in the airing cupboard to harden overnight.
mlp355.jpg


The funnel and parts of the chassis were also painted.
mlp356.jpg


Some extra detail painting was done today along with some Letraset "MLPR" lettering on the water tanks.
mlp357.jpg
 
During the painting, the chassis, wheels and contacts were all cleaned and re-assembled. After a satin coat to seal the painting and lettering, the loco was re-assembled and brought to the layout for a test run. I may at some point scratch build some replacement con-rods, but think finishing the other loco would be a better option first.
mlp358.jpg


I'm also thinking about making some open carriage shells that will slot down onto the open wagons so they can be painted to match the theme, without having to paint the actual wagons which are still in good condition and could be sold on in the future.
mlp359.jpg


Other rolling stock would be nice, but that's all down to time. You never know, this thread may wake once more from hibernation to reveal further developments!
mlp360.jpg


mlp361.jpg


Here's a short 1 minute video of the refurbished loco running on the layout.
 
Yes, probably more so now she's older and can imagine adventures better for the characters. I think today we may head out to the workshop again to start modifying the wagons.
 
Yes, probably more so now she's older and can imagine adventures better for the characters. I think today we may head out to the workshop again to start modifying the wagons.
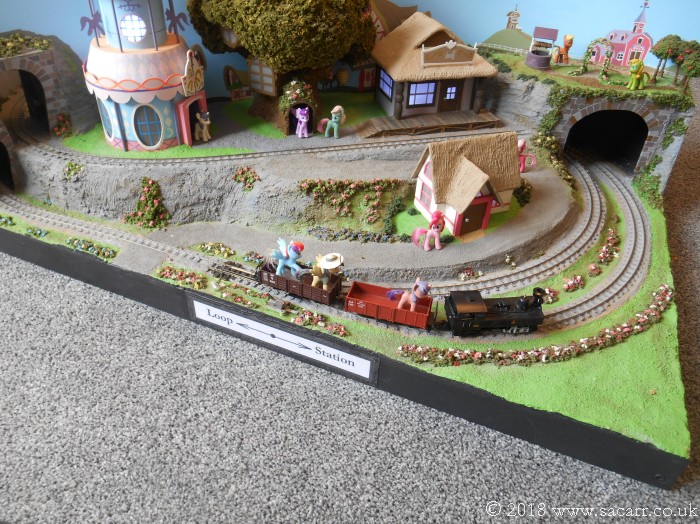
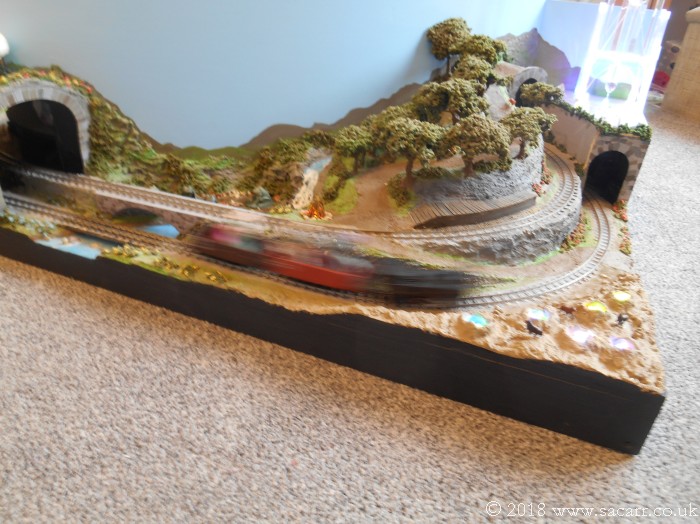
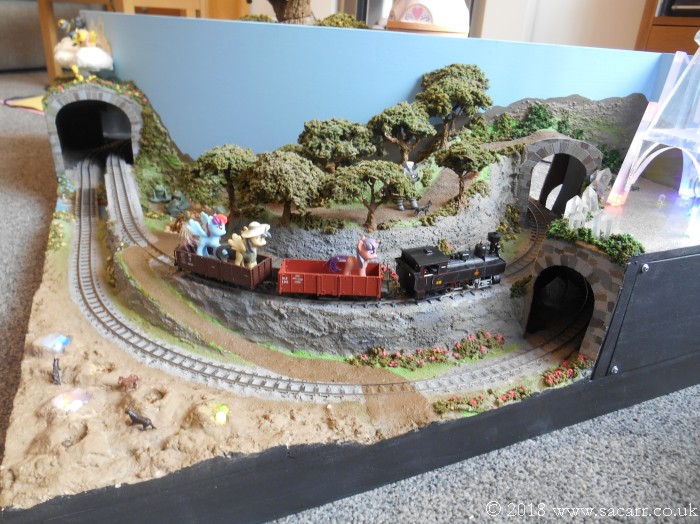
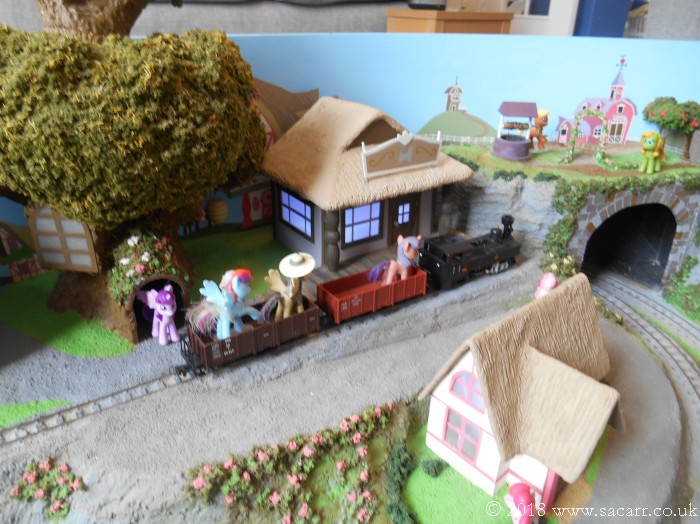
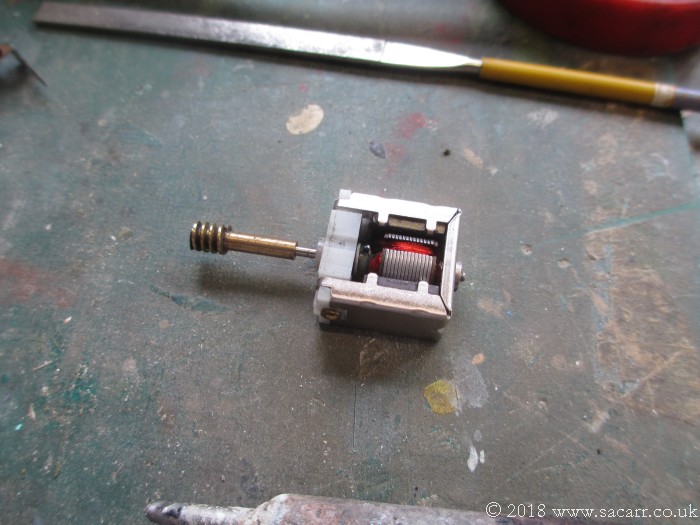
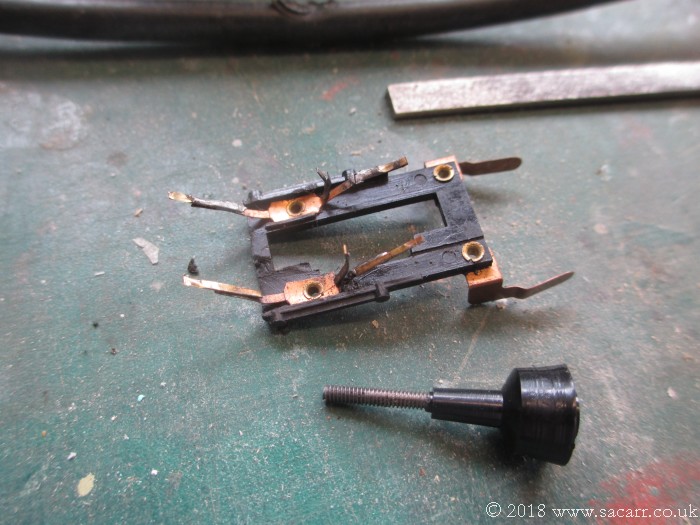
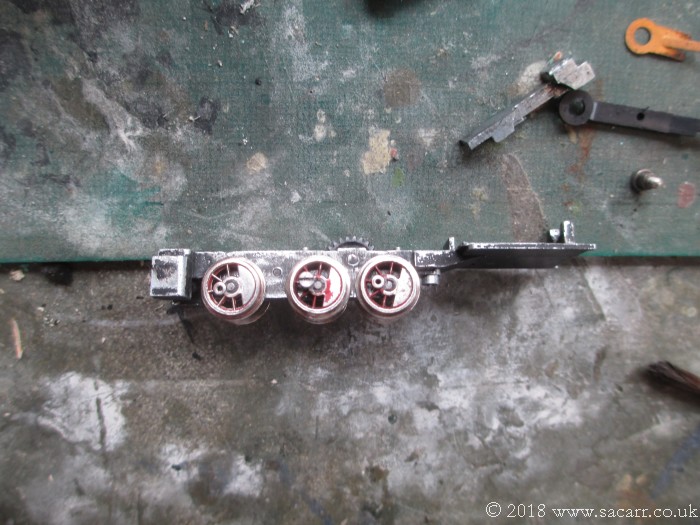
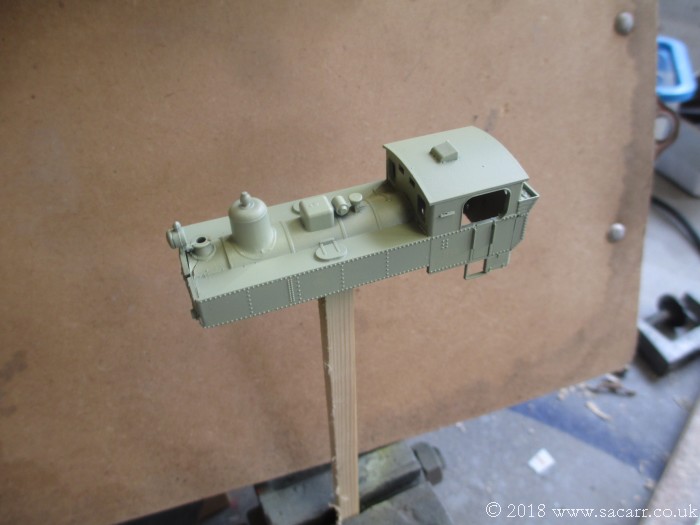
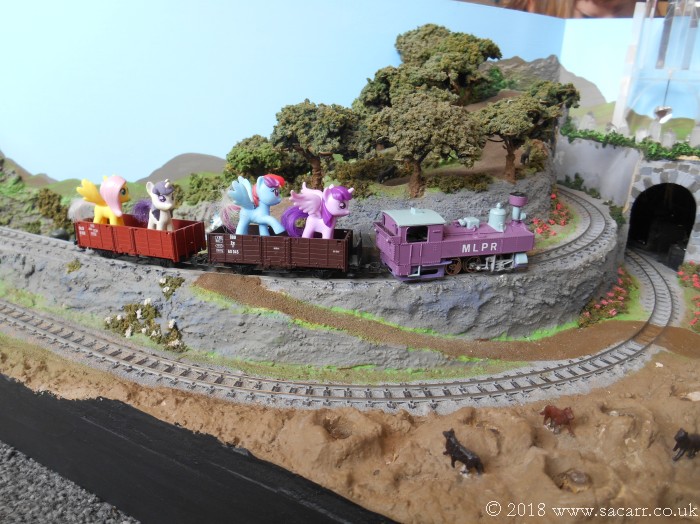
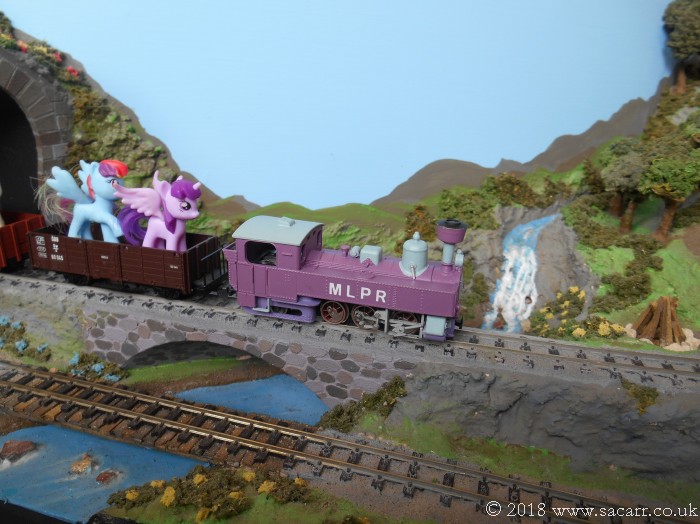
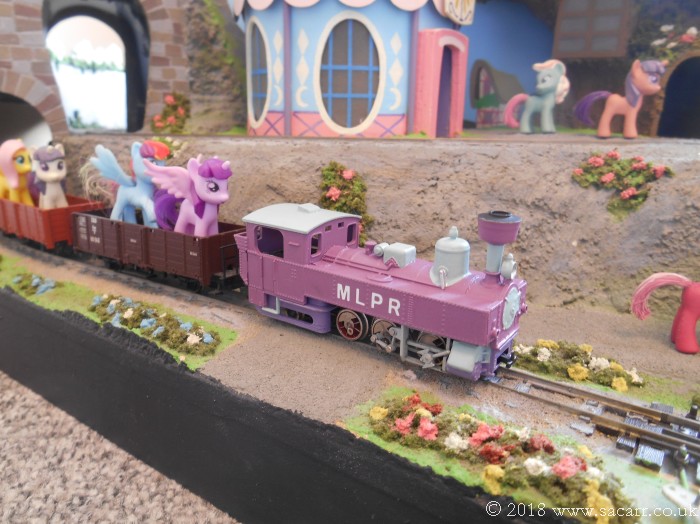
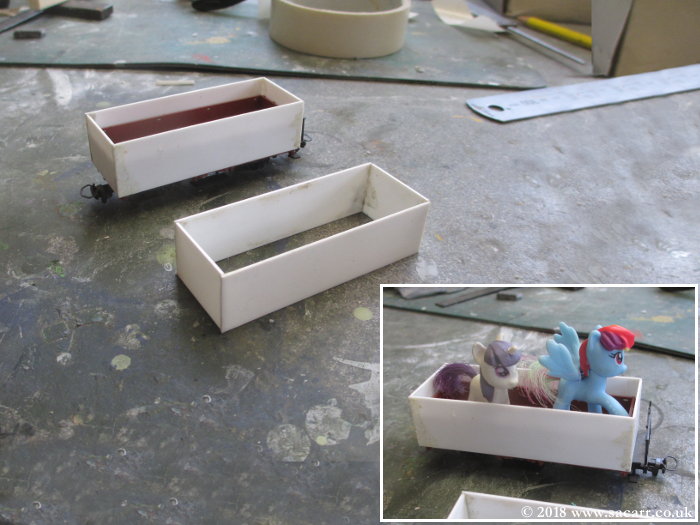
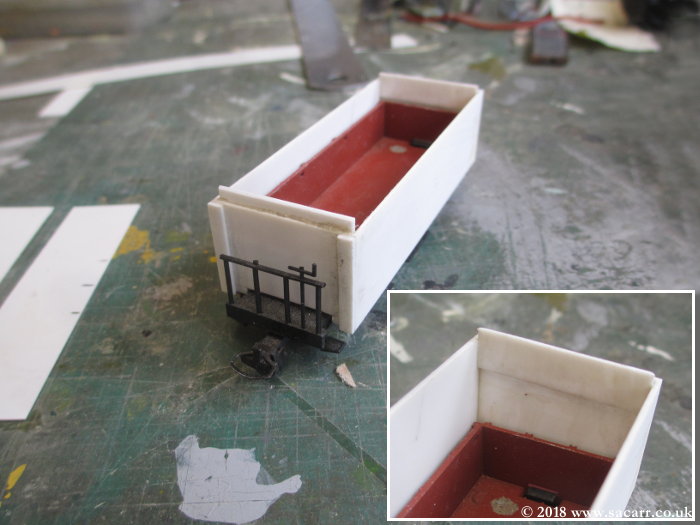
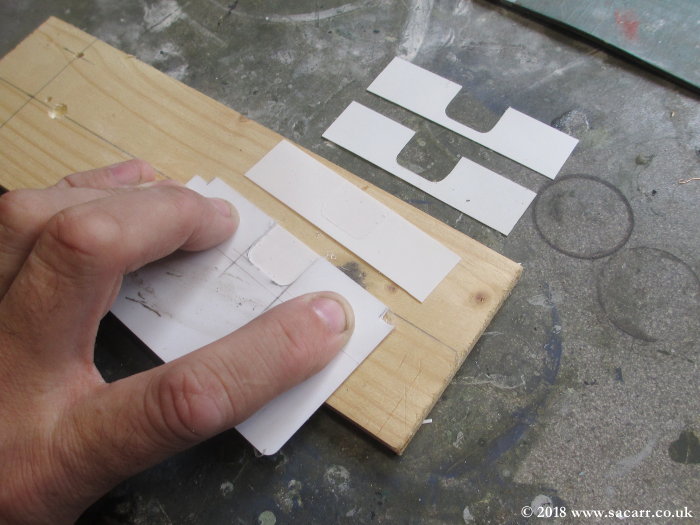
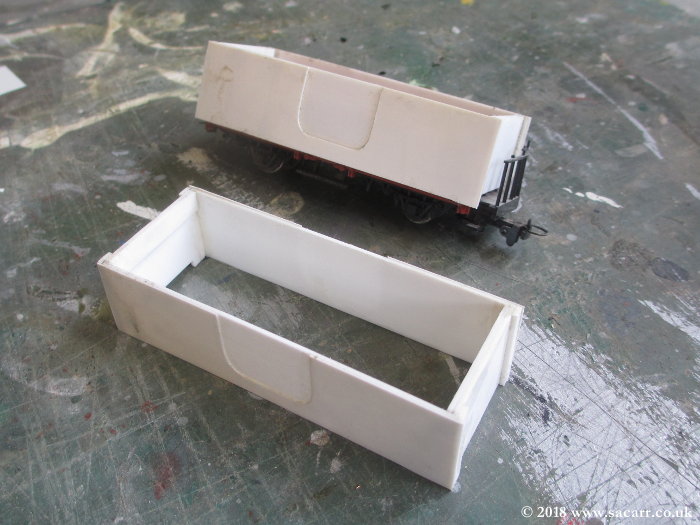
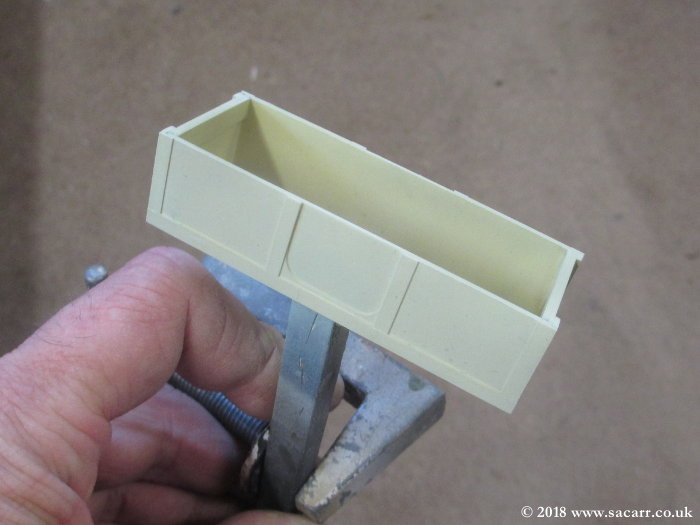
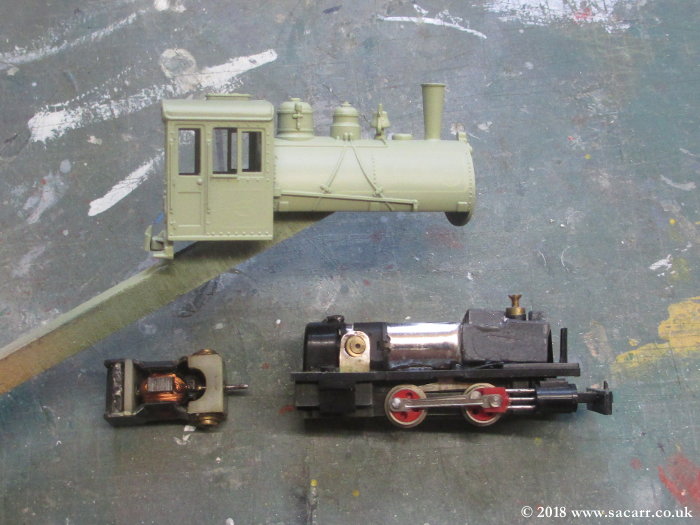
That's awesome!! I tried getting my boys involved and interested, they wanted nothing to do with it.
 
Further progress from yesterday and today. Firstly the wagons. Yesterday I made a start on making the wagons dual function, both for the MLP railroad and as a standard narrow gauge wagon. This was basically a slot on shell to hide the original wagon body. The basic box was made from some 0.75mm styrene sheet. The wagon side height was also increased making it less likely a pony will jump out. It has already happened with Pinkie Pie jumping/falling out of a wagon right next to her cottage. Coincidence? I wonder if these ponies really have a mind of their own.

mlp364.jpg


The joints on the boxes were left to harden overnight. I then had to make a small cut out in the bottom edge of one end of the body to allow it to clear the small platform on one end of the wagon.

After some small strips were added to the outside ends of the wagons to strengthen the joint, a horizontal strip was added inside the wagon. This stops the new body from dropping down all the way to the track by sitting on the edge of the main wagon body.

mlp365.jpg
 
An outer layer was to be added to the wagon with a doorway cut out. I cut a template from an old bank card and used that to scribe an then cut out the four sides.

mlp366.jpg


These sides were glued to the body shell next and left a short while to harden before the slight overhang on each end was trimmed.

mlp367.jpg
 
Some additional structure was added to the outside and after some drying time, both wagons were given a light wet sand.

mlp368.jpg


Once dry, they were both primed and left to harden off before I could think about a top coat.

mlp369.jpg
 
So while the wagon's primer dried, I turned my attention to the box of OO9 rolling stock left over from a World War 1 narrow gauge layout. Amongst the bits and pieces was another 0-4-0 saddle tank loco like the one that I started converting much earlier in the thread. The motor in it was completely dead, but when I started on the scratch built loco, I ordered two replacement motors.

Today I fitted the new motor into this 0-4-0 tank to try and bring it back to life. The old motor is shown next to the loco in the picture below. The new one had a much longer shaft which needed cutting down to avoid the lead weight. During a low power motor test, the wheels started turning and all of a sudden, I had con-rods flapping in the breeze! One of the tiny pins had come out of the rear wheel and had vanished. Despite an extensive search of the area, I couldn't find the tiny pin. It's not a brilliant runner, but will do for this layout.

Close inspection showed the hole where it went had a little split allowing the pin to work free. I made a replacement from a 1/2 inch panel pin which also vanished while trying to fit it. A second pin was made and this one was successfully fitted. The black loco body shell was then given a coat of primer.

mlp370.jpg


Late in the afternoon, out came the airbrush again and the wagons and loco body were given their top coats. They are all now baking in the airing cupboard and will receive some detail painting tomorrow.

mlp371.jpg
 
Last edited:
Officer Carr, your work is absolutely marvelous !! Hoping this doesn't insult you intelligence, but if you ran clockwise, you could back the train up the incline for a reversing experience...M, Los Angeles
 
Yes, we have pushed the wagons up the hill, and the station was designed just long enough for both wagons to be at the platform.
 
10-4. That's what I thought. Thank you for your service and to the hobby as well ... M


Back
Top