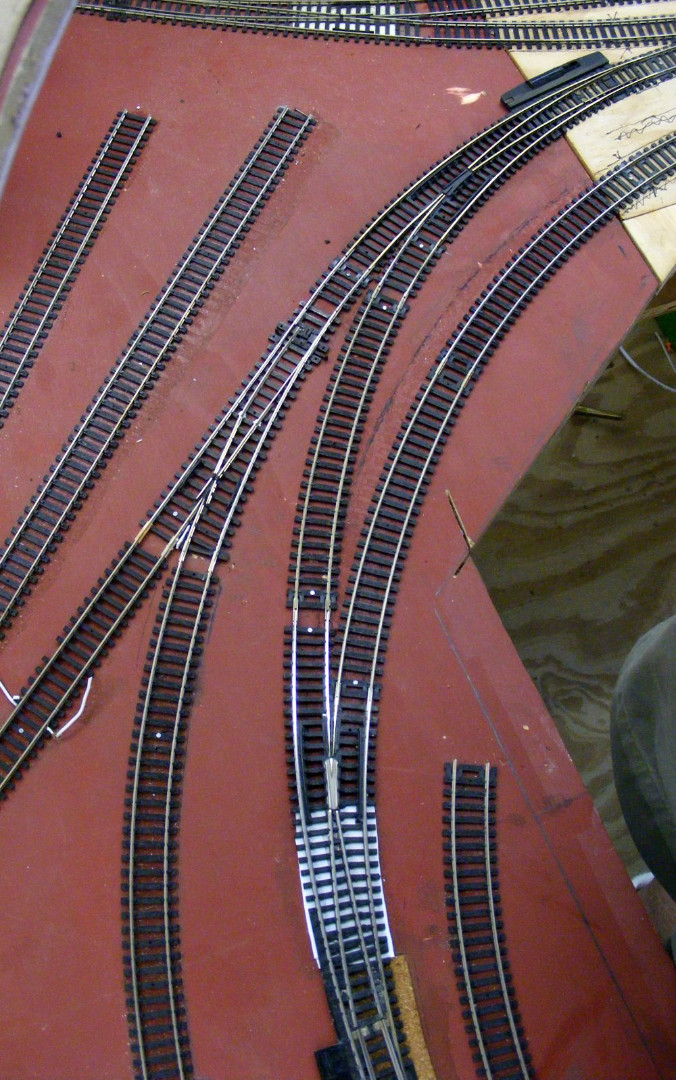
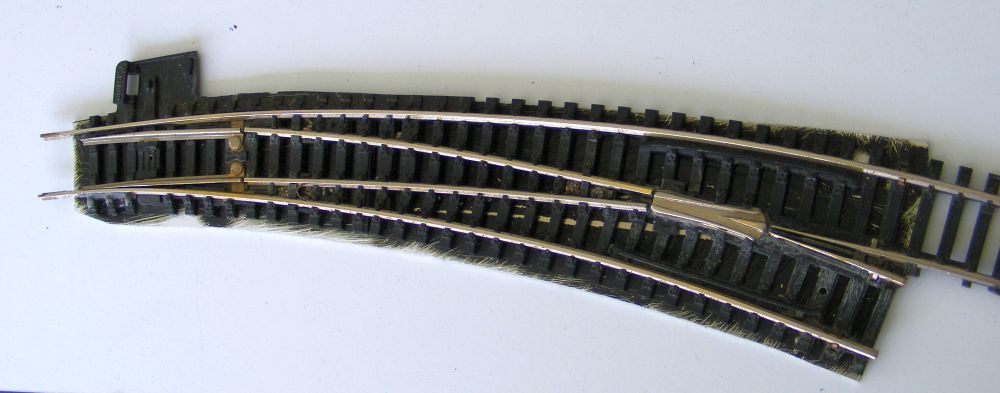
Shinohara Curved Turnout 24/22, Code 100


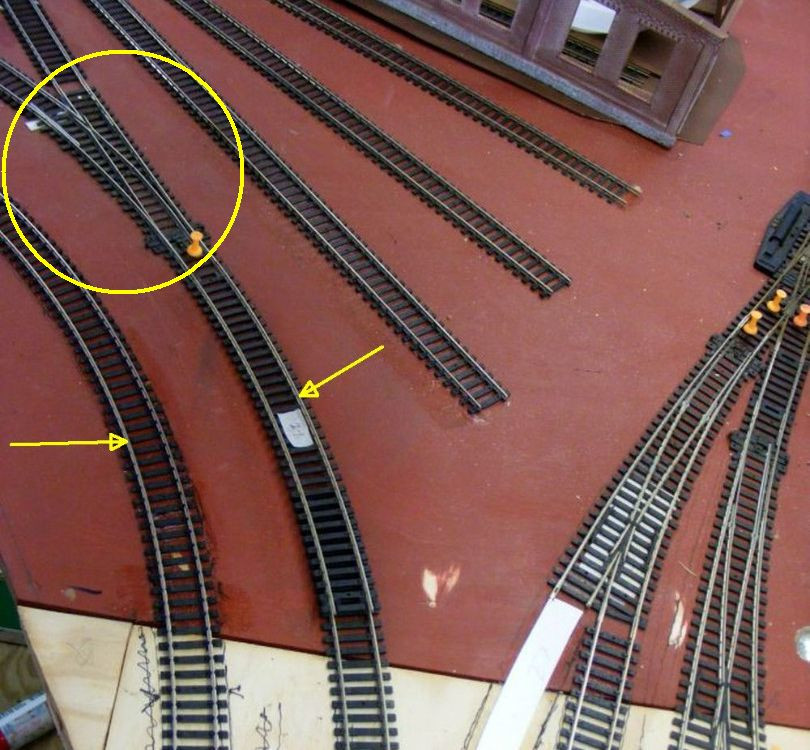
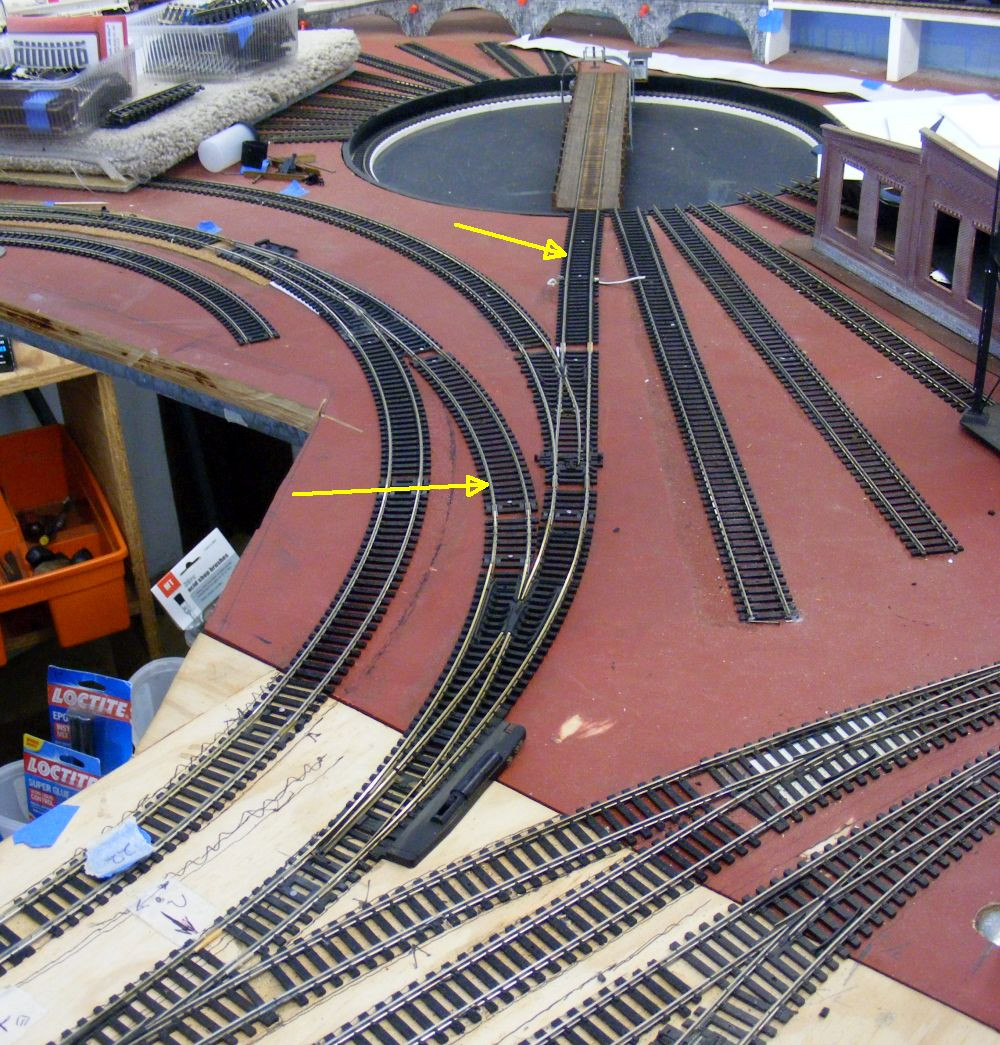
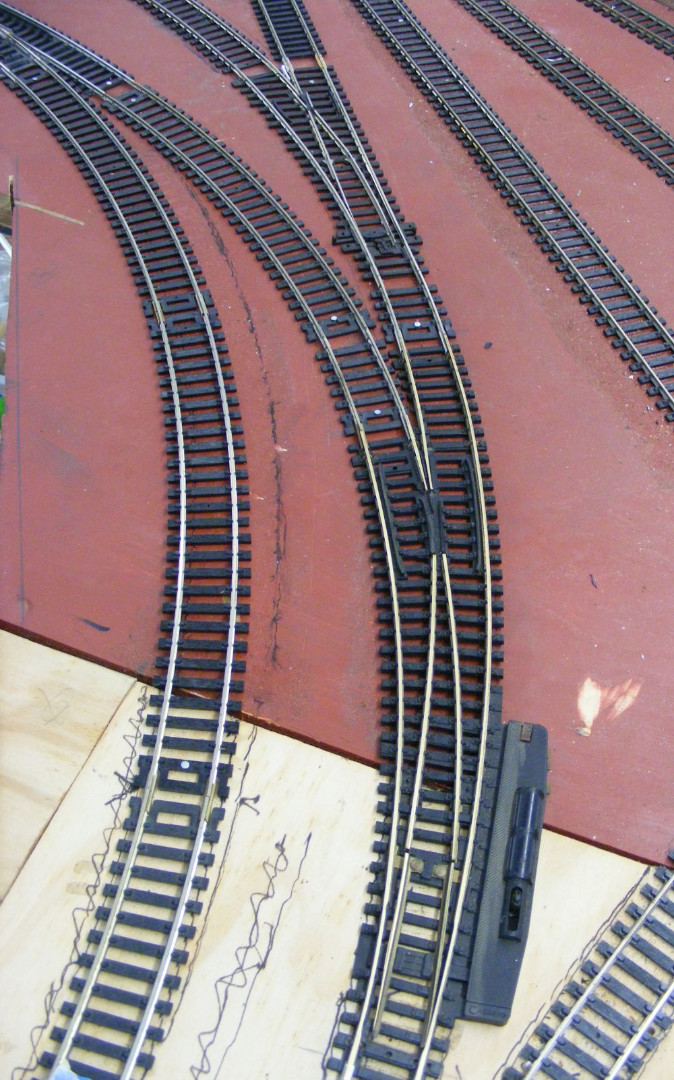
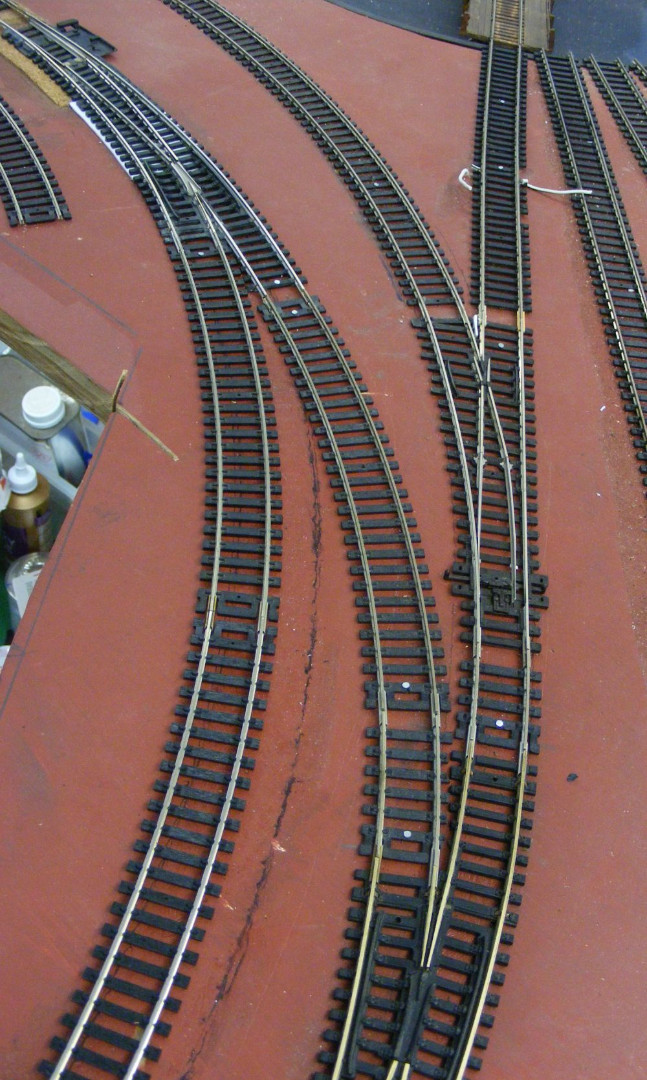
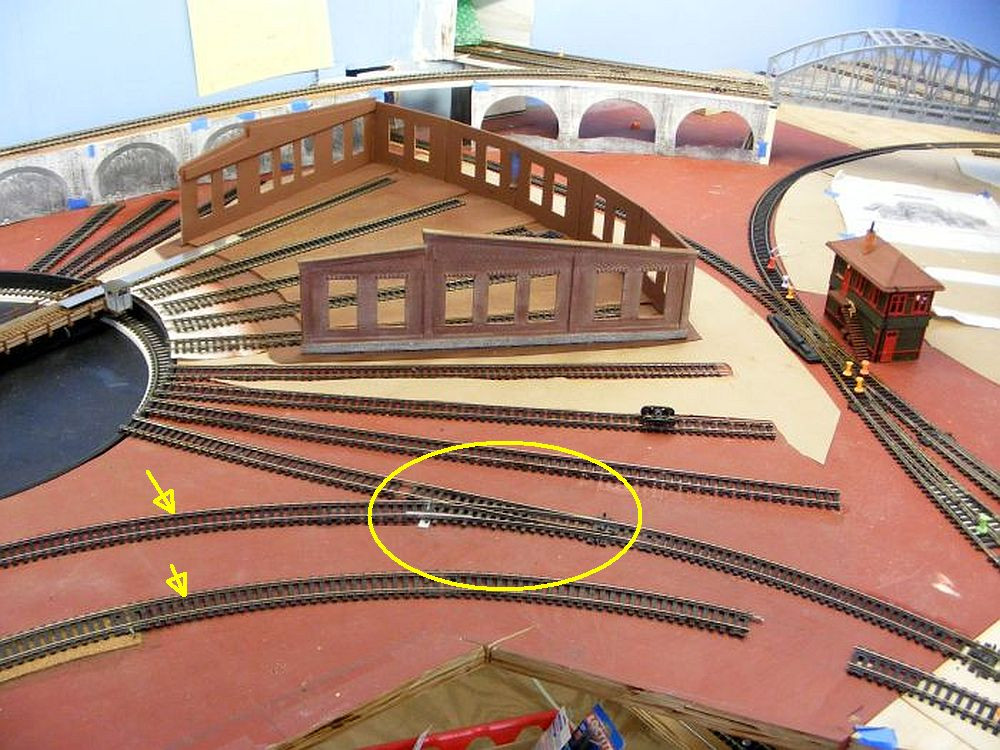
There was a reason I kept looking back at this area of track. Originally I had some trouble SMOOTHLY inserting this small radius Peco turnout into the constantly curving 24" curve,..
sm radius turnout in 24  r cruve.jpg

sm radius turnout in 24  r steam engine cruve .jpg

It was not as smooth (no kinks) as I had wanted. I had actually cut the diverging tracks off slightly to try and get a smoother curve.

I then became aware that the' constant 24" radius' of that stock Peco turnout was in fact not absolutely constant, nor was it all 24".
This keep wearing on my mind as it was so important for my numerous steam engines to get back to the turntable. I vowed I was going to try and fix it.

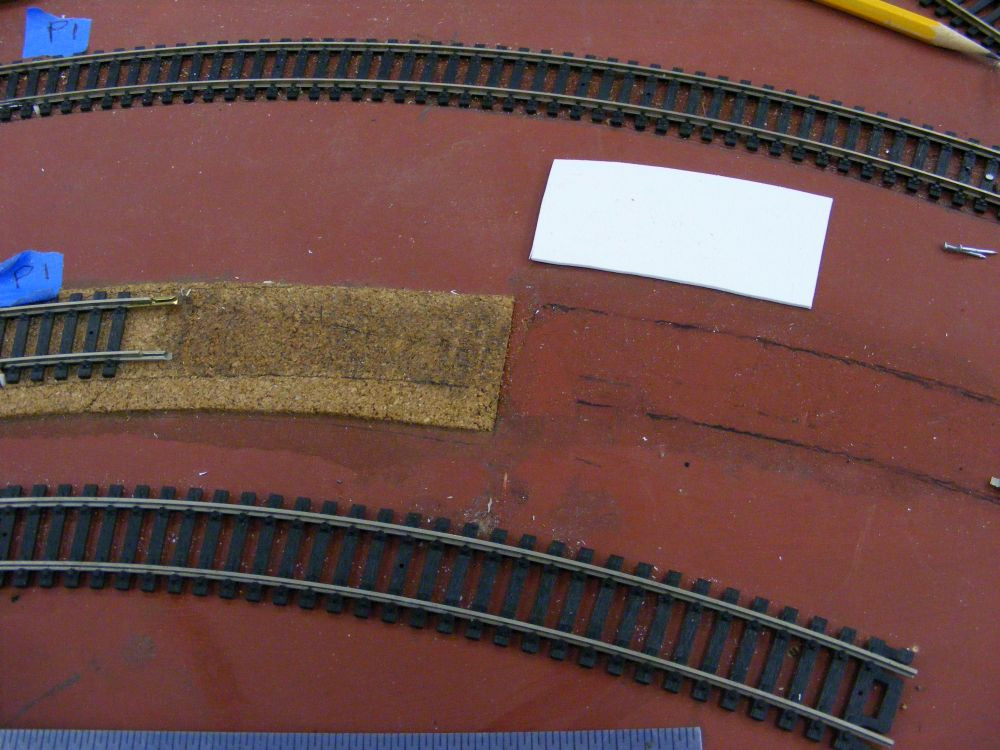
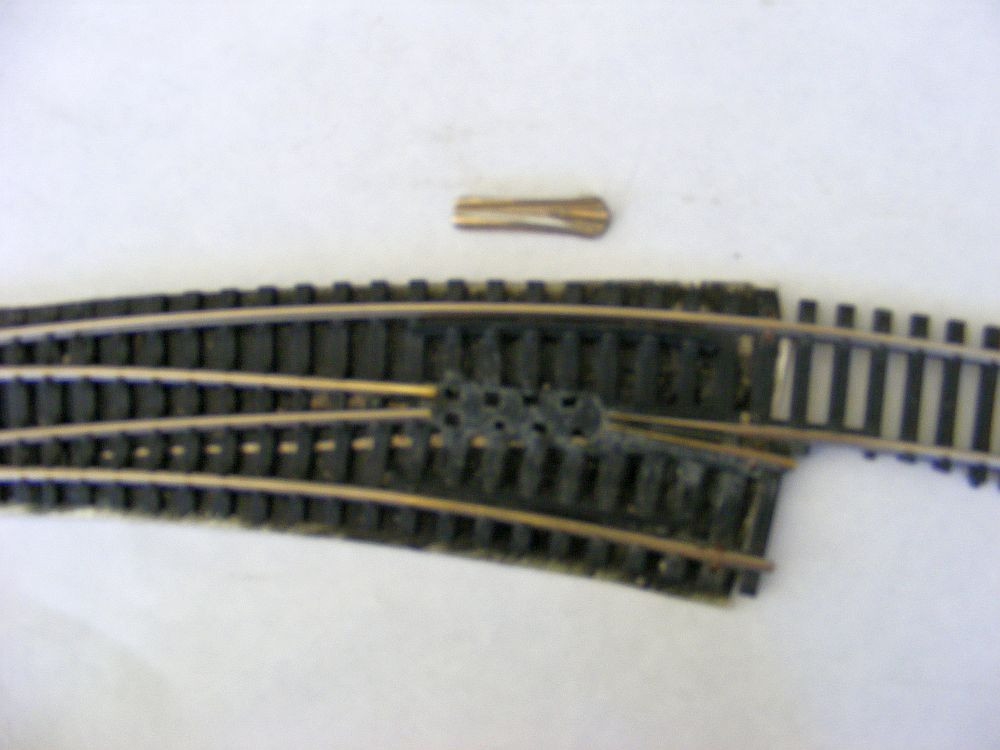
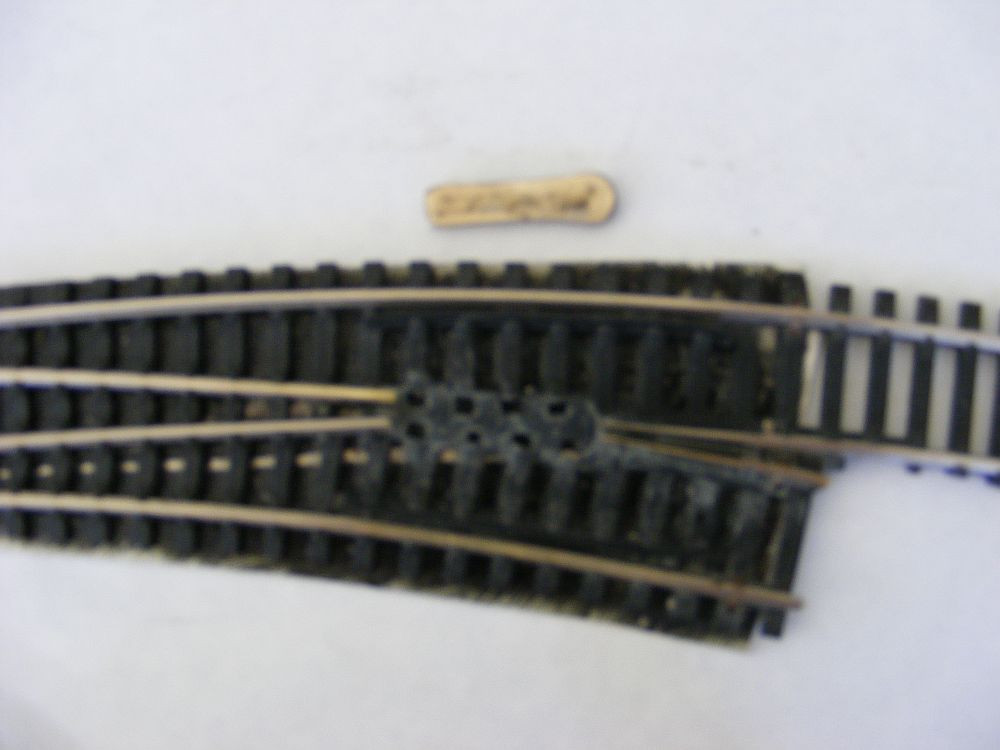
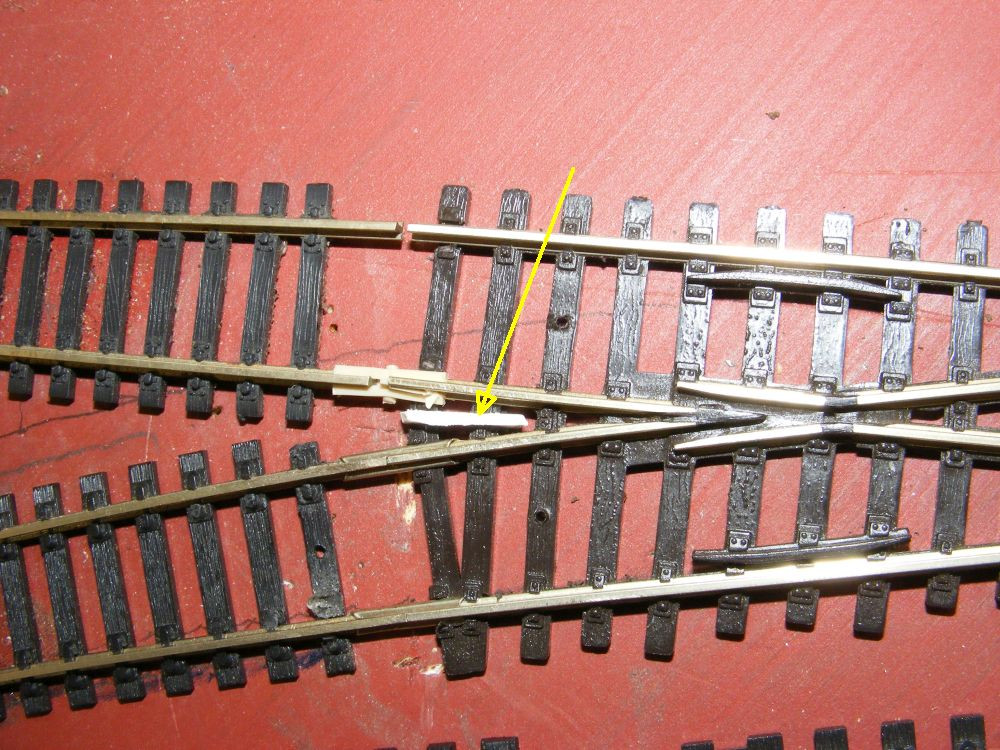
My first thought was to replace it with a Peco short Y that also is advertised as 24"radius also. But that would create an an S turn in that trackage. No, I was going to have to see if I could massage a conventional sm Peco to work. I ended up taking a brand new sm-r Peco and cutting a slot in the two ties between the V area between the 2 tracks exiting the frog,..
DSCF7743.jpg

I then inserted a piece of plastic into that cut slot to help with maintaining that spread of the diverging tracks. Now my new modified Peco snall-r looks smoother in its overall 24" curve.
*****************

PS: It was this turnout problem that kept me looking back at this area of track, AND the reason I took a new look at providing a new connection between the 2 curves utilizing double curves,.....to be continued.
 
So my first inclination was to see what turnouts I had in my inventory that might be utilized in this effort.
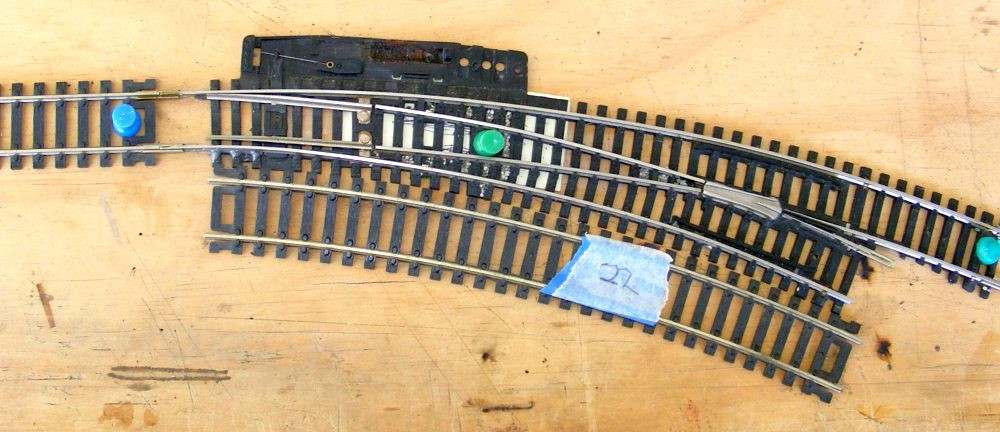
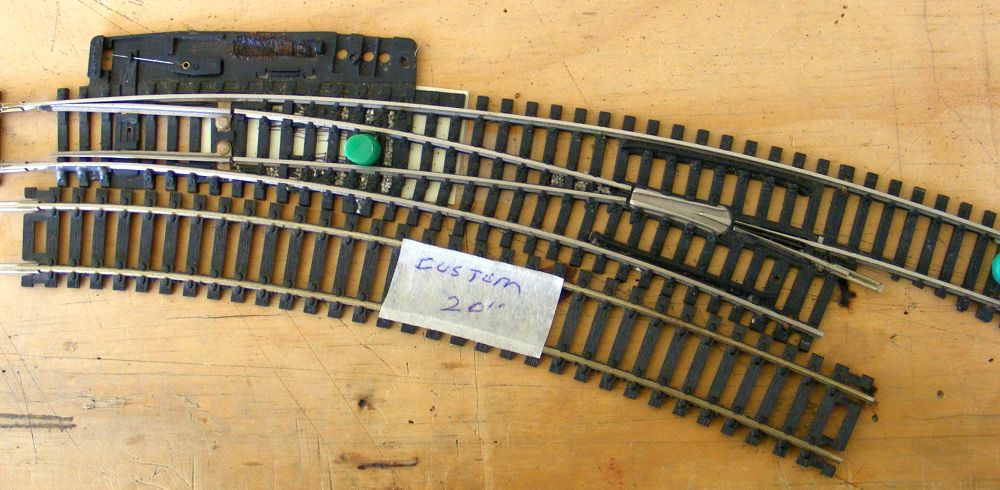
My first consideration was what EXISTING dbl-curve would have a 22" inner radius to match that inner track plan. Most of what I came up were inner radi of 18".
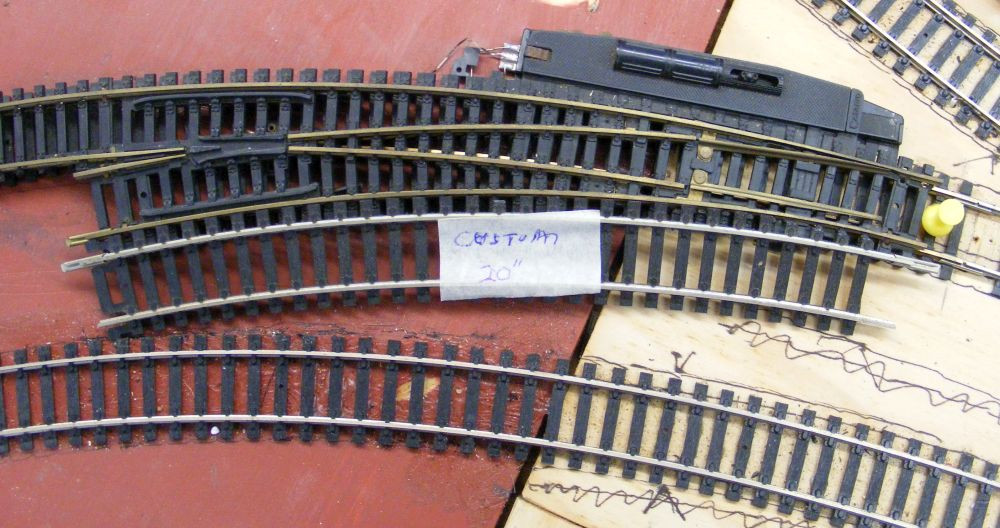
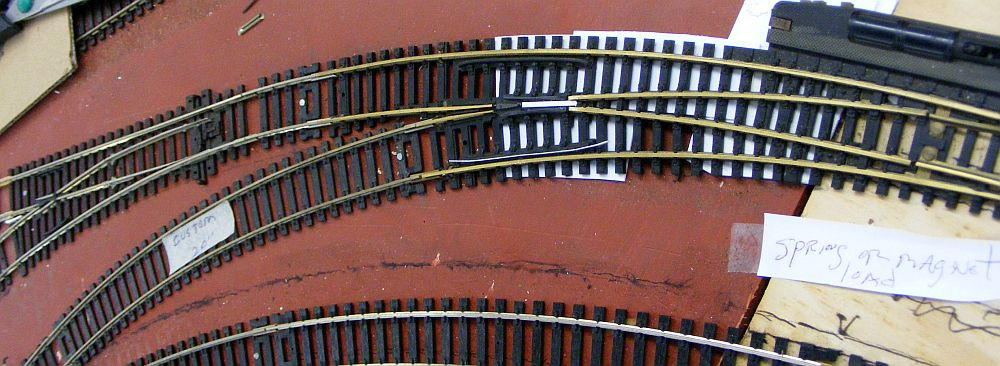
BUT this old Casadio one that was listed as 22/18 came the closest. It's inner radius appears to be pretty close to 20" (I modified a fixed radius piece of track to arrive at this 'custom 20" radius'),...
DSCF7733.jpg DSCF7739.jpg
This looks like what I need to insert into my inner curve of the 2 tracks.


NEXT I wanted to find a commercial dbl-curve that had a 24" outer radius curve. I came up with 2 possibilities, a Roco/Atlas brass one,.
DSCF7745.jpg

...and then again this Casadio one
DSCF7746.jpg

The Casadio one had a slightly larger inner radius, so it is my choice at this moment. It happens to have a hard plastic frog rather than a metal one,...so no possible future to power its frog.

Perhaps I'll use this for now, while looking for a NS version,...and also with a metal frog?
 
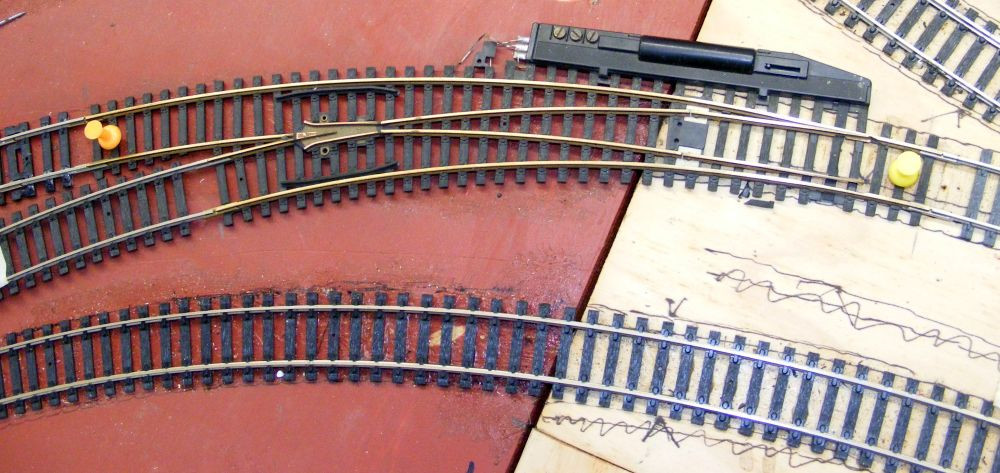
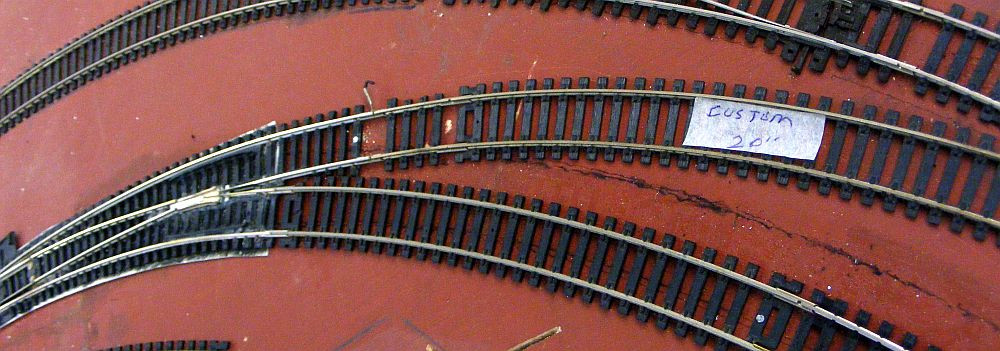
Yesterday after some successful work on my upper deck track work, I decided to go forward with finalizing this new crossover track between 2 curves. It presented a lot of subtle fitting of the various pieces, but it turned out VERY GOOD,...as I first thought.

DSCF7757.jpg
The connecting curve even turns out to be just about 22" rather then the 18" I thought I might end up with. And the track feeding the turntable (for those big steam engines is a combo of 24" at first, then going almost straight without any S bends.

DSCF7758.jpg DSCF7759.jpg DSCF7762.jpg


I was really pleased with the results at that point.
 
PROBLEM !! (frog surgery?)
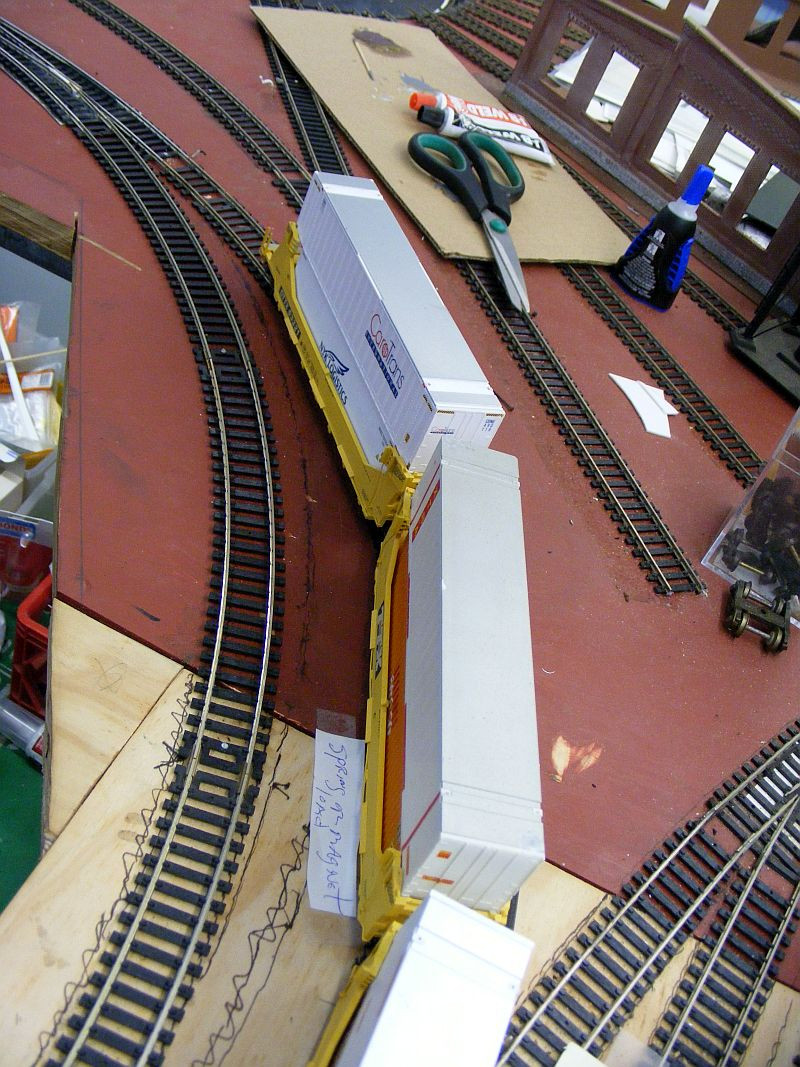
Then I went to push some cars (container ones) thru these curves. They were BOUNCING thru the curved turnouts,..whats wrong !
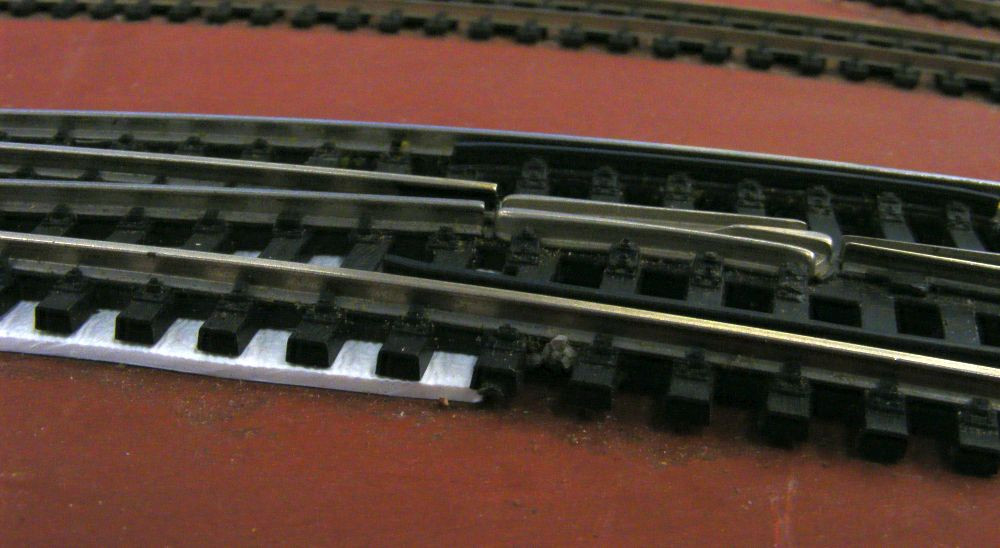
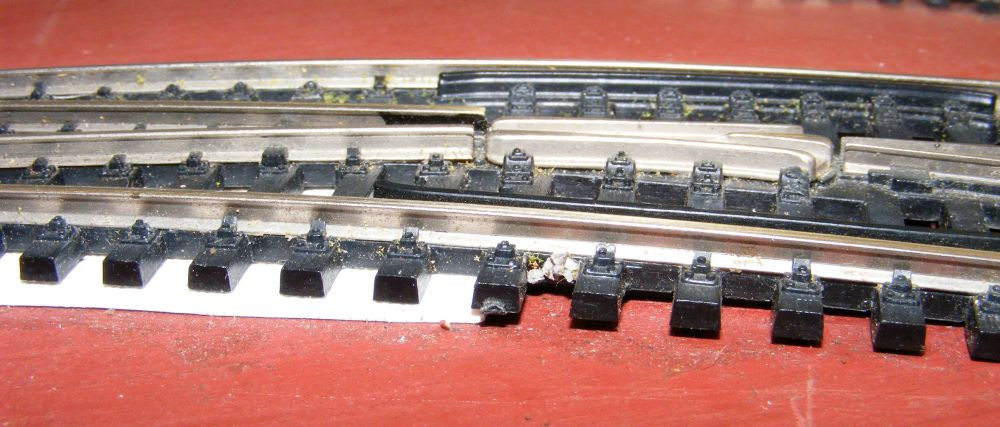
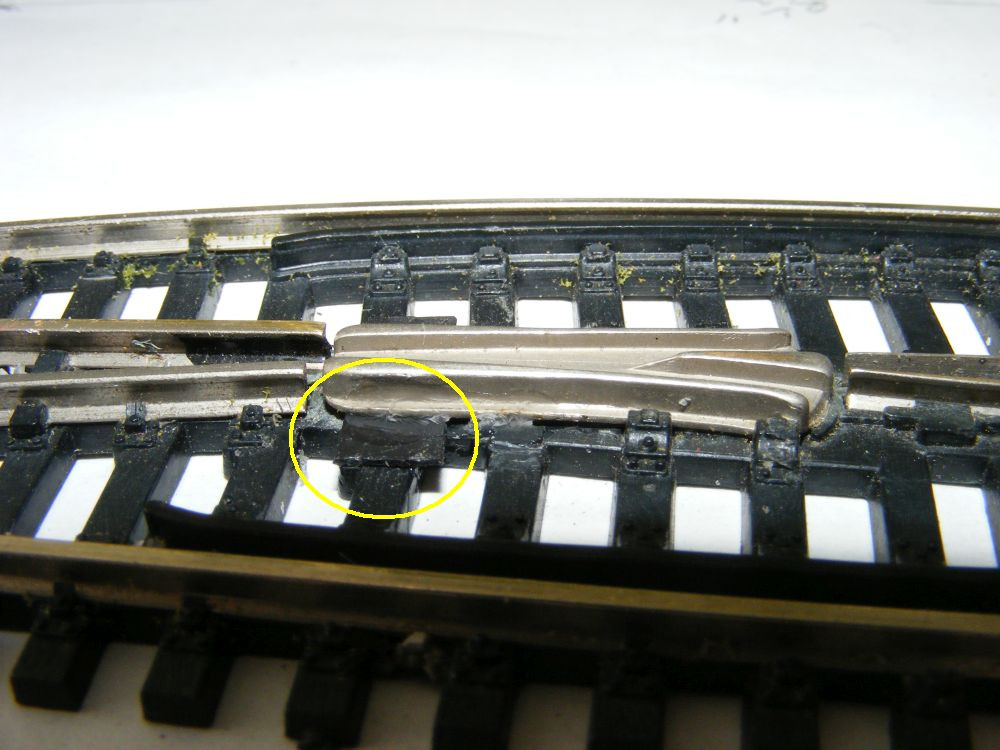
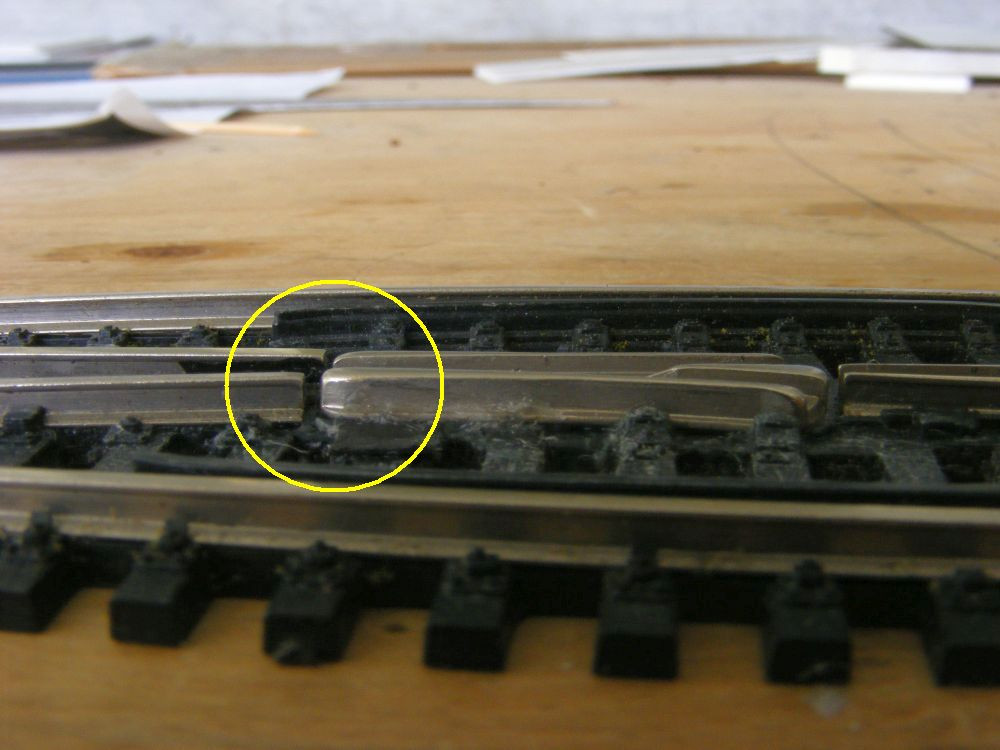
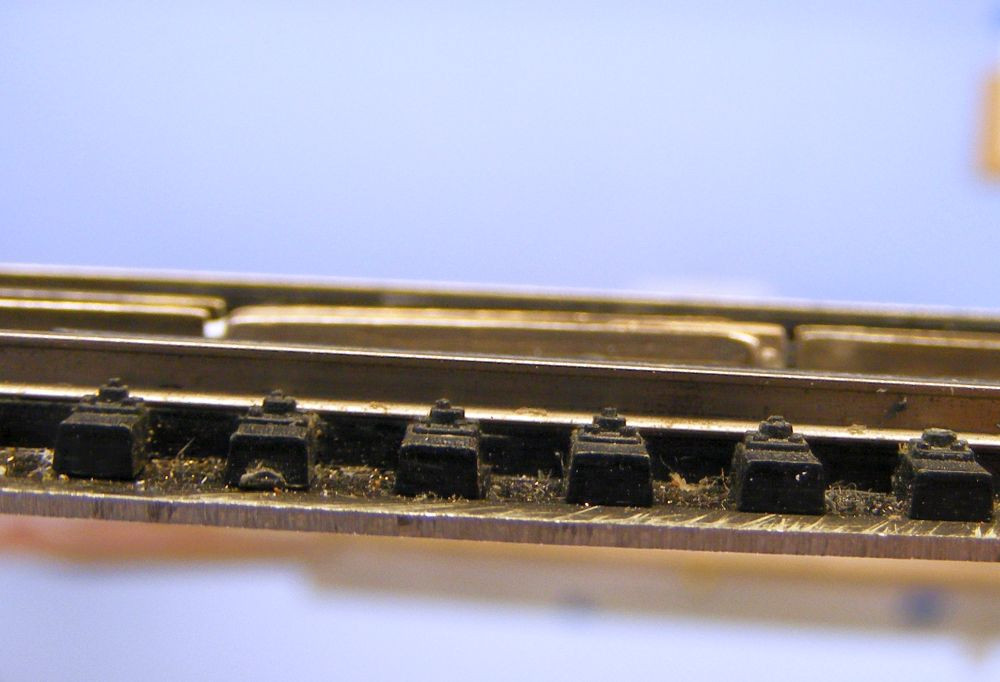
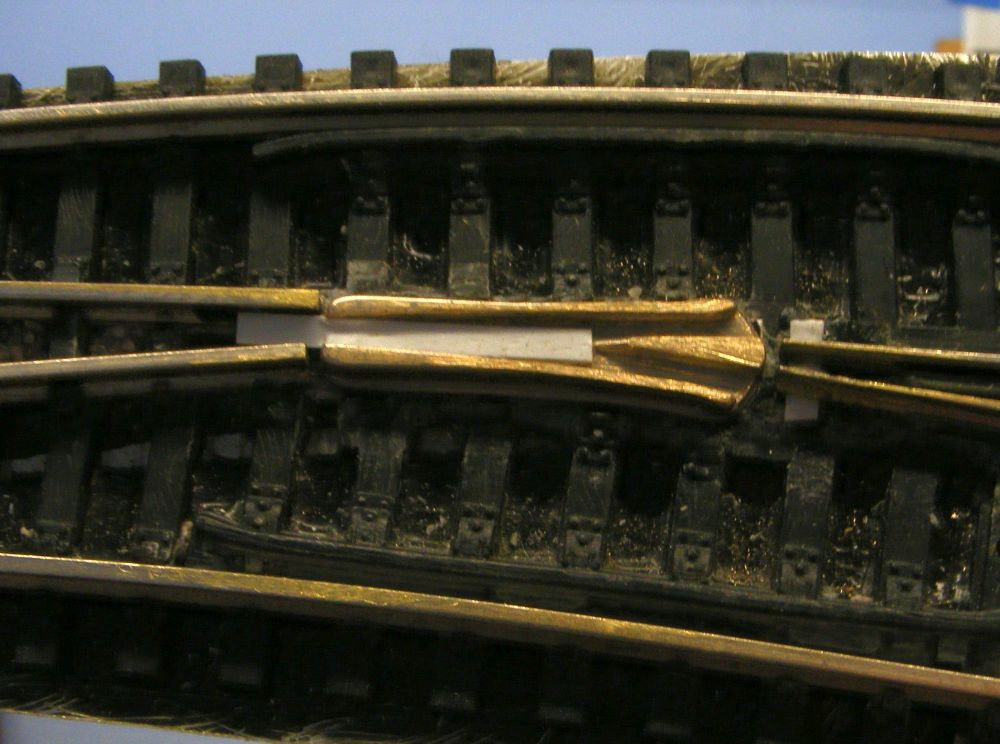
I started taking a closer look and discovered this metal frog on one of them,..
DSCF7763.jpg DSCF7764.jpg

How did I miss this awful frog before I chose to use this turnout? I guess I was spending to much time looking at the radius factors, etc ,..and just overlooked this faulty construction.

I'm going to ignore this situation for awhile till I can think about it more. Perhaps I will need to perform 'frog surgery',... or chose some different turnouts to make this crossover.
 
from another forum

Your closeups show the problem pretty clearly. You’ve got half the turnout on some sort of white shim, and the other half not. As a result the turnout has been bent a bit right in the center, so the closure rails have lifted off the ties they’re supposed to be sitting on and are above the level of the frog, which is still attached to the ties. You need to lay the turnout on a flat surface.


Actually Ken that shim was inserted very loosely after the turnout was installed. The points end was resting on some very thin cork I already had there winding down the slope on the freight yard ladder. I did NOT force the turnout into any sort of a bending action (I know that is a no-no). The turnout was just poorly made, and I failed to see it before I decided to use it.
I think I have 3 options that I am just going to mull over for awhile:
a) 'frog surgery' that I mentioned previously. I have some candidate replacement frogs in my mixed box of older turnouts. I might even experiment with shimming up that existing frog?
b) experiment with broadening the curves of some Roco dbl-curves by cutting some slots in some of the ties,....(and yes they are brass)

c) maybe run across some Shinoharas

When I was first thinking about this term 'frog surgery' I thought back to high school days when we had some classes involving dissecting frogs....ha...ha

While looking at the possibly routing situations offered by this cross-over arrangement, I am convinced it will see a lot of use, so I need to get it working properly.

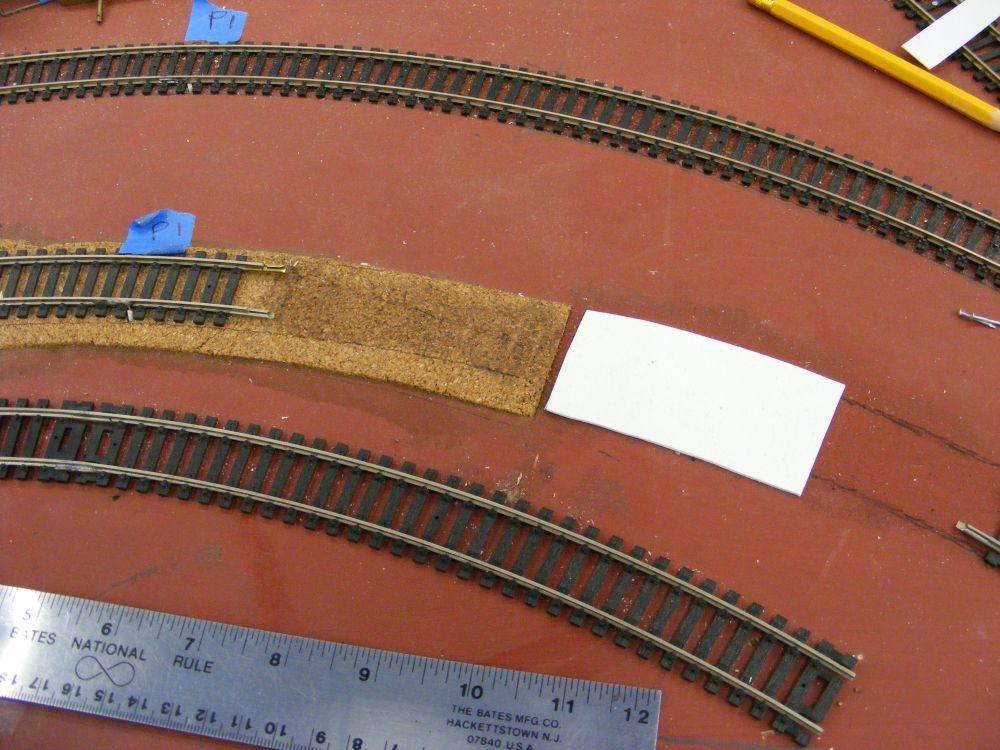
BTW, see the cork shim here that is thinning down to a minimum, and then that thin plastic shim I inserted,...
[DSCF7762]


This is the combination of shim materials I had placed under that turnout,...the end of the thinning cork, then the plastic shim,..
DSCF7766.jpg DSCF7767.jpg
 
So I took the turnout completely out to work on it at my outdoor bench.

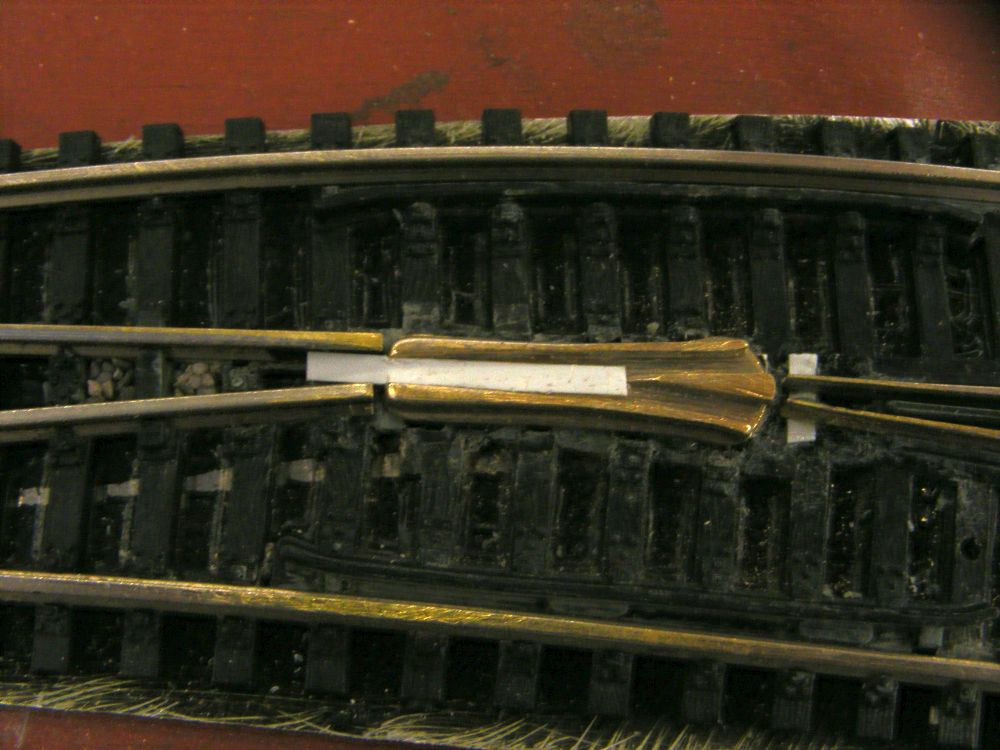
I decided to first experiment with shimming up the frog. Instead of carving out 3 tie plates, I decided on just 2. When I went to install shim material under the frog, I found that placing the shim under both ties resulted in a slightly proud frog. So I chose just to shim the one tie area. Sorry for the lousy photo, but here is what I came up with,..
DSCF7768.jpg


DSCF7774.jpg


It did turn out nice and level
 
Just have to make sure you can reach this area easily so you can re-rail the rolling stock. Awful tight turns.
 
Just have to make sure you can reach this area easily so you can re-rail the rolling stock. Awful tight turns.
Fortunately this turnout is right next to the edge of the deck at the end of an aisle, so no problems reaching it,... or 4 other double curved turnouts in this area.
DSCF7783.JPG


Yes I have many tight curves on this layout, but i have tried very hard to maintain at least a minimum 24" for any steam locos. I believe most all the current ones will navigate that radius.

For diesels I have tried to make most minimums 22", but in spots I have some 20", and even 18" in some spots. Most current diesels will navigate that, even the 6 axles ones
 
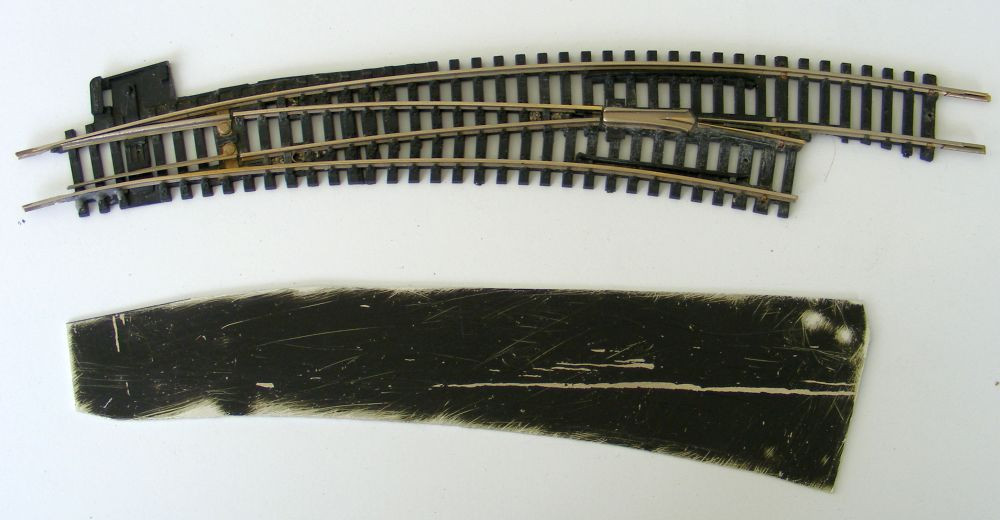
This older turnout did have some very slight warp-age in its overall configuration, ....plus I was going to be laying it in a spot that had several different shims under it. I thought why not cut a very thin, stiff metal plate for it to be mounted to, then laid into its final position.

I had a little bit of a problem at first determining how I might cut the metal plate with NO deformations, and no raised edges,..to provide a really good backing plate for that turnout. Thin snips were out, some cutting tools were too harsh leaving poor edges. I finally settled on a good old jig saw with a very fine tooth blade,...and mounted the thin metal to a good solid flat piece of wood. With a little bit of final filing of the edges I got what I was looking for. Then I glued the turnout to that base plate.

DSCF7777.jpg DSCF7781.jpg
 
Revision Surgery on the Frog

I had to go back and redo the surgery on the frog. I thought I had it nice and level with the tracks at either end,...at least that is the way it appeared back here,..
https://modelrailroadforums.com/for...rnout-24-22-code-100.30821/page-2#post-531860


But when I went to run cars and/or individual trucks thru it they experienced an upward bump at both ends, ....including that end I had shimmed up??

I decided to try and re-level the whole thing. I dislodged it from the turnout entirely, leveled out all the plastic where it set, and re-glued it into place.
DSCF7790.jpg DSCF7793.jpg


I then set about running trucks thru it to determine its levelness, rather than just eyeballing it or even trying to place a straight-edge over it. I now found that the end of the frog that had originally appeared to be sunken down worked just fine !?

Now it was the other end, the frog triangle itself that appeared to be too high. I decided to remedy that with 2 actions,...first I did a fair amount of filling to that surface to both lower it and flatten it. Doing that operation I had disturbed ever so slightly the 2 railheads that connect with that frog surface. A very thin, (.01) shim strip superglued under those rails fixed that.

Now both ends of the frog where very level with their adjoining tracks,..
DSCF7795.jpg DSCF7796.jpg DSCF7797.jpg


One additional option was utilized, I laid a .01" thick strip of plastic down the valley of the flangeway. It would act to keep the wheels from making such a deep dive during the brief time they passed this area. I chose to only use the thinner .010" rather than .020" plastic, as I have a few older locos that slightly bigger wheel flanges.

Pretty smooth operation now,..at least in hand pushing modes. Hope the actually running operation is as smooth once I get the whole layout under operation.
 
There is a very brief time when the wheels are traversing that area just in front of the frog that our wheels drop down off of the railheads,....in all of our MODEL RAILROAD turnouts. My shimming of that 'valley is an attempt to LIMIT the 'dive'.

santafewillie said:


As I posted on another thread, I have 110+ Atlas turnouts on my layout all code 100. The main issue is the wheels dropping slightly but not derailing at the frog. To fix this, I insert a "V" shaped piece of .015" or .020" piece of styrene into the recess. The flange then rides on the insert instead of dropping. As I pointed out, the dropping doesn't cause issues but looks un-prototypical. This only affects #6 or larger turnouts.

Willie
I had one turnout where the drop would occur and when I read Willie's solution I tried it. The drop never caused a derailment but the sound was really annoying, especially since it doesn't happen anywhere else on my layout. Since I implemented Willie's solution, wheels just roll through smoothly, no more drop.
Glenn
 
Last edited:
Finished installing both turnouts of this curved crossover. It took quite a bit of manipulation to get it all working correctly, then some final shimming of the guard rail and under the turnouts.
DSCF7816.jpg

DSCF7817.jpg

DSCF7818.jpg

But now it is operating very well. Here are some of those 'troublesome' double stacks backing thru with no derailments,..
DSCF7820.jpg
 
area just in front of the frog that our wheels drop down off of the railheads
Do you mean frog point by chance? The transition area were the wheel tread transfers from the frog wing rail, to the point of the frog. I agree, model RR switches have a big gap in that area. Might be too tight for plastic rolling stock to make it thru/across, if it was scaled.


Back
Top