Good afternoon all,
The weather is chilly, 50 Mudge Ranch Station Report;
3:45 PM PST on December 22, 2017 (GMT -0800) | Updated a few seconds ago
--°F | 31°F
50°F - Feels like 49°F and Fair;
Wind is from the NNW at .5 mph with Gusts to about 2 mph;
Humidity is 43%;
Today is forecast to be nearly the same temperature as yesterday.
Oh I'm taking notes. Not a fan of rail nippers. They didn't give me that flush cut that they claim to do. Also following their directions I kept getting angled cuts. They work but there's a bunch of filing involved afterward.
Justin
Justin: As far as rail nippers I've used Dixon with two angled jaws about 1/2" wide each and they give a fairly decent cut on the back side but a crude cut on the inside. Actually both cuts required filing or cleaning up uing a dremel tool with the side of a cutoff disk. That leaves a fairly decent edge but non the less you need to pass a fine jewelers file over the rail head edge slightly and especially on the inside of the rail head and around toward the center web to ensure smoothness as even the cutoff disk in grinding the rail ends can leave a bit of a burr at times.
A set of, Fine Cut Jewelers files is very handy to chamfer or file at a slight angle to remove any burr.
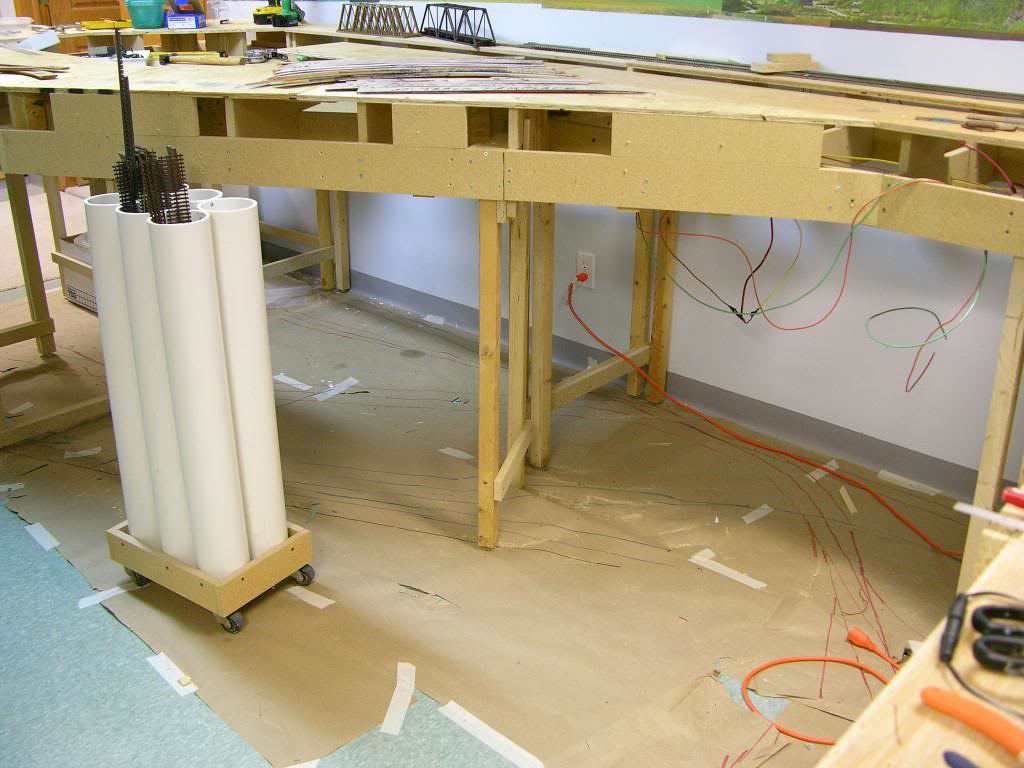
In constructing table work I chose the 'L girder' method of free standing tables similar to Garry's but because the two upside down L's support the 1" x 3" cross members which extend out on either side by about 6" I have toe clearance built in so I don't kick legs. As
Garry or Sherrel brought up, the plywood or even the OSB board only has to be good on one side. In attaching cork road bed I used fine wire brad nails about 3/4" long and tapped them so the heads are even with the cork surface. No Glue either so changes can be easily made. Remember my layout is totally constructed this way and holding up fine with considerable changes in temperature.
Also I use 45* angle bracing on both sides of the legs between the legs and the L girder to ensure it's rigidity as well as X bracing on the ends between the legs. It's strong yet light weight. The 1x3 joists are attached to the tops of the L girders using 45* angle braces cut out of the 1x3 stock too. This 1x3 stock is varily clear pine but does have some knots which can be cut off. I use various lengths of Phillips head counter sunk Dry Wall Screws pre-drilling the holes for the screws using a drill bit the diameter of the center shaft of the drywall screw. That gives a very firm bit to the sharp threads of the DWS and a great hold. I don't use any glue o any of my table work except in joining the two boards that form the L girder. That way if I need or want change something it's just a matter of removing the screws.
I use the cookie cutter method of cutting sections of OSB to conform with the track pattern and attach each section to the prior section with a tie plate made from the same thickness of board that extend at least 6" on each side on the joint to ensure even surfaces. I use [4], one inch long dry wall screws on each side of the splice to hold securely and they do without any loosening and remember my layout is 30 plus years old. I also put these in from the top which is supposed to be a No-No but they have been holding just fine.
Learned that the nephew and family were able to return to their still standing home last evening. I guess the fire came within about a mile or so of them? (not sure) Wife said that everything had a quarter inch of ash all over and the house really reeked of smoke. Guess I will find out more today.
Sherrel: Glad to hear your nephews home is ok other than all the ash, at least it didn't catch on fire, that would be quite devastating to say the least.
JUSTIN - I am about as excited on your new build as you are. Just really take your time and not rush the fundamentals of a solid benchwork and flawless track.
One of the Christmas gifts I have asked for is a Soldering Station. I have no idea how it works or how good it is, but it was less than $40.00.
I have always used a Weller dual temp gun on everything. Anxious to try this "variable temp" station.
Sherrel: I really like my inexpensive soldering station even though it only has general dial settings once I got it to heat the rail, code 70 to the proper temperature to solder properly I leave it at that setting and it's been working great! In fact, it does a much better job of soldering than my old Ugar soldering iron.

 .
.