MärCo_1212
Member
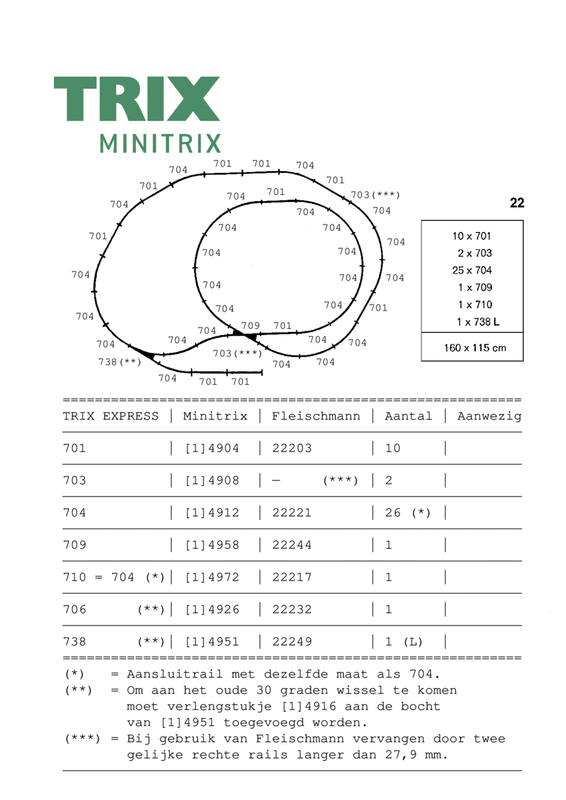
The layout design from "TRIX EXPRESS Gleisbuch 1960", layout plan 22 on page 17, plotted on paper. Using the parts list, purchased the required Minitrix rails. Then you can also check if the conversion tables I made are correct.
I don't have a permanent layout yet, but sometimes you want to try out your new purchases. Until now I built a small railway on the floor with Kato rails, but that was not an ideal situation. Regularly this track had to be broken up, and then you had a lot of loose items to clean up. Moreover, you had to reconnect everything every time you wanted to drive.
When I saw this layout design (layout plan 22 on page 17) in the "TRIX EXPRESS Gleisbuch 1960", I was immediately enthusiastic about it. Converted in N gauge you end up with an area of 70 X 95 cm. Because of the folded 8-shape you end up with a decent track length, and the end track offers you a chance to shunt on a limited scale. And the simple design makes the electrical installation not too difficult either.
The hardest part was finding a 70 X 95 cm wooden board. Unexpectedly, our office supply store in Zeist (The Netherland) brought the solution. They have a frame shop, and were able to supply the MDF back plate of picture frames in the size 70 X 95 cm. A metal wire hanging cord was also attached. The MDF plate is 3 mm thick, and therefore not too heavy, but sturdy enough to make a train track on.
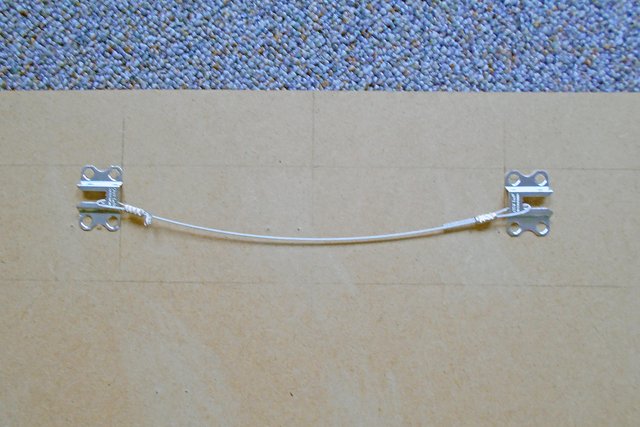
A metal hanging cord is attached to the back of the MDF board.
On this MDF board I glued a Heki grass mat 30901 with Bison Kit. From experience I know that with this glue the MDF board does not warp. I once made the mistake of doing so with wood glue, resulting in a warped board that could not be straightened. For the occasion I bought a cheap brush to apply the glue, I glued step by step a strip of about 10 cm each time. I did not try to clean the brush after that.
I applied the grass mat 30901 mainly to dampen the noise of the rails. A cork bed would also be an idea, but for that I lack the experience to apply it.
Then applied the rails, checked all connections well and attached to the MDF board with Minitrix 66548 screws. On the back side of the MDF board I shortened the protruding screws with a pair of pliers and flattened them with a file. This way, the screws don't snag on the carpet when the layout is on the floor, but the wallpaper won't be damaged when the layout is hung up. Normally you do not pay attention to this when the train track is built up permanently in a room, but with a mobile train track the finish on the bottom side of the train track is not as important as the top side.
For the electrical system used 2- and 3-conductor wire from Brawa. The wiring is partially run under the train track. For this purpose, 4mm holes were drilled in the MDF board, and finished with copper Eyelet rings. In the middle of the small inner track, a Trix distribution board 66582 has been installed. Here I can easily try out houses with lights and other electrical accessories. Sinned a little against the rules of simplicity by making the Minitrix turnout electrically operable, even though it is not strictly necessary due to the size of the layout. The wiring at the top of the layout is secured with Märklin 7000 staples, the turnout switch and Trix distribution boards with Märklin 7599 screws. Again, all long screws on the underside of the layout were cut and filed flat.
The Trix distribution plate 66582 in the middle of the small track. The hole for the cord is finished with a copper Eyelet ring.
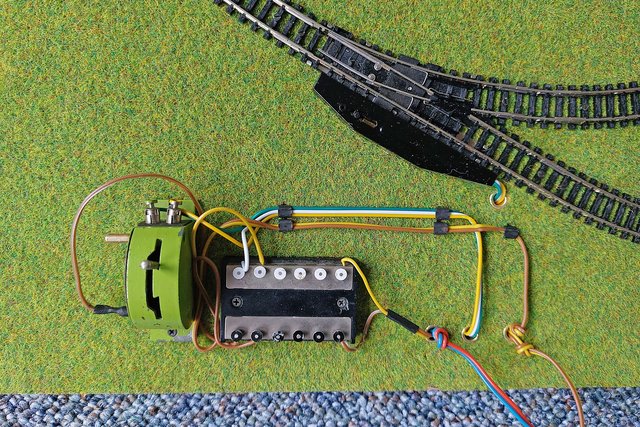
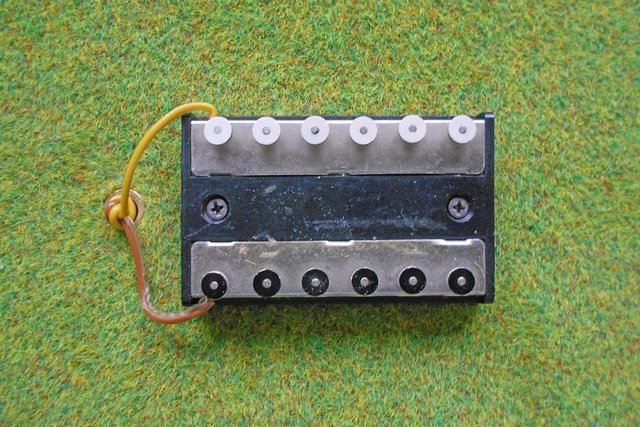
It goes against the rules of simplicity, but the old Trix changeover switch that looks like a "groundframe" was just asking to be put into service.
With the final result I am quite satisfied:
- I now own a train layout that can be quickly put into use, but also quickly cleaned up.
- The board takes up little space, only 70 X 95 cm, and when hung it is almost nil.
- Ideal for quickly trying out a new locomotive, or newly built houses and accessories.
- The visible electrical installation may not be to everyone's taste, but the layout was not intended to be a model layout either.
- My layout is not suitable for DCC, because the connecting rails have suppression capacitors. But would you want this, this is easily solved. You could also add a programming track.
- Perhaps also ideal for collectors to occasionally run the rolling stock.
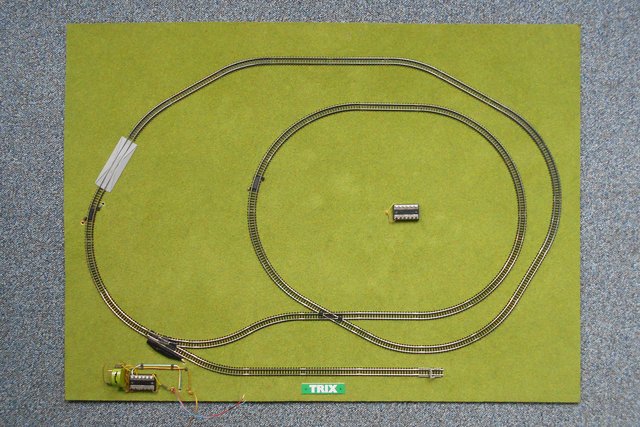
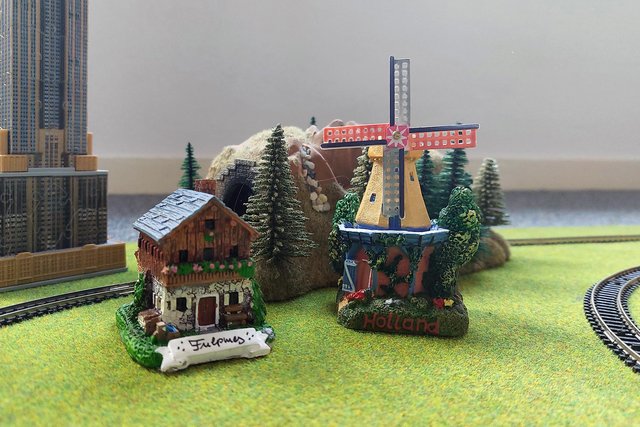
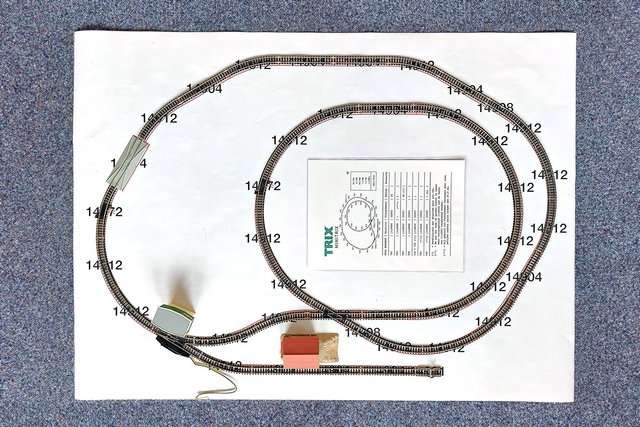
The final result. Here the plate is bare, when the weather gets better I will show the layout with some scenery.
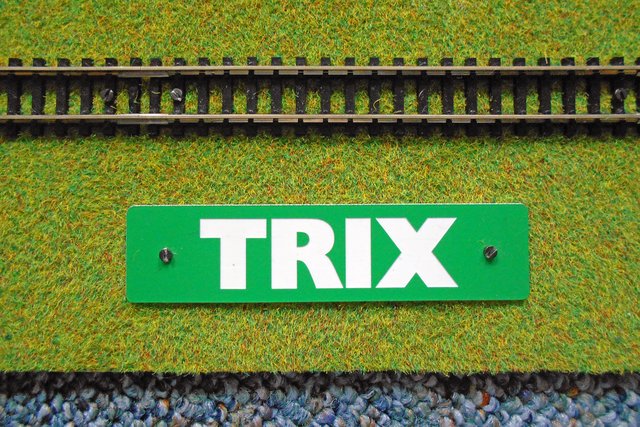
And a nameplate like that completes it. The nameplate is attached with double-sided tape, but the screws give it some extra cachet.