I Saw The Light


Nightwing

Member
Today I began the task of illuminating my HO houses and buildings. I had bought some very nice lamp assemblies for that purpose. I set up a test lamp and I set my buildings and houses over it one at a time and discovered that the light colored structures glowed and the light through the windows wasn't as bright as I thought it would be. Had I known that prior to assembly, I would have painted the insides a dark color.

I tried turning the room lights off and light through the windows was better, but I don't run the trains in the dark. The building glow was much more apparent. I probably will only illuminate a couple of structures. As an afterthought, some of the buildings have a pad on the ceiling that the instructions said could be used to mount a light. That might make a difference, but the buildings will probably still glow. Had I known the results would be this poor, I would have spent the money on something else.
 
It's a tedious process, but get some black construction paper and cut out pieces to fit snugly inside your structures, leaving cut-outs for the windows and any other openings that you want light to shine through. I have used black electrical tape (because I had a free supply) to seal the corners, but any dark colored tape should work.

Willie
 
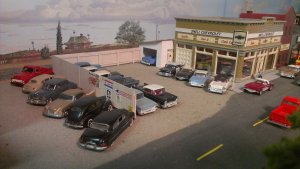
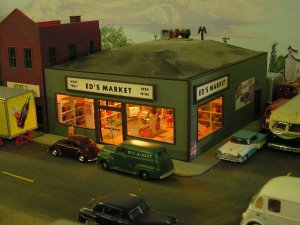
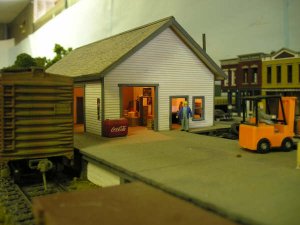
I have a few buildings that I have lit the interiors of, but I also don't run trains in the dark. Lighting buildings even if you don't run trains in the dark is nice if you have detailed the interior of a building. Even with the lights on in a room, lit interiors can add interest to a scene. Here are a few examples. Greg has apparently ordered Woodland Scenics new LED plug in street lights. I have looked at them and really like them, but don't know if I want to pay what they want for them as of now. Time will tell.

IMAG0109_BURST002.jpg Train Layout 114.jpg Train Layout 087.jpg
 
The final portion of my Micro-Mark order arrived this afternoon with the balance of my Woodland Scenics lighting equipment. Unfortunately I'm busy tomorrow and Friday or I would start installing the lighting system. Installation looks simple, but in my opinion the lengths of the component cables and wiring suggests the WS system components are designed with a 4X8 layout in mind, but can easily be adapted to any size layout.

What I designed on paper is to have the lighting transformer located at approximately dead center of the layout where my DCC and other power packs are located. The WS Expansion Hub will be located in this area to receive electrical power from the transformer and then distribute the power from the Expansion Hub to the Lighting Hubs to from which all the WS lighting fixtures receive their electrical power. The WS Expansion Cables which connect the WS components are only 3 and 4 foot in length and will need to be extended to make connections possible between components.

I'll need a third Lighting Hub to complete the WS light project once all structures are completed and in place on the layout.

So far I've purchased:

2 - WS Lighting Hubs
1 - WS Power Transformer
1 - WS Expansion Hub
2 - Sets (6 poles) WS Street Alley Light Poles
1 - Set of WS Expansion cables

I can't wait for my VISA to arrive that will have the WS purchases along with the charges for the other model railroad supplies I also purchased on the card.

What attracted me to the WS system were the WS wooden street poles. I'm sure that these poles could be wired to a new buss wire that has the correct operating voltage or use resistors on existing wiring to avoid purchasing all of the other WS wiring system components.

The WS lighting will compliment the other area and building incandescent lighting on the layout.

Greg
 
Last edited by a moderator:
discovered that the light colored structures glowed a... Had I known that prior to assembly, I would have painted the insides a dark color.
I am so sorry. I had this happen to me way back when I was in 7th grade. My buildings were cardboard and sure enough they glowed. I had a church building that I had carefully added stained glass windows to. I wanted them to look churchish. To solve the problem I got a black magic marker and colored the insides. It worked great for about two days when the marker soaked through the walls and penetrated the exterior paint. I painted again, but to no avail. The marker stained through the new paint too. I eventually gave up and threw the buildings away. I now use acrylic black paint for blocking the interior light.
 
It sounds like I might be repeating what you've already figured out, but I'll mention just in case.

Perhaps adding some resistors would help tone down the light to a manageable level.


Back
Top