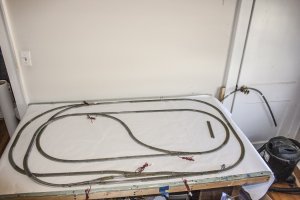
Here we (I) go....


Bruce Kingsbury

New Member
OK. Got a table.... sort of. 3'x5'

Got about $600 worth of Kato Unitrack. with a TON of switches and all sorts of straight and curved pieces.

I even figured out how to stick one track to another! LOL

Actually I am not quite that raw but pretty close. I've fooled with Atlas track before and got tired of melting ties off while leaning across that 4' wide table shoved up against the wall so I have no back side access. I can only guess the more experienced modellers here are counting the lessons I have learned and the ones I haven't realized I have learned already.

Yes, I went the way of Kato to make getting something up and running easier. I learned with oil painting if you get a success early on you are more likely to stick with whatever you are trying. That's why I scrapped the Atlas stuff and went with Kato. Thinking it might give me more of a success early on.

It has, or was until I dug out that cute little #4 switch and tried to plug it into the trial layout I was fooling with last night. Why would anybody ever design a turn out that you cannot plug any other piece of track onto the turn side? It don't make sense to me. I've learned that when I think that.... I have missed something. And thoughts other than surgically cutting the ballast off a piece of track to make/force it to fit?
 
Thinking it might give me more of a success early on . . .

Definitely! It's truly plug-and-play, and I think it's great stuff, arguably among the best of the sectional-with-roadbed track. You can set up a layout and be running trains within a few minutes. Not sure what your issue is with your turnout, but I personally don't use anything smaller then #6 switches.

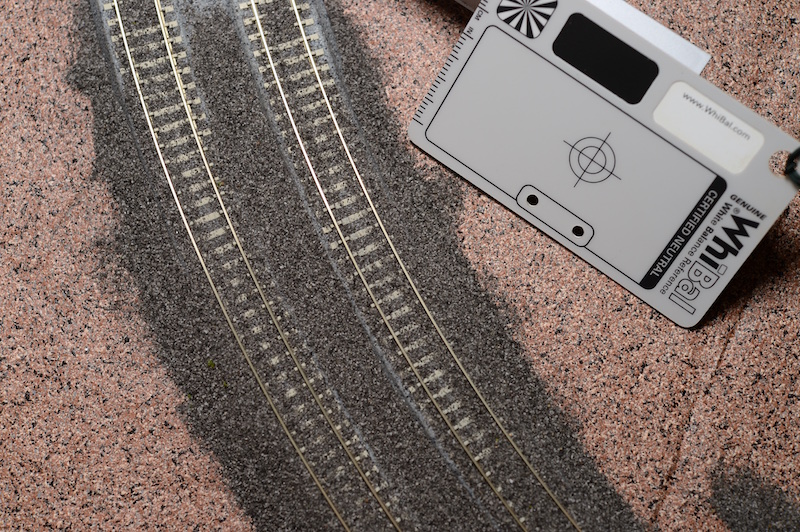
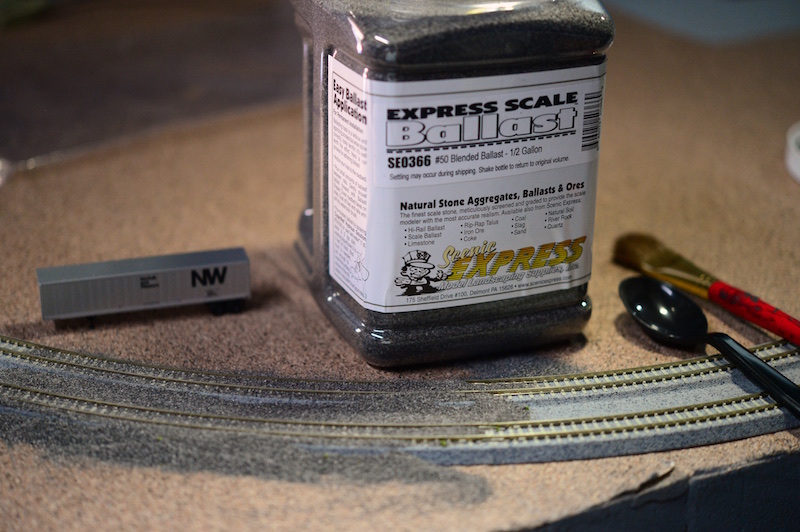
My layout is 100% Kato Unitrack. I have a double-track mainline and plan to make a large Unitrack yard. Someday I may add some code 55 MicroEngineering track for photos, and for where the track is most visible (i.e., front of layout), but I think Unitrack is a great way to start. I have both #40 and #50 Scenic Express real-rock ballast in gray and blended-gray, and plan to eventually ballast all of my Unitrack:

uniballastx-4.jpg


uniballastx-1.jpg
 
Last edited by a moderator:
It has, or was until I dug out that cute little #4 switch and tried to plug it into the trial layout I was fooling with last night. Why would anybody ever design a turn out that you cannot plug any other piece of track onto the turn side? It don't make sense to me. I've learned that when I think that.... I have missed something. And thoughts other than surgically cutting the ballast off a piece of track to make/force it to fit?
Yes, you have missed something. Kato #4 switches come with two or three extra pieces of special short extensions where part of the ballast is, indeed, "cut away," albeit much more neatly than you'll be able to.

With Kato, if you have to force it, you're doing it wrong.

I also am doing a mostly - Kato layout, and it looks like we will be having parallel experiences. If my basement ever gets put back together, but that's a story the I'm heartily sick of.


Sent from my SAMSUNG-SGH-I337 using Tapatalk
 
Oh, right. He's missing the little track-pieces that come with the switch. The #6 pieces are sold separately, but I don't think the #4 pieces are.
 
Oh, right. He's missing the little track-pieces that come with the switch. The #6 pieces are sold separately, but I don't think the #4 pieces are.

So I guess I am gonna have to cut/modify a piece of track to make these manual #4's work if I want to use them.

The #6's I have don't seem to need that piece though.

Oh and for those who asked.... I was having to mean across a 4' witch of table to solder power feeds and track connectors using Atlas track. I eventually had to put a longer section of track together and carry it into place. That's when I learned the value of planning access to at least three sides of a wider bench...or use narrower benchwork.
 
I managed to get a nice batch of track off ebay. It had like 2 dozen #6 switches and half a dozen manual #4's. I am not gonna use the #4's unless I find the extra pieces in the multitude of short track sections.

I have given up on learning either SCARM or EZ track. I am very familiar with Adobe Photoshop and Illustrator so complex software is not a stranger to me. I even dabbled in AutoCAD but those programs are either out of my understanding or follow a different logic path than I am used to because I get started trying something and get a little track put down and then it gets so cumbersome to move, rearrange or modify what I have done that I get frustrated and quit.

I am doing better at just piecing a layout together on the tabletop. I know there is something aobut laying out the Unitrack that I am missing though so any tips would be most welcome.
 
What's the problem, exactly, with Unitrack?

Sent from my SAMSUNG-SGH-I337 using Tapatalk
 
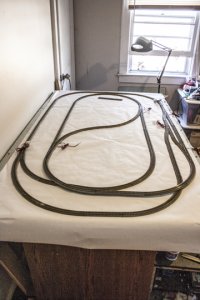
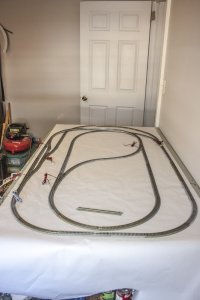
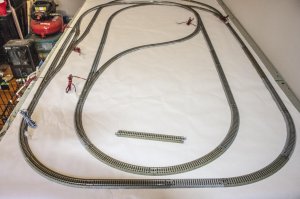
Here are some quick photos of my first attempt at a Unitrack layout on a 3'x5' surface.

Any comments or suggestions will be appreciated. Oh I am wanting a continuous run layout with some switching. It is part of a grander plan to include a 6'x7' area across the room from this spot.


IMG_4093.jpg IMG_4095.jpg IMG_4096.jpg IMG_4100.jpg
 
First off, Long, loooooooong ago, many decades actually, I used atlas feeder wires. Long leads attached to rail joiners, quick, convenient and they work well.

If you need to modify a track part/section, do the mod to the CHEAPEST part, not the turnout itself.
Now that I am 95%+ DCC I do not need a lot of blocks and switches, nor as many feeder wires. I had intended to just do a few locos and some of my trackage........ LOL-ROF-LOL......... once I got started converting, I never stopped. There are few, very few exceptions where I have not converted a loco to DCC.


WARNING DCC is very CONTAGIOUS!


Smallest scale I ever have/used/worked with is Z... the largest was 1:1 as a yard & way-freight switchman on the NYC.

That's what I'm finding. I found the easiest way of getting the soldering done is to hold a section of track in the sort of vice that people use to hold circuit boards while soldering them and then hang the wire I'm working with from above. Makes it really convenient to solder those wires directly downward where I don't have to look at them. And if you use a cheap piece of throwaway track, you don't even have to worry too much about destroying tracks.

I tried using those terminal joiners that Atlas makes, but the ones I got were defective, so I just soldered the wire directly to the joiner and was done with that. It's pretty easy to do and should result in plenty of reliability.
 
Here are some quick photos of my first attempt at a Unitrack layout on a 3'x5' surface.

Any comments or suggestions will be appreciated. Oh I am wanting a continuous run layout with some switching. It is part of a grander plan to include a 6'x7' area across the room from this spot.

That's going to be rather nice.


The big thing I'm noticing is that it doesn't look like you have enough room to get the clearance you need for that overpass. The entire board is 3'x5', which means that even if you drop the outer loop in that first picture and raise the inner one that you're probably going to have too much grade for the train, or you're going to be rubbing up against the limits and have to go with a shorter train.

You may have to ditch that extra switch to give you more room in the lower left corner of that first picture to allow more room to get up the elevation gain you're looking for.


Back
Top