Getting stuff lit


NYC_George

Well-Known Member
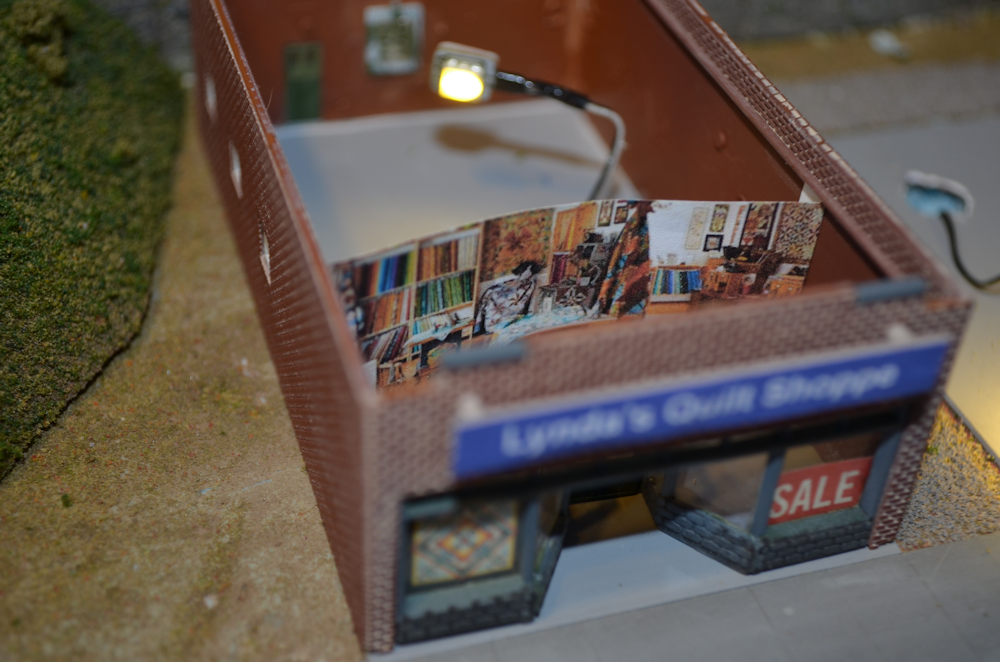
I decided to try and get everything lit this winter. I bought 100 3mm & 5mm LEDS. I also order a 16 ft strip of SMD LEDS. I want to lite everything on the layout. That is all the signals, building, passenger cars etc. As the thread moves ahead stuff will light up. I started my first project with a with one of my signal displays. I never really liked the one 12v bulb I used to lite the display so I started thinking on what I needed to do. The below photos are how I went about this. The 1st photo Signal not lit is before I started the project to improve the poorly lite signal.
George
signal_0_10_26_19.jpg
signal_1_10_26_19.jpg
signal_2_10_26_19.jpg
signal_4_10_26_19.jpg
signal_3_10_26_19.jpg
 
well, if they are all out of the same batch, it -might- work ... best results are obtained when each LED has it's own resistor to drop the current to a readily viewable level ..
 
I received my 16 ft surface mounted LEDS strip today. I plan on lighting all my building and passenger cars with the 300 LEDS on the strip. It also came with a 12v DC power supply. Pretty good deal for $16.00. We'll see how it goes?

George

surface_mounted_LEDS_10_30_19.jpg
 
Lighted up my first 2 building with the 16 ft SMD strip I bought. I found you need to cut 3 LEDS at a time off the strip for them to work. I bought 3 different colored plastic school note books to defuse the light. That is I used them as a buffer between the LEDS and the building windows to cut down the glare. I'm pleased with the results.

George

lighting_project_1.jpg


lighting_project_2.jpg


lighting_project_3.jpg
 
Worked on lighting another building but this time without an out of the box printed interior. I'll have to create an interiors for the rest of my buildings. I used a paint program to accomplish this. I created some simple shelves and counter for the store background. Didn't come out that bad. I haven't addressed the 2nd floor yet. I'll have to think about that.

George
get_stuff_lit_20.jpg
get_stuff_lit_21.jpg
 
Last edited:
On my N-scale layout, I added interiors to some structures by printing photos of interiors and gluing them inside the building. The curve in the printed photo is intentional, a technique I saw somewhere on a modeling web site. I use an LED to backlight the printed interior.

Quilt_Shoppe_interior_1.png


Below is what it looks like when viewed from the outside. In N-scale it's difficult to see the details of an interior in a small N-scale building, so all that's needed is something to suggest a full interior, which the photo accomplishes.

Quilt_Shoppe_1.png


There are plenty of photos of building interiors available on the web. I used a cheap image editing program to crop and size the photos before printing on plain paper with an inkjet printer.

The quilt in the window is a photo of an actual bed quilt made by my talented wife.

- Jeff
 
My second batch of street lights arrived yesterday. A little different design that the first. Here's how Janesville looks after installing all the building and street lights. The street lights are 12v bulbs with the resistors attached type.

George

town_street_Lights_11_14_19.jpg
 
I started to light my passenger cars today. I cut 12 SMD LEDS from the 16ft strip I bought. I glued them to the car' roof and solder on a mini connector in case I wanted to detach the roof later. I wanted to use the mini plug connector but you really don't have to use one. You cannot solder the connecting wires to the Walther's rail pick ups tabs so I had to glue them on. The spring steel they use for the pickups cannot be soldered. The car looks great all lighted up. Now 10 more to go.
George

lighted_passenger_car_inside_wiring.jpg
lighted_passenger_car.jpg
 
I've got 8 of my 16 Walther's passenger cars lit. I changed the method on how the strip LEDS I bought connect to the car's electrical pickups. I decided to make push on's like you see in locomotives. They work well. I thought the lights looked a little to bright so I soldered on a 150 ohm resistor to the LED strip. The car lights look a little bright in the below photo buts that's the camera. They look great.
George

passenger_cars_lit_003.jpg
passenger_cars_lit_002.jpg
passenger_cars_lit_001.jpg
 
I've got 8 of my 16 Walther's passenger cars lit. I changed the method on how the strip LEDS I bought connect to the car's electrical pickups. I decided to make push on's like you see in locomotives. They work well. I thought the lights looked a little to bright so I soldered on a 150 ohm resistor to the LED strip. The car lights look a little bright in the below photo buts that's the camera. They look great.
George

View attachment 41685View attachment 41687View attachment 41688
that looks great I have always wanted to light my passenger cars too but I have over 30 so it would take a while.
 
Thanks MoPac. It had become affordable after I bought the $16.00 / 16ft SMD LEDS strip. For $16.00 I lit my whole layout plus passenger car fleet. The trick is making the push on connectors. You cannot solder the spring steel Walther's uses as electrical rail pickups. I added some marker lights and gate to the last car of the train. I'm very pleased with how it all worked out. I'll be doing a video soon. I have a few more things to get lit first.

George
 
Continuing on getting stuff lit I bought some goose neck lights. The lights where 10 for $6.40 free shipping. I bought 2 packs. How can you beat the price? That's 0.64 cents a light. I used them on my barrel factory & 1 of Hunts Point Market wholesale produce buildings. I do the others in the weeks to come. I also ordered some freight yard lights. 20 for $6.40 cents free shipping. I bought 40. With these prices I finally found it affordable to light my entire layout.
George

Goose_Neck_Lights.JPG
barrel_factory.jpg
Hunts_Point_Market.jpg
Yard_Lights.JPG


Back
Top