Building an HO "Central Valley Model Works" Stock Car Kit.


N

NP2626

Guest
I am in the process of building my 5th Central Valley Model Works Stock Car kit <http://www.shop.cvmw.com/StockCarKit-1001.htm>. This kit is a little different, as it actually takes some building to produce, unlike the typical "Shake the Box' type of kit. Central Valley Model Works has modeled this kit after a Northern Pacific Proto Type and this kit will look very different than your typical Stock Car. Many where built by the Northern Pacific Shops, Laurel Montana, Como Shops in St. Paul Minnesota; or, the Ryan Car CO. of Ill. The cars had road numbers from 81000 to 83499.

What you will notice mostly is that the cars had round roofs and where totally of wood construction; but, had steel undersides. It appears that most where build in the 1930s. There is at least one of these cars still in existence at the lake Superior Railroad Museum in Duluth, Minnesota. I have seen it with my own eyes.

The kit is very highly detailed, the designer, Jack Parker, who had been the owner of Central Valley Model Works was a Northern Pacific Modeler himself, so he took care to give the model some very nice detail. If your an HO modeler and model from 1930 to the transition, this kit will work good for you. If you model the Northern Pacific, so much the better! I will be taking photos and describing the build as I go along; so, come along for the ride if you'd like!
 
I don't know how much, if any real interest in this building thread exists. I guess I will act like everyone is interested until I have made a few posts here and if it's obvious there isn't any interest, I might just quit posting and build the car silently, done in my dungeon, quietly enjoying that part of the hobby that really trips my trigger, building models!

HPIM7817 (Small).JPG HPIM7819 (Small).JPG

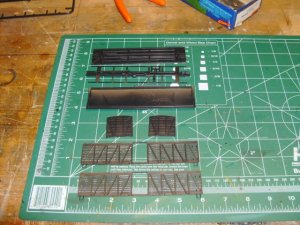
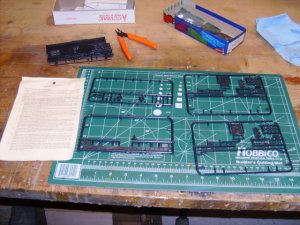
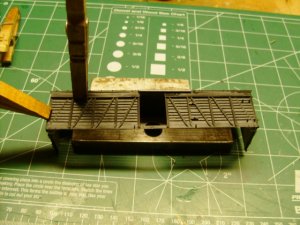
The first photo above shows the main parts of the car, previous to assembly. The second photo shows the rest of the kit with all the small plastic parts still in their parts trees and the assembly instructions.
 
Last edited by a moderator:
Re-posted with photos below at Post #9.
 
Last edited by a moderator:
I agree with Willie and that most viewers will not post a comment about a Thread about building rolling stock, but find the building process interesting. We realize that doing a post on building a car kit is time consuming and thanks for your Thread.

We can always learn something new by watching others.

Greg
 
Last edited by a moderator:
For some reason, I don't consider views and really should. Thanks for the suggestion, Willie!
 
Last edited by a moderator:
Mark:

I have an old La Belle Russell snow plow kit that I purchased in the late 70's or early 80's. I have never built a wooden car kit, but will do this kit at my cabin some summer and take my time. I enjoy seeing craftsmanship like rolling stock built in contests at shows and swap meets.

A co-worker of mine started this kit just before I purchased mine and he never completed it. He collected hundreds of Blue Box kits and Athearn locomotives, but never had a layout.

Greg
 
Last edited by a moderator:
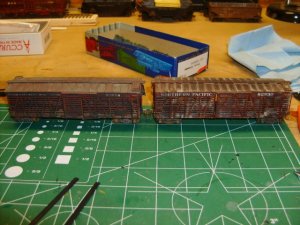
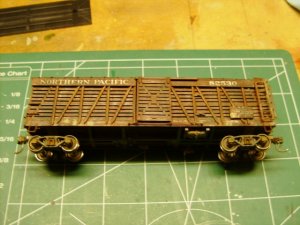
Moving along, photos 1 and 2 show two of the other Central Valley Model Works Stock Cars I have built.

HPIM7820 (Small).JPG HPIM7821 (Small).JPG HPIM7824 (Small).JPG

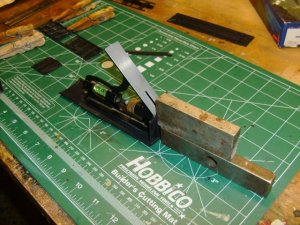
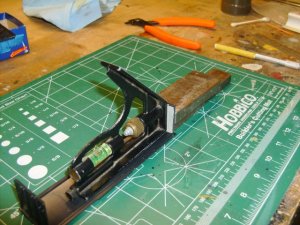
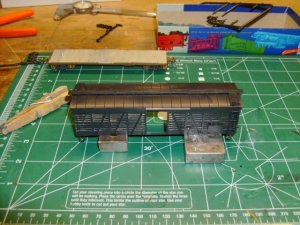
n the third photo, I am gluing one of the car ends to the roof. These Central Valley Model Works kits are slightly different than an Athearn Blue Box or Accurail kit, in that you need to glue the sides and ends to the roof, as opposed to the sides ends and roof all being one part. this means that you need to be careful gluing parts into their correct positions and that they are square. Here I have jigged some metal rectangle squares I made when I was a tool and die maker. Home made squares are not necessary and other things can be used to jig the parts while the glue sets.
 
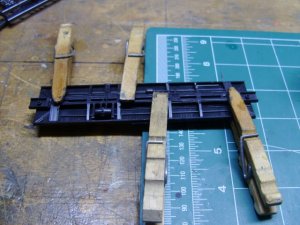
Continuing on with the build! The first photo shows my gluing the steel under frame with most of the brake gear to the floor of the car. As you can see I use clothes pin clamps regularly, they are cheap and easy to make and do a great job of clamping!

HPIM7825 (Small).JPG HPIM7826 (1) (Small).JPG HPIM7827 (1) (Small).JPG

In the second photo, I am gluing the other end to the roof of the car. I needed to be careful when positioning the ends; so, as to get their side to side's locations right. Otherwise the ends would tend to shift the car sides out of alignment! In this photo, on the the end being held in position, you can see I have painted the interior of the car a light gray color to look like wood exposed to the elements and faded.

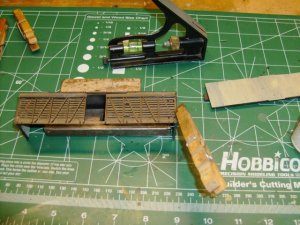
In the third photo, I am gluing the car side to the right end of car first, before gluing it to the roof and opposite end. Here a Clothes Pin Clamp is helping hold the car side to the end of the car.
 
Last edited by a moderator:
Still having problems with posting photos! When I left this post, everything looked right, then sometime after the post became screwed up! What gives?
 
Last edited by a moderator:
Photo did not show up in last post.
I have always been a big believer and user of clothes pins for clamps, cheap and durable/

Willie
 
Last edited by a moderator:
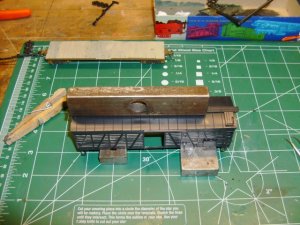
In this photo, I am gluing the car side to both the other end and to the roof. There was slight bow to the roof and I needed to position the Clothes Pin Clamps in the right locations to remove this bow. I am using two clamps in this photo. The steel weights were used simply to hold the car in position, while the clamps were positioned. The clamp holding the side and end together has very little to clamp to, other than the steel angle irons at the corner of the car. When clamping these, I needed to sand the very ends of the clamps to get a sharp edge and even so, sometimes the clamp would fly off and need to be re-positioned.

HPIM7828 (1) (Small).JPG
 
I sort of forgot I was supposed to keep a thread going here! I've been adding details, so I will post some photos, shortly.
 
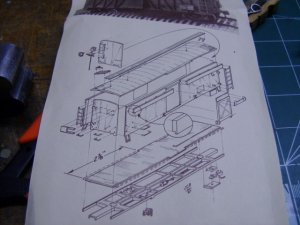
Here are some photos of the car in process of adding the various details, including the explosion view from the instructions provided by Central Valley Model Works.

HPIM7832 (Small).JPG HPIM7831 (Small).JPG HPIM7829 (Small).JPG

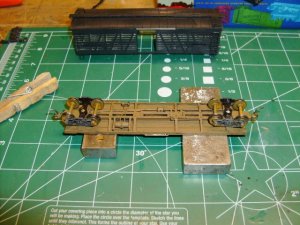
Photo #1 shows the instruction sheet with the explosion view. Photo #2 shows the painted underside of the car with the trucks mounted, the paint used was Acrylic roof brown on the frame and floor boards of the car. The trucks were painted with Acrylic Grimy Black, highlighted with a wash of Acrylic Rust. The wheels had the same process done to them but with a heavier coat of rust. Photo #3 shows gluing down the roof walks which were fairly wavy and difficult to get straight. It took several applications of liquid cement, to get the walk flat and glued to the riser blocks on the roof.
 
Last edited by a moderator:
The photos that were in this post are again, LOST! I guess I should never attempt to do two posts with photos! Since they changed how we up-load photos to this website a month; or, so ago, I have been very dissatisfied with how this forum works! I will try again, later!
 
Last edited by a moderator:
Another attempt at uploading some photos!

HPIM7830 (Small).JPG HPIM7833 (Small).JPG

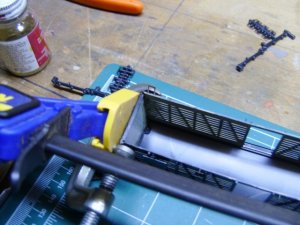
Photo #1 shows the cra body with some of the details added. Photo #2 shows the clamping process I used to bring the corner at the top closer together. "Watch for flash"!
 
Again, my photos where lost! I guess I should never attempt to do two posts with photos! Since they changed how we up load photos to this website a month; or, so ago, I have been very dissatisfied with how this forum works! I will try again, later!

I can see all of the photos in post #17 if that's the one that you are referring to. And also post #19.

Willie


Back
Top