3 Bay Car Shop


A bit more done last night:

jLcBJRo.jpg


jMWEaQU.jpg


EabxfHh.jpg


RQcoXRb.jpg


O1POqyz.jpg
 
Mike,

Thanks and trust me, despite the railings going into the pre drilled holes in the walkway easily, trying to keep them in one position (depth wise) was a legitimate pain in the you know what. I really wanted to solder the railings to the walkway but gave that idea up for CA. I have another 3 of them to put together so think I will try to devise a "brace" that will let me drop the walkway onto the rail pins and stay in the one place. If I can do that, I will probably solder the rest together.

After the walkways I have to assemble the "safety cages and ladders. Have a feeling they will be even more fun ... NOT!

Even though things can get a bit frustrating, this is why I love N Scale ... almost everything with it is a challenge :)

I have been playing around with the Inspection Pits as well (this afternoon) trying to work out how to get them positioned within the Car Shop as well as have them fit up to the Code 80. After an hour of trying different things I gave up, removed the Code 55 Rails and replaced them with Code 80 rails ... that has made things MUCH easier and straight forward. The only thing I have to do now is cut some 1 mm thick styrene to place beneath the pit itself so as to match the bottom of the pit with the bottom of ties of the code 80 track.
 
Last edited:
Last night and this afternoon I completed the walls of the Shop and they are ready for the interior detail and assembly. This is how each wall section looks:

Entrance/Front:

B00UAD1.jpg


bQMiOcd.jpg


The two red things are "supposed to be Fire Cabinets"
rolleyes.gif


Right Side:

EAclWlv.jpg


HNZI61S.jpg


Rear with Doors Closed:

EFIOylI.jpg


wTIHCcj.jpg


Left Side:

Npye8xT.jpg


F9khIUf.jpg


Started doing a little weathering with the Bragdon Powders and think I may have over done it a bit in some places.

The roof is painted, Modelflex Weathered Black" and is ready for the "Sky Lights" to be installed.

All I need to figure out now is the floor section. If any one has built this kit with inspection pits installed I'd really appreciate some guidance OR any suggestions on how I can fit it all together. Until I figure out the floor arrangement I'm not going to be able to the detail work - walkways etc or assemble the walls. It isn't that I can't assemble them now but it would make it harder doing the interior if the were assembled.
 
Thanks Olie, this is the first genuine attempt at weathering a structure so was a bit iffy at first. Getting the hang of the powders was the first hurdle :)

As said, am trying to figure out the floor problem, self created by wanting the inspection pits. I think what I am going to do is use one of the pits as a "mold" and use "Dental Stone" to fabricate a floor with the openings for the pits in it. In other words, turn a completed Pit upside down in a container and poor the Dental Stone in to it so it just covers about a quarter the way up the pit. Dental Stone is as hard as nails and will provide a good base and a truer "concrete floor" look. All I'll have to be careful of is getting the Pit out once the stone has dried.

As such, I have bought another 3 Inspection Pits, one to replace the pit I glued the Code 55 rail to as I am replacing the Code 55 with Code 80 Rails, one to use as a Mold and one to have non hand as a spare in an attempt to pre-empt "Murphy's Law".
 
Last edited:
Dental Stone is extremely hard, dries very very smoothly (no air bubbles etc) and dries reasonably quickly as well. Unlike most other materials, you mix it to a creamy consistency so it pours making it perfect for molds of any description and for anything that you need to be flat and level. I have been using it for quite a few years for all of my molds, roads and any place on my layouts that I need to be solid.

The ONLY frustrating side of it is it does dry extremely hard so "carving and sanding" it can require a bit more effort and work than other things. I recall having to remove a section of my HO layout where I laid about 1/4" of dental stone and needed to use a Bone Saw to cut through it - it's tough stuff.

The best place I found for buying it is a place called "Merlin's Magic Plaster - Hobby Stone". They sell it in a variety of "strengths, colors and quantities". It is a little more expensive than some materials BUT lasts a long long time and, because you mix it to a pour-able consistency, you don't need to use as much. Take a look at their website and see what you think.

https://merlinsmagicplaster.com/

Aside from the quality of their stone, they are quick and have great customer service as well as offering other bit and pieces such as molds.
 
I have managed to get 3 walls assembled (attached) and they went together pretty well, surprisingly enough. It will be the last wall piece that will tell the story though. I can also confirm that the roof is square, which is a bonus so (theoretically, if the walls are square the roof should fit in perfectly. I'm actually back to feeling a bit of hope for this kit. THAT will NOT stop me from building the Faller Kit though for comparison and final selection of which will fit in best and will use on the layout.

Here are a couple of shots of the wall sections in place:

GuT1VZF.jpg


fhkvQ3K.jpg


And a couple with the roof just sitting in place:

VVGgTYf.jpg


O7kVXuP.jpg
 
They are a must in my opinion. You don't use them a lot but when you need weight or to square things up, they are almost imperative. I am seriously thinking about getting another two of them.
 
Now that the "Main Structure" is complete it's time to start on the interior details, such as the raised walkways. I am using Gold Medal Models detail parts and have to say they are very good indeed and not as difficult to assemble (where needed) as I thought they maybe.

I have half of one walkway completed with the steps. I think these were the right choice for the steps hieght as they raise the walkway to about halfway up the side of an engine:

4ZU9tPo.jpg


0A2A489.jpg
 
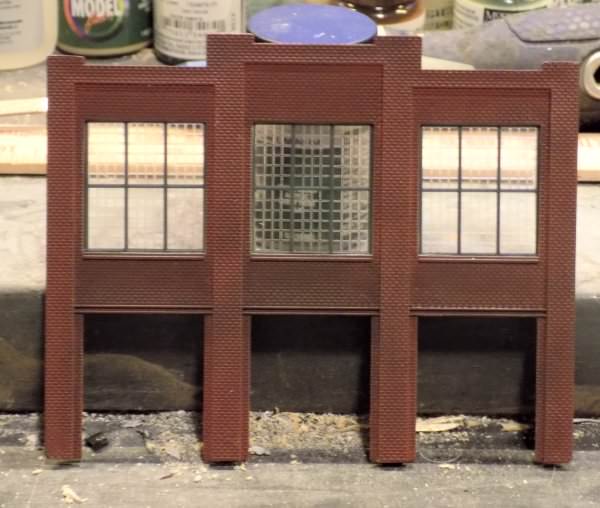
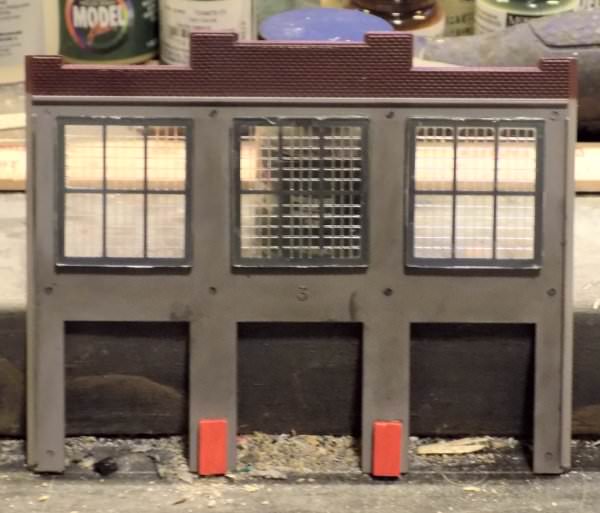
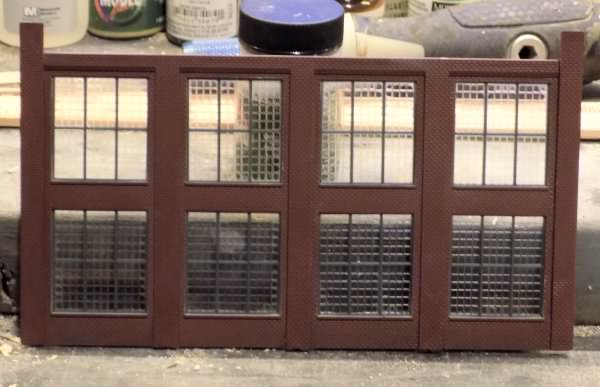
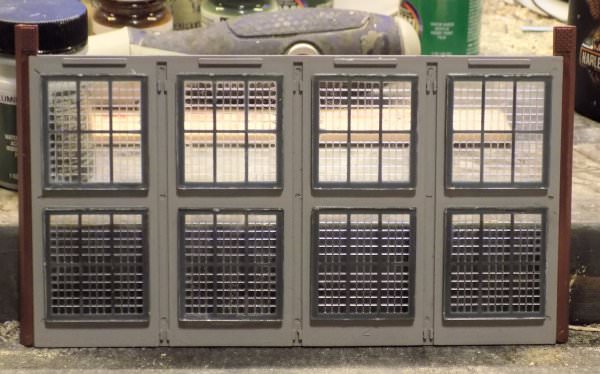
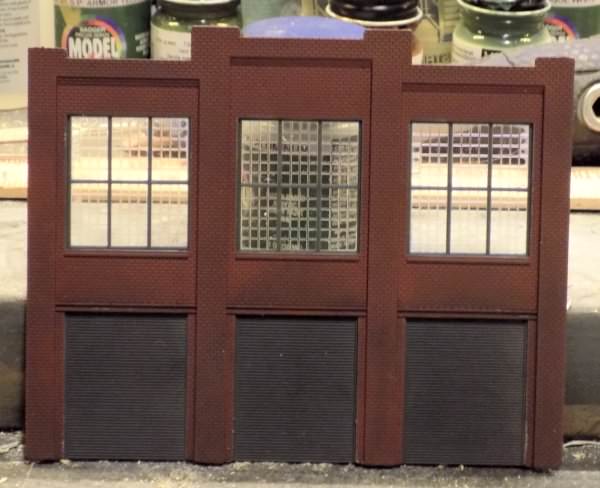
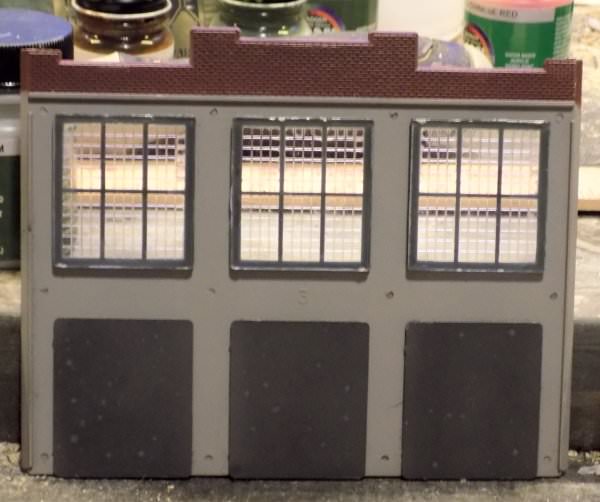
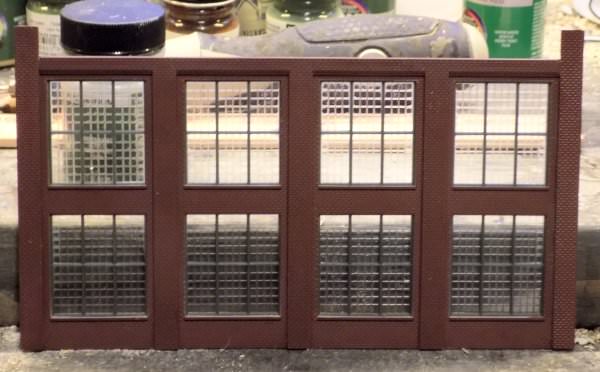
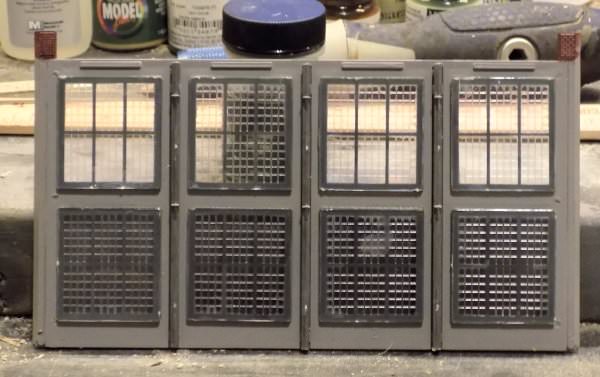
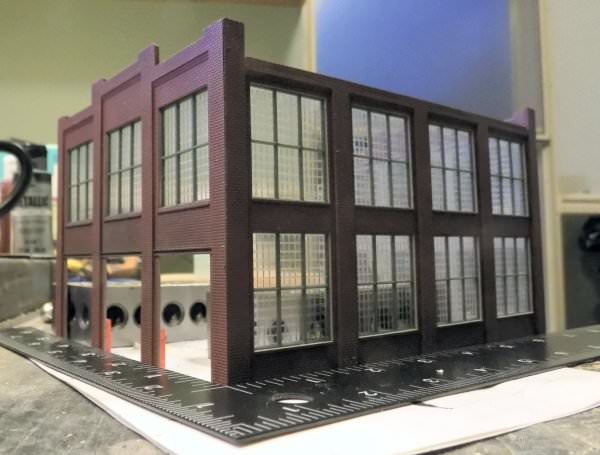
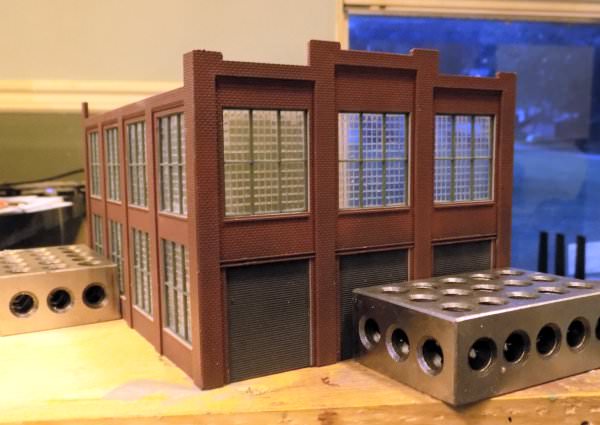
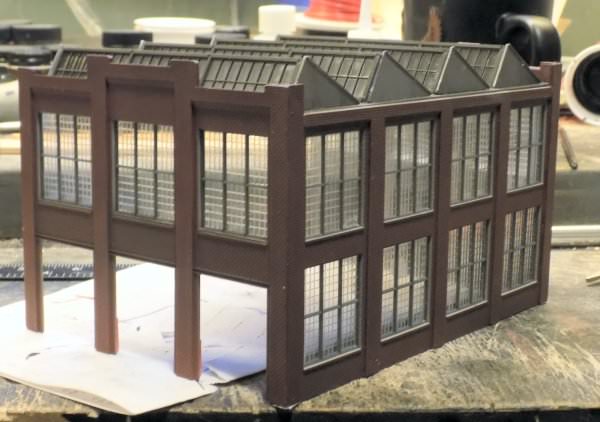
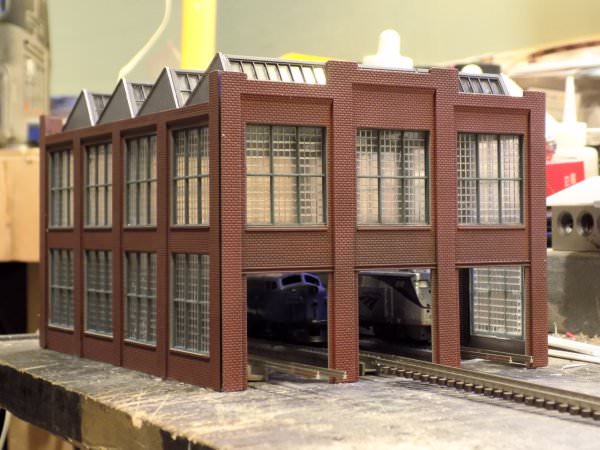
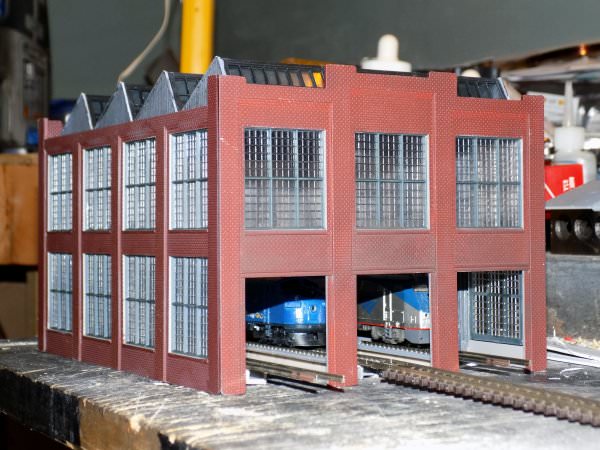
I'm a little bit late to the party, and I didn't see it explicitly stated unless I skimmed over it, but looks like you're actually building it as a locomotive heavy shop? Despite the "car shop" label on the box, it can work quite well for this as well and should turn out great.

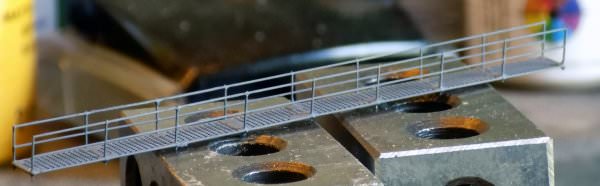
The inspection pits and walkway-level platforms are right at home in a loco repair shop, while a car shop wouldn't need any of this. I've toured one, and the floors are just solid concrete, no pits or walkways. The interior detailing for a car shop would mostly consist of moveable "stuff" like welders, car jacks, stepladders and other tools etc.


Back
Top