KB02
Well-Known Member
With most of my modules built physically created for my new layout (Rebuild thread here), I have a vast array of blank canvases to work with. Each one is 18"x48". Time to get started.
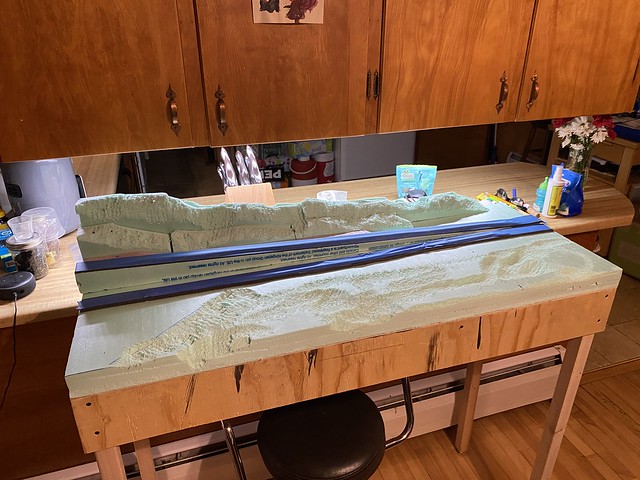
Module #1 will come off the bar where I have two tracks with a 2" height difference. So, I figure a nice, woodsy scene to get started with. I grabbed a few scrap pieces of foam as a starting point:
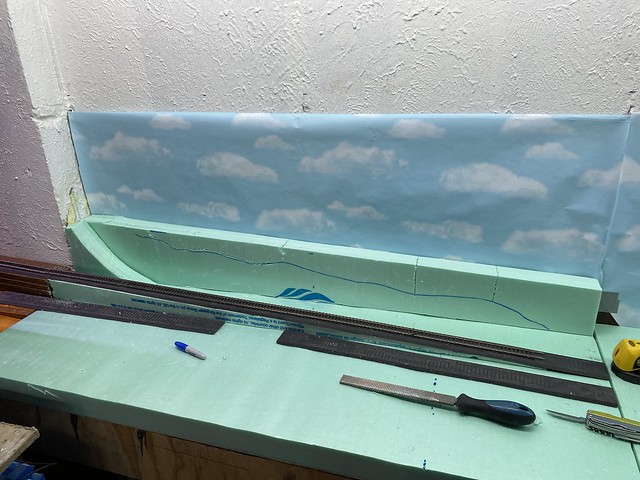
That's when the "fun" started and I decided to carve up the foam a bit to shape it. You can see my chosen weapon of destruction laying on the benchtop.
And by "Fun," of course, I meant the hours, if not years, of cleaning up little crumbs of green foam I have ahead of me in my basement. Really should have known better than that, but the effect was successful in the end.
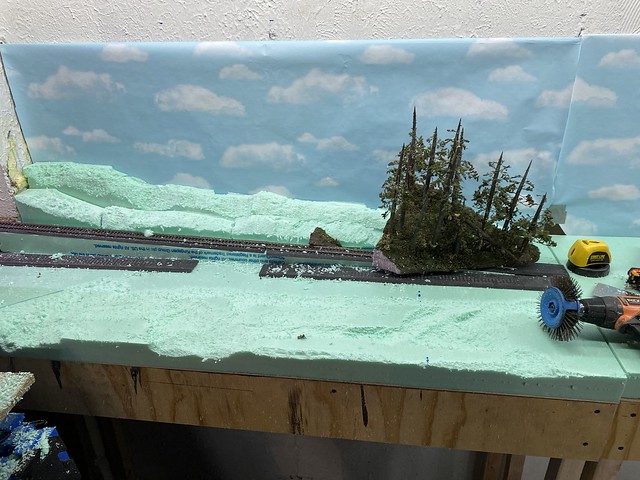
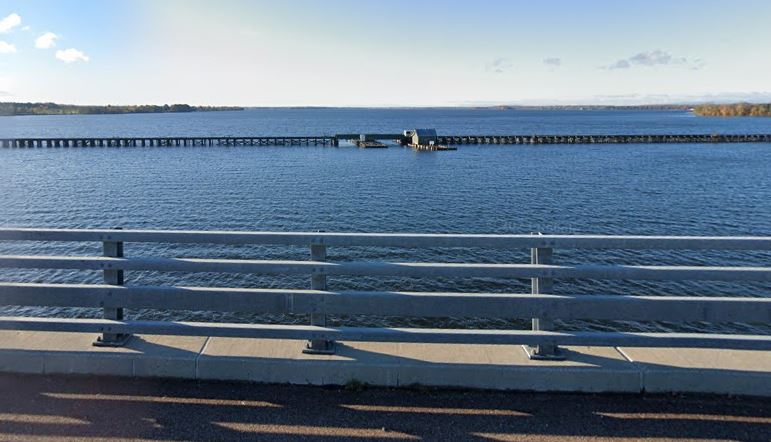
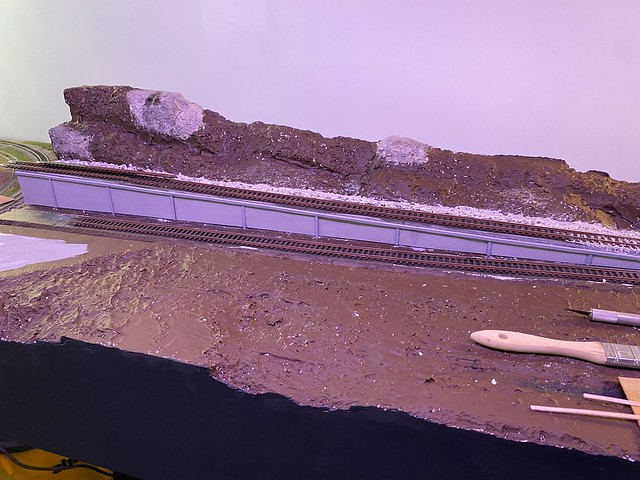
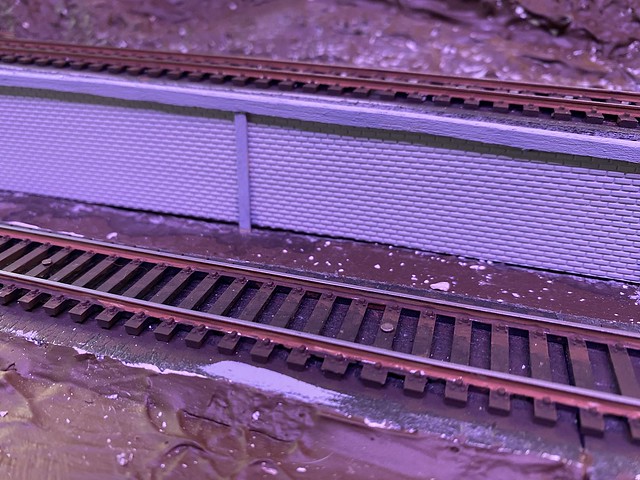
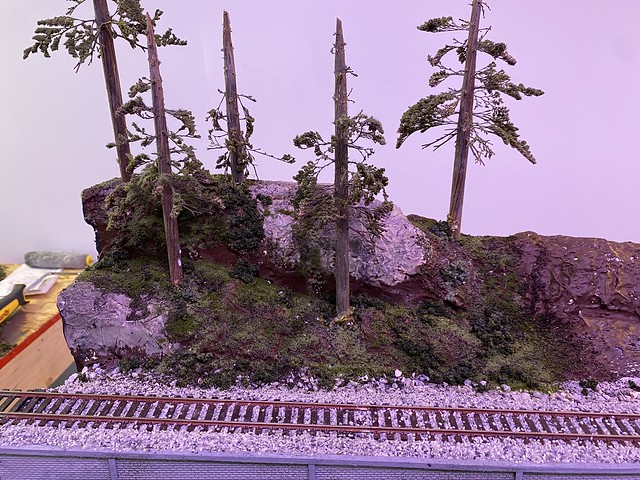
After round one of cleaning, I laid in some track and added a old scenery aspect that the rest will, hopefully, match up to.
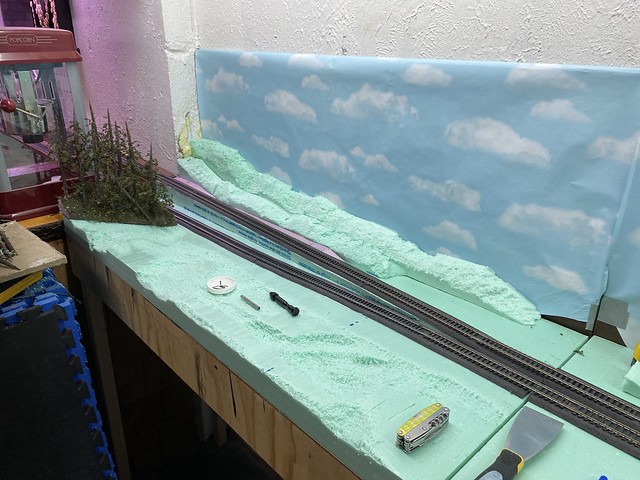
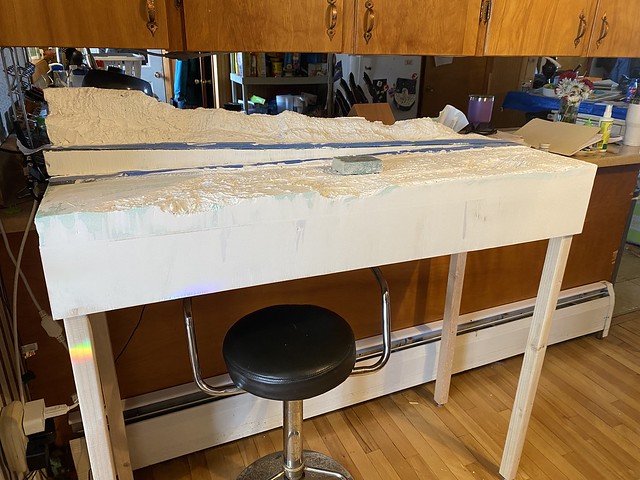
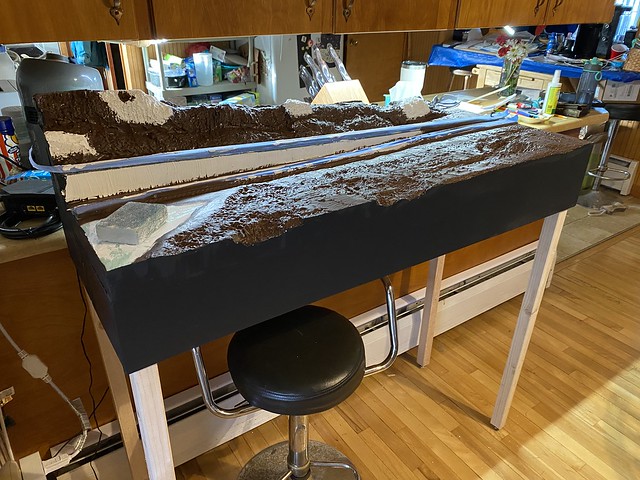
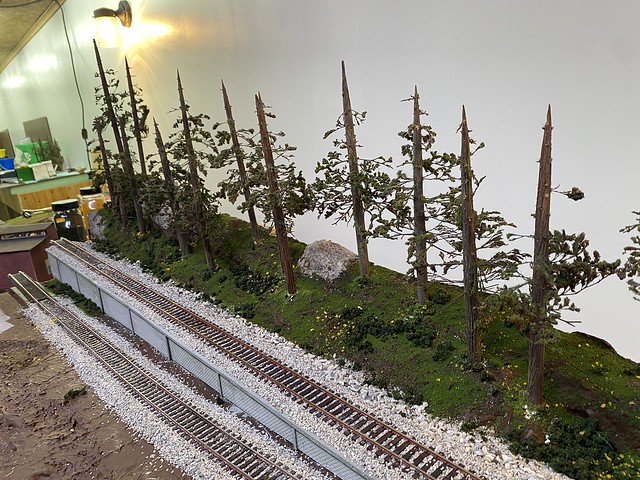
Then the big benefit of going modular: I moved the whole thing upstairs so that my family didn't think I was trying to hide from them.
and... admittedly, where it was warmer so the plaster would cure slightly quicker.
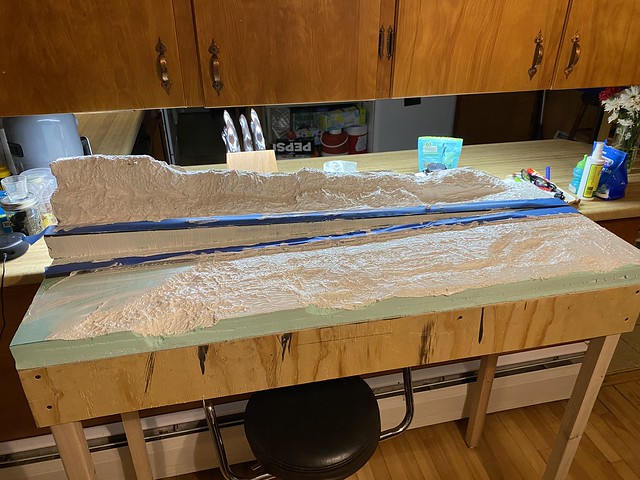
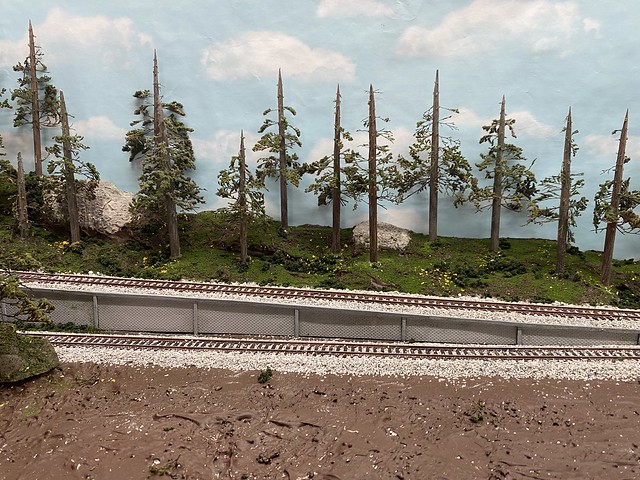
I literally threw on some rubber gloves and globbed handfulls of drywall compound over the foam. I smoothed and shaped it all by hand, then stippled it with a paint brush to remove the finger marks. A few of the spots were a little deeper than I had anticipated, so some points are taking longer to dry than others, but so far no one in the house has complained about it being the in the way, so, win - win!
Module #1 will come off the bar where I have two tracks with a 2" height difference. So, I figure a nice, woodsy scene to get started with. I grabbed a few scrap pieces of foam as a starting point:
That's when the "fun" started and I decided to carve up the foam a bit to shape it. You can see my chosen weapon of destruction laying on the benchtop.
And by "Fun," of course, I meant the hours, if not years, of cleaning up little crumbs of green foam I have ahead of me in my basement. Really should have known better than that, but the effect was successful in the end.
After round one of cleaning, I laid in some track and added a old scenery aspect that the rest will, hopefully, match up to.
Then the big benefit of going modular: I moved the whole thing upstairs so that my family didn't think I was trying to hide from them.
and... admittedly, where it was warmer so the plaster would cure slightly quicker.
I literally threw on some rubber gloves and globbed handfulls of drywall compound over the foam. I smoothed and shaped it all by hand, then stippled it with a paint brush to remove the finger marks. A few of the spots were a little deeper than I had anticipated, so some points are taking longer to dry than others, but so far no one in the house has complained about it being the in the way, so, win - win!


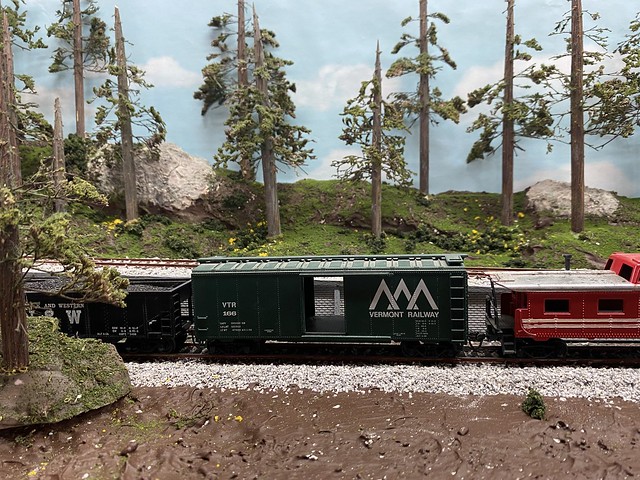
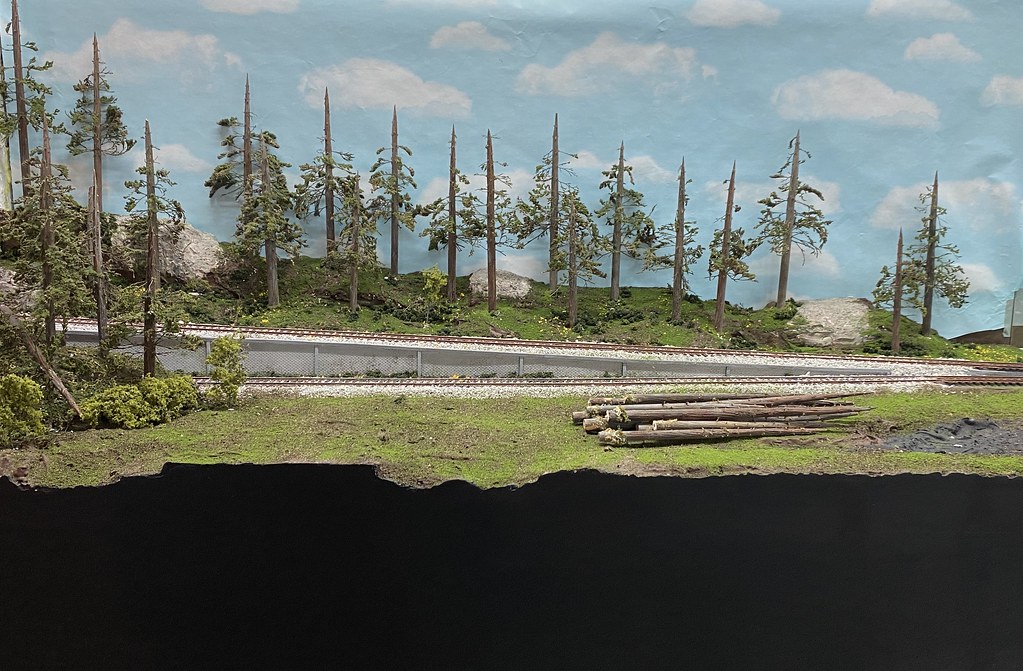
 so, I've got a decent supply of lumber for a logging company. Lemonade out of lemons, I guess; right?