
You are using an out of date browser. It may not display this or other websites correctly.
You should upgrade or use an alternative browser.
You should upgrade or use an alternative browser.
Started the F7A paint...
- Thread starter goscrewyourselves
- Start date
goscrewyourselves
I'm the one
Thanks Olie, appreciate your looking.
goscrewyourselves
I'm the one
A bit more done ...
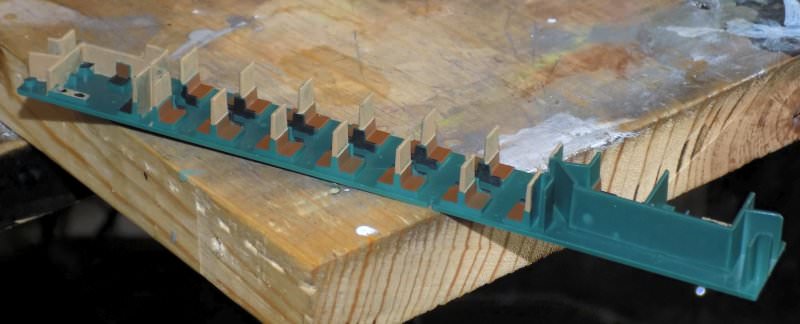
The Wood Color is going to need two coats to cover properly when using it with a brush. Thankfully it covers MUCH better from an airbrush.
The Wood Color is going to need two coats to cover properly when using it with a brush. Thankfully it covers MUCH better from an airbrush.
Thanks Terry. If it does become an issue, where do you get this Bullfrog Stuff? We have deer, fox, rabbit, squirrel, chipmunk, woodchuck, coyote, bear, mountain lions, ducks, geese, skunks but no Bullfrogs that I know of")
Be careful if you do find any. Gets awful sticky around where they live.
goscrewyourselves
I'm the one
I have had a look at some places including the Bullfrog site and don't think I'll be using it. With my luck, I'll have it every where except where it's suppose to be
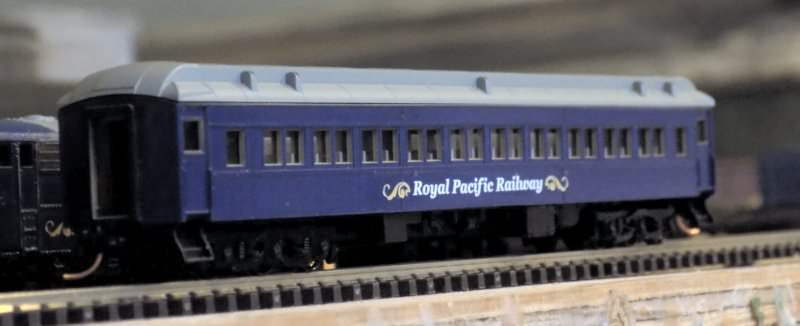
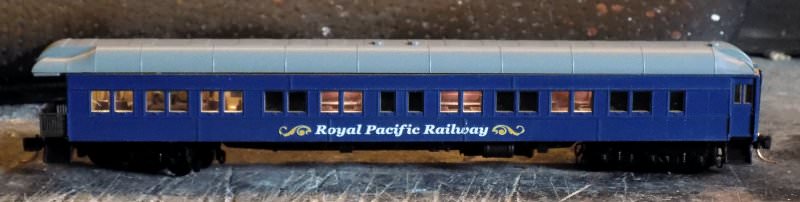
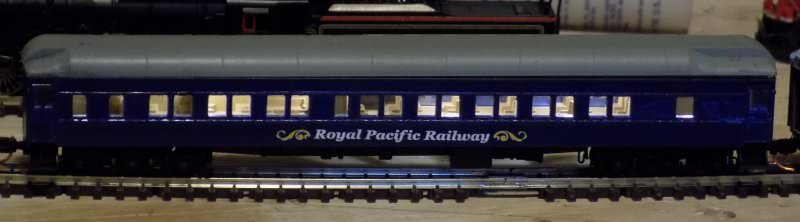
But, I have completed the Coach Car:
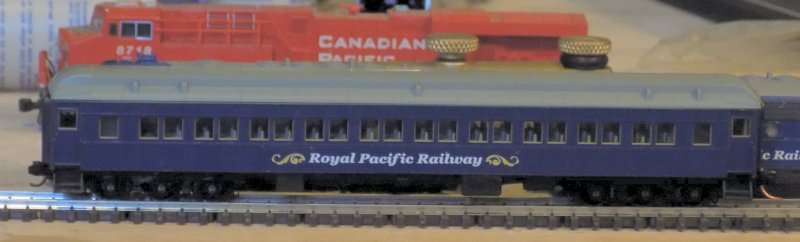
Now it's back to the Sleeper then the RPO Car ... will it never end
Thank you Bobby, your work, together with others , inspired this and I'm glad I am trying it.
But, I have completed the Coach Car:
Now it's back to the Sleeper then the RPO Car ... will it never end
Thank you Bobby, your work, together with others , inspired this and I'm glad I am trying it.
goscrewyourselves
I'm the one
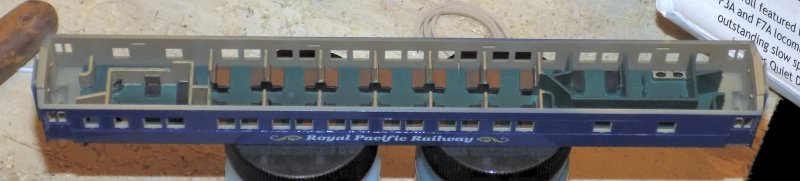
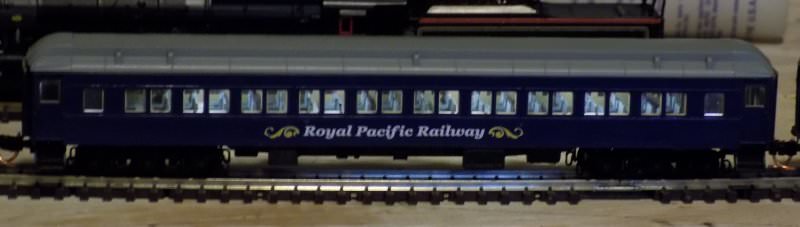
And a sneak of the insides:
goscrewyourselves
I'm the one
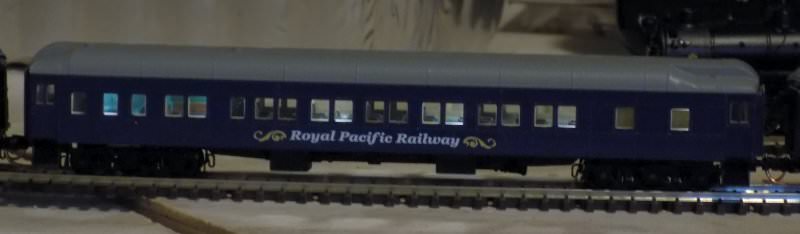
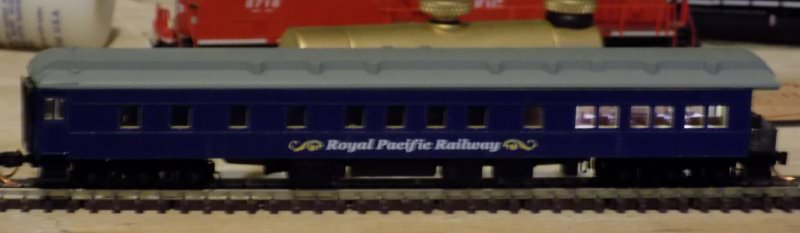
With the exception of the RPO Car (which has no interior and wouldn't be on an excursion train anyway) I finally completed all of the cars. So, for your pleasure or amusement, here it is - The Royal Pacific Railway ...
goscrewyourselves
I'm the one
Thanks guys I have to admit that I do like how they turned out and am looking forward to running them properly.
goscrewyourselves
I'm the one
Received the Rapido Easy Peasy Light Boards this morning and have installed one of them into the "Observation Car":
The only thing I noticed was the fit, NOT quite as "Easy Peasy" as the title suggests. There are two suggested ways of installing these light boards:
1. Adhere them to the underside of the roof, and
2. Sit them (unattached) to the top of the interior
No matter which method you use, you WILL have to "cut/shorten" the light board if using them in Micro Trains Heavy Weight Pullman cars.
If using method (1) the little tabs in each corner of the underside of the Observation Car Roof prevent the light board from sitting flat against the underside of the roof.
If adopting method (2) the positioning of the batteries in relation to the interior layout means the "board" is too long at one end. In order for the batteries to recess between the interior walls, the board needs to be positioned more to the left (as in my case) meaning it will sit "on top of" the shell walls.
The ONLY solution I found that assured me of a "good and proper fit" was to trim about 1 mm of each end of the board. Once I had done that, the board could be installed using either method without it being obstructed.
I am going to assume that the installation for each car will be different as each cars interior is different. My intention is to adhere the boards to the underside of each cars roof. Not withstanding the length problem, the only other issue I can see is whether or not there will be sufficient room between the "bottom of the batteries" and any interior detail that may prevent the roof from being reinstalled fully and correctly.
Bottom line with the Light Boards is yes, they are a simple and (potentially) quick way to have fairly effective passenger car lighting; however, they are also a very good example of "one size does not fit all."
Last edited:
goscrewyourselves
I'm the one
Here are shots of each car with the Rapido Lighting installed:
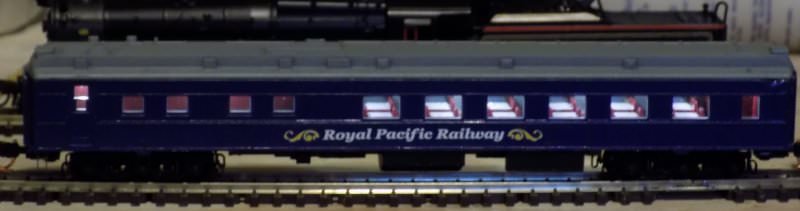
I think I can now say this Train is Completed! I think?
I think I can now say this Train is Completed! I think?
WOW -- Really Nice, Tony!
goscrewyourselves
I'm the one
Thanks Sherrel, it didn't turn out too bad
goscrewyourselves
I'm the one
So I bought a few Bragdon Weathering Powders and decided to try my hand at something easy. Here is the end result:
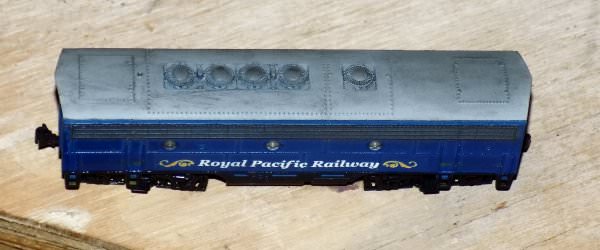
As a comparison of one done and one natural:
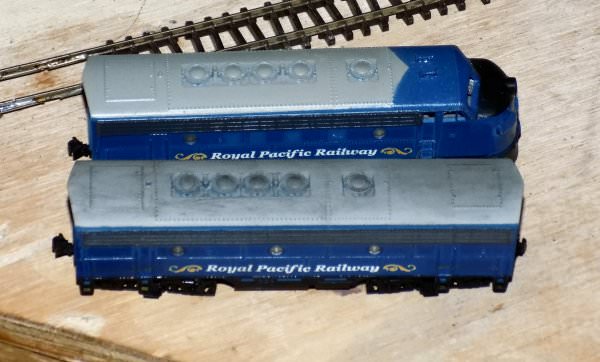
As a comparison of one done and one natural:
