Jaz avalley
Station cat
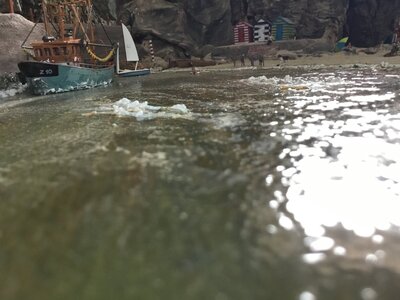
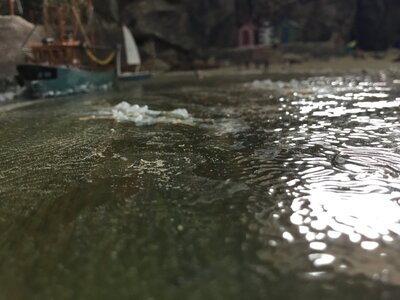
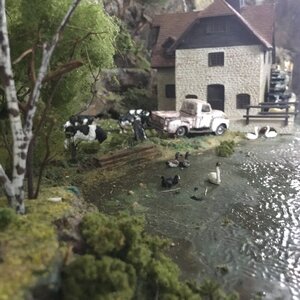
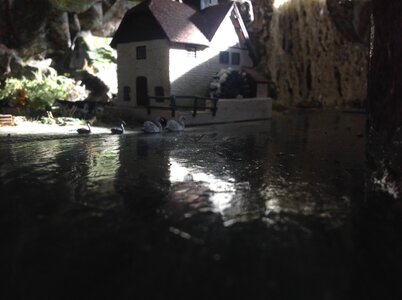
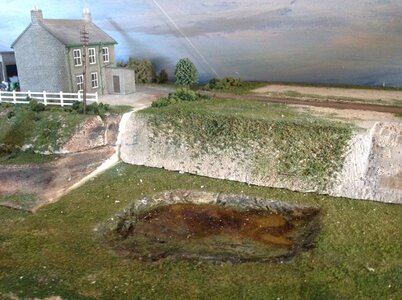
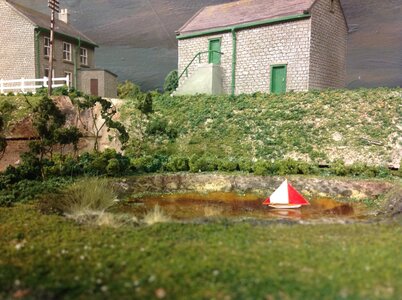
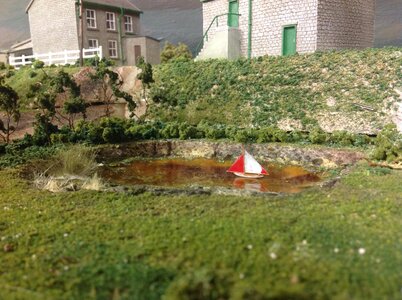
Water, slightly different angles, can increase or decrease light and give different impacts
Attachments

Last edited:

")
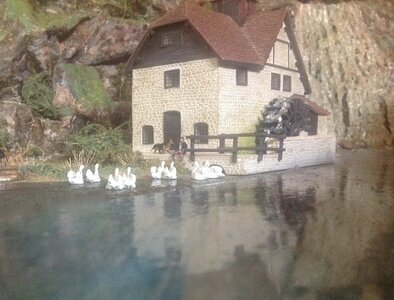
In my experience people who believe that their water features are somewhat lacking, actually only need to tweak the overall atmosphere to seriously improve the results, and often a few useful ways to photograph the results can seriously upgrade the impact.Jaz, you do a great job modeling not just water but water scenes. Good for you and thanks for sharing.
I have one feature water scene on my layout (barley underway). I did a mock up a long time ago using a Woodland Scenics product (I believe it's called "Deep Pour"). I thought it came out nice but will revisit this thread before I proceed on the layout
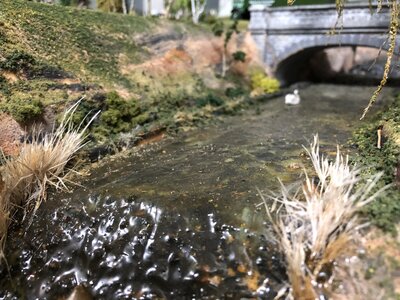
beautifulOverall, I'm very happy with the way my river came out. The river is one of the main focal points of my layout, which is a fictitious area along teh West Virginia Panhandle of the Ohio River Valley.
The width of the river is compressed, mostly to save space, but also because it's just not very feasible to have a 3-foot wide river, lol.
Here's a pic of the layout with the white styrene sheets as the riverbed. I installed some wood trim on the ends so that whatever I used for teh water wouldn't run off the ends like a "flat earth."
View attachment 166713
This is N scale. The river area is 54" long, and roughly 17" wide. So I needed a product that could cover this large of an area, and started to research what products to use. I ended up choosing Gloss Acrylic Medium with some Raw Umber pigment added to give it a murky appearance.
Raw umber has a bit of a yellow base, so adding yellow to blue makes brown... So I painted the white styrene sheets a sort-of sky blue, so when the water is poured on top,, the result is a bluish tint in the shallow areas, and a more murky appearance in the deeper spots.
I mixed up a half gallon, which is just enough to pour 1/8" deep over teh entire riverbed.
Here is a picture of the paint job before the pour.
View attachment 166715
Even the paint is darker in the middle of teh river, and lighter as you get shallower.
This next picture is after I mixed and poured the Acrylic Gloss Medium. The product comes a milky white liquid, but hardens clear. So a little pigment goes a long way. It took several days to cure. The white-looking areas are just a reflection.
View attachment 166716
The next morning, you could see teh color starting to show through as teh milky white fades away and begins to reveal the final color.
View attachment 166717
The photo was probably day 2 or 3 of the cure. At this point, you can see some fissure forming. This is caused by the top skin drying too fast in relation to teh still-liquid pool beneath it. The product shrinks a bit as it dries. The product has polymer binders in it that try ti keep teh skin from cracking, but if teh skin dries too quickly, it will crack as it dries. These cracks get larger as the product continues to cure.
The result is cool, especially if you are wanting what looks like churning water. But for a river like the Ohio, it's not a very common sight. But it looks great for 2-3 feet away. Much closer than that, and it looks like a mud flat in some places.
View attachment 166718
In the picture above, you can see where I added some more product to the fissuree to try to "fill it up," but the way this stuff dries, it takes several applications to obscure the effect.
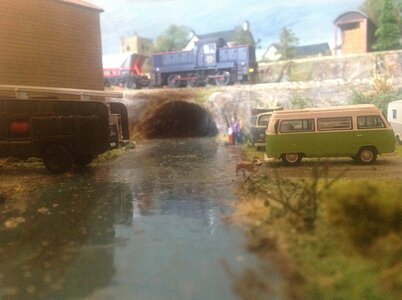
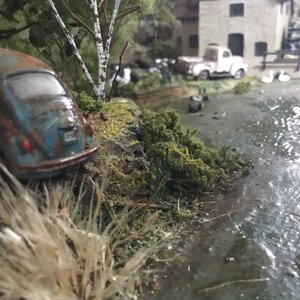
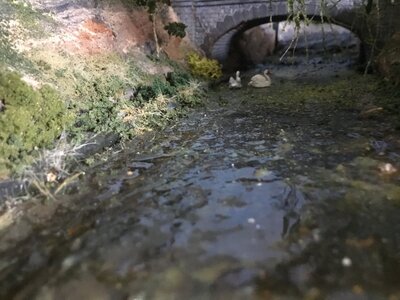
Below are some close-up shots that I think are pretty darn good if I do say so myself.
View attachment 166719
View attachment 166720
View attachment 166721
View attachment 166722
If you ever do go ahead and want some awesome result from cheap products and little effort give me a nudge. I am sue pthers will add their two pennyworth two there are some great water modellers here.Wonderful water scenes and scenery in general. If I ever progress on my little water scene I'll be sure to let you know so you can laugh at it